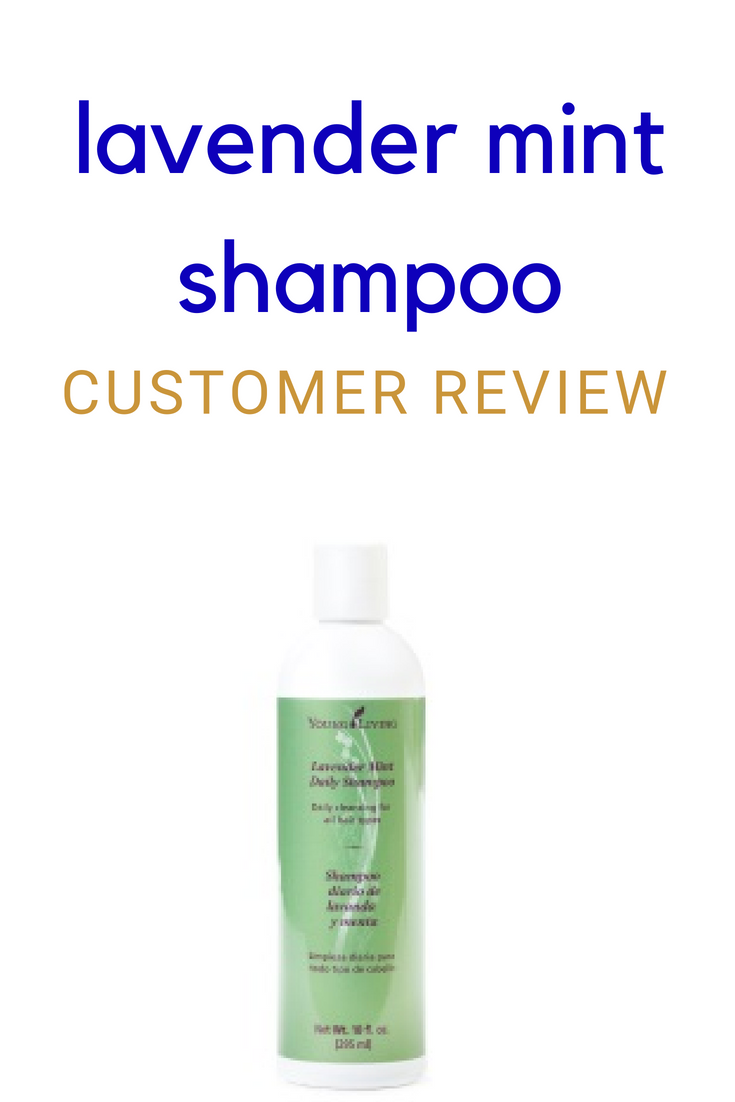
My hair’s description: straight, kinky-curly, wavy, frizzy, super-thick, so finding a shampoo is tough.Read more
My hair’s description: straight, kinky-curly, wavy, frizzy, super-thick, so finding a shampoo is tough.Read more
This review on Super B multivitamin gives you 3 major pieces of information.
I hope this serves you well!
You’ll see a way to get your own at the end of my testimonial.
I didn’t expect to feel the effects of a Super B this fast.
I noticed an increase in energy within the first hours of taking it.
Something you should know is that it can make your urine bright yellow, which can be alarming if you aren’t expecting it.
I also noticed that if I take them in the afternoon, I have a tough time getting to sleep at night. I definitely recommend taking them first thing in the morning.
Two tablets per day is super simple and keeps me feeling great. Definitely love my Super B!
You can get yours here  which comes with lots of customizable support!
It is a comprehensive vitamin complex containing all eight essential, energy-boosting B vitamins(B1, B2, B3, B5, B6, B7, B9, and B12).
It features Orgen-FA, a natural folate source derived from lemon peels, and methylcobalamin, a more bioavailable source of B12.
It’s combined with Nutmeg essential oil and bioavailable chelated minerals such as magnesium, manganese, selenium, and zinc.
Super B not only assists in maintaining healthy energy levels, but it also supports mood and cardiovascular and cognitive function.
B vitamins are essential to our health and well-being, and each B vitamin performs a unique and separate function in the body.
They must be replenished daily,as they are not stored in the body.
Super B is a fantastic addition to your toxin-free and healthy lifestyle.
Responses are taken from a group on Facebook.
There are over 18,000 people {both members and non}, who write in, comment, and question Young Living products every day.
When I searched Super B, these comments stood out the most. I didn’t see anything negative about this product, which is exciting from this many people!
After three years of trial and error, these are toxin-free travel must haves.
This makes our time that much more enjoyable, and we find much less stressful as well.
When it comes to our flooring week 4, it was tough to find a product on the market that had no warnings.
The floor is where our babies play, our animals relax, and they have a role in our whole-home toxicity.
The convenience of grabbing carpet or hard surface cleaner at the store is nice, but it’s not worth it if you’re choosing organ, reproductive, and respiratory- destroying products in the process.
(If you haven’t gotten your 24% discount and toxin-free wellness box, click here: Young Living Starter Kit )
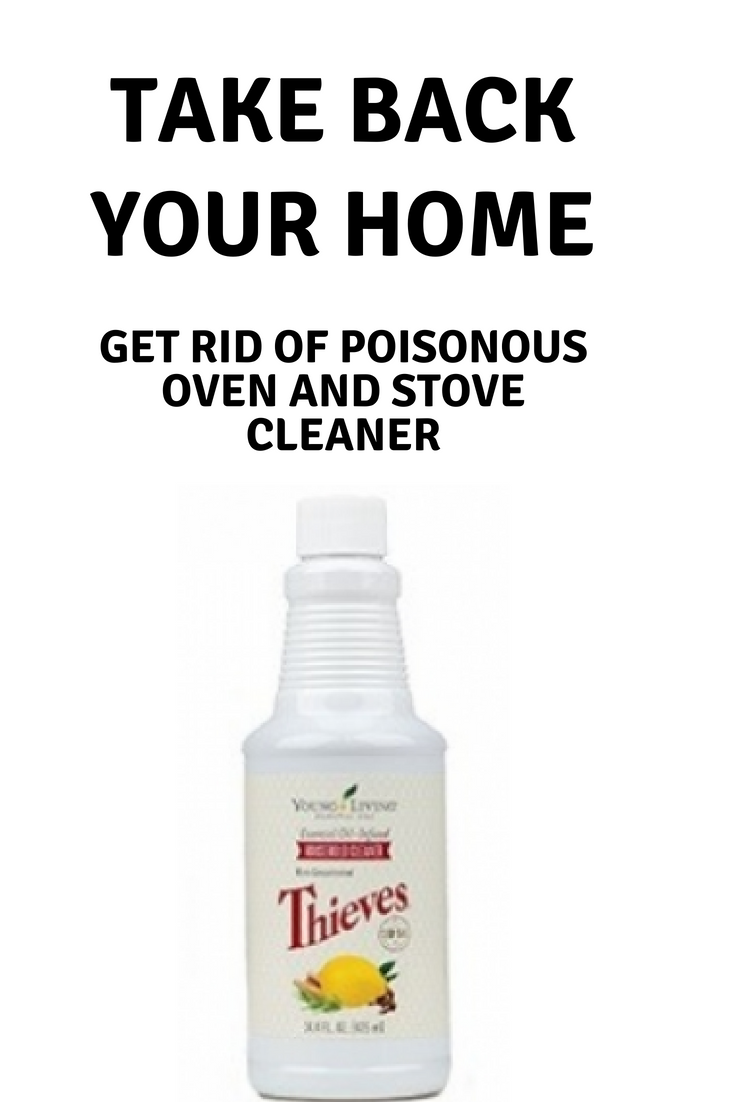
The one we use in our home (because we use it in place of TEN toxic cleaners) is Thieves Household Cleaner.
We simply fill this refillable mop with hot water, add one capful of Thieves Household Cleaner, and mop away with amazing results!
The best part about this cleaner is the wonderful smell!
It’s like Christmas and coziness all wrapped up into one. We always get compliments after mopping!
Unfortunately there were no carpet cleaners that scored an “A” without any concerns, but feel free to see what did make the “A” list here.
When it comes to carpets, Thieves still comes in handy! I add one capful of Thieves Household Cleaner to 1 C baking soda, sprinkle on the carpet and scrub in with a bristled brush in those extra stubborn spots.
Let sit for an hour, and vacuum.
Add 1C baking soda to a glass bowl.
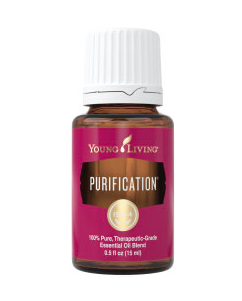
Drop 5 or 6 drops of Young Living’s Purification essential oil blend or Citrus Fresh blend in and stir.
Sprinkle on carpet. Scrub stubborn spots. Let sit for an hour, and vacuum.
For our family, buying doesn’t make sense in the store. Why waste our money on something that might work, when I already have Thieves Household Cleaner and purifying oils in my cabinet?
It’s also super easy to make, works so well, and leaves our home smelling so fresh!
You have options.


I chose Young Living after spending a long time researching.
Young Living made sense for our family because it was a source I could trust when I kept running into different companies off the shelf that I couldn’t.

Confession: I hate cleaning the oven and stove.
Alas, it must be done.
I would like, however, to propose that it no longer has to be done with poison.
(If you haven’t gotten your 24% discount and toxin-free wellness kit yet, click here: Young Living Starter Kit)
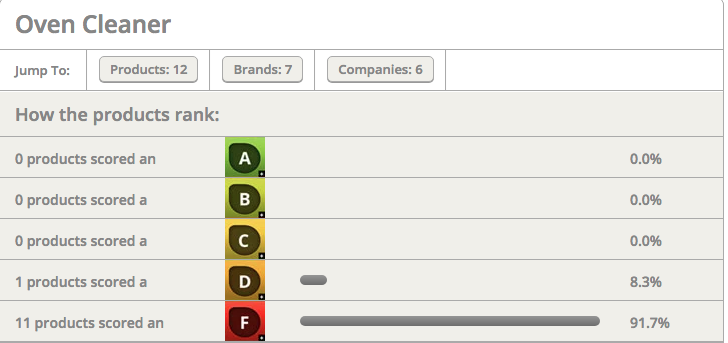
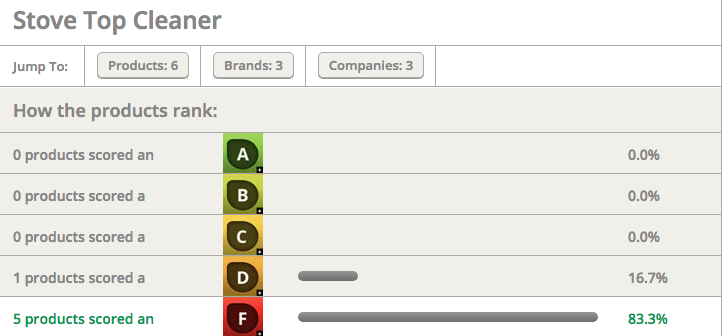
Sadly, there’s some bad news on the oven cleaner front. There are currently no safe cleaners in the stores.
This means the entire market is saying it’s impossible.
Take a look at this:
Corrosive alkalis (like Easy-Off) for your oven is poisonous.
POISONOUS!
While using them, breathing may be difficult due to inhaling the fumes. This is irritating to the lungs and can exacerbate any respiratory issues a person may have.
Oven and stove cleaners can cause throat swelling and pain. It has also been found that it can create burning in the nose, eyes, ears, lips, or tongue. In serious cases, vision loss was reported.
Everything from general abdominal pain to bloody stools and vomit have been reported as concerns when it comes to oven and stove cleaners. It’s also alarming that breathing in these particular toxins can burn to the point of creating holes in the esophagus.
When it comes to our heart and blood flow after using these poisonous products, research shows low blood pressure developing rapidly, severe change in blood acid level leading to organ damage, and even collapse.
We know that these cleaners can go from simple skin irritation to burning our skin all the way to holes in the underlying tissue.
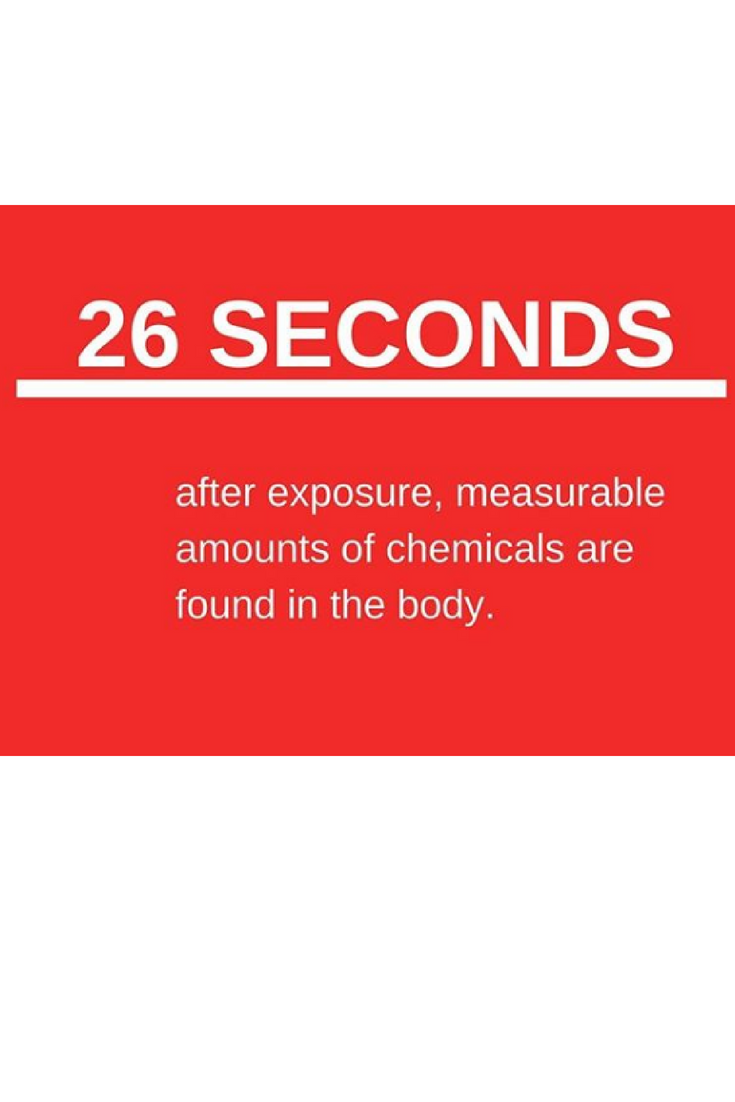
Toxins enter the body when we breathe them or touch them and can cause damage to our DNA leading to sick, malfunctioning organs. The chances of our cells turning cancerous increase a ton when we use products like stove and oven cleaner.
In minutes and with as low as two ingredients, you can deep-clean your stove and oven.
The best part?
You can avoid DNA-harming toxins and actually SUPPORT all of the body systems the other cleaners tear apart!
1 C baking soda
6 drops Young Living’s Lemon essential oil
5 drops Young Living’s Purification essential oil
Supports Cardiovascular, Digestive, Immune, and Respiratory Systems.
Supports Digestive, Immune, and Respiratory Systems.
Supports Immune System.
Supports Respiratory System and skin.
Supports Immune, Respiratory, and Nervous Systems.
The other ingredients, Alkyl Polyglucoside,Sodium Methyl 2-Sulfolaurate, Disodium 2-Sulfolaurate, are all rated safe on EWG!
Though it annoys me that I can’t simply “add to cart” or shop at my local store to grab an oven or stove cleaner, I truly don’t mind these DIYs.
Why?
It’s also great because they’re ingredients that come super cheap and are staples in our home, so they’re always on hand.
You have three options.
I chose Young Living after spending a long time researching.
Young Living made sense for our family because it was a source I could trust when I kept running into different companies off the shelf that I couldn’t.
However you choose to live toxin-free, make sure you research using free resources like ewg.org to learn the truth about your products and keep your family as safe as possible for generations to come.
We’ve already nailed down how much each of our toxic products cost (minus doctor visits for what it does to our bodies), and we’ve added that into our budget, so how do we make the switch without breaking the bank?
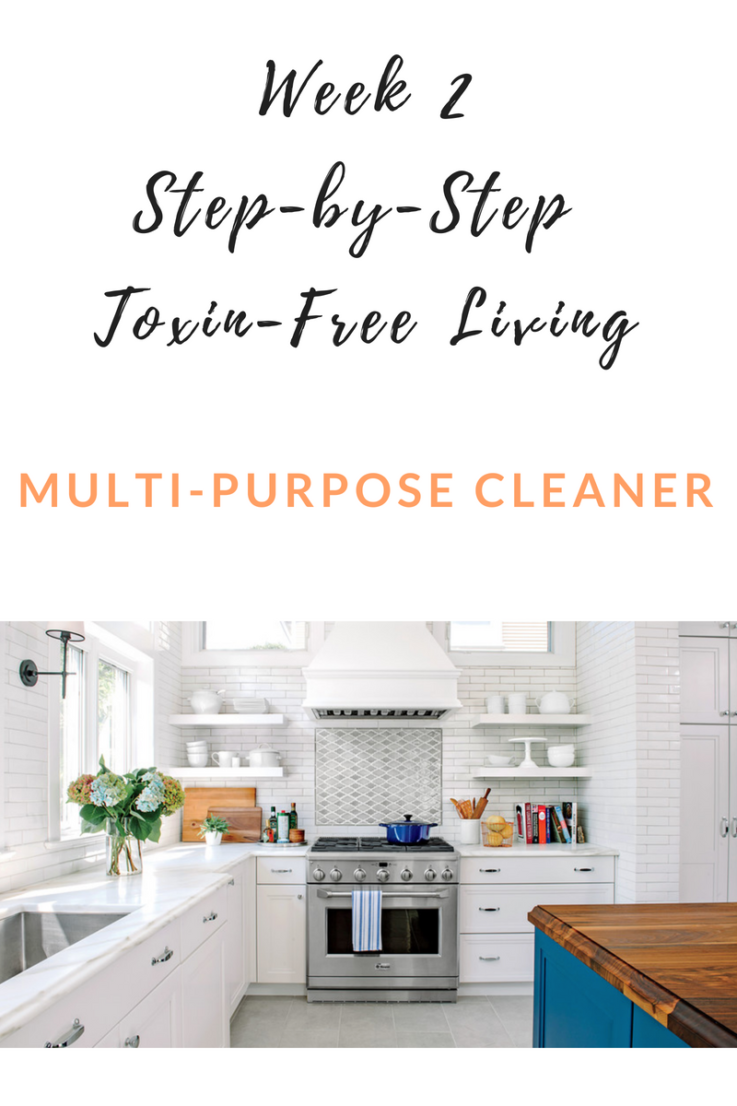
Lets tackle something that will cover lots of your toxin-free bases: Multi-Purpose Cleaner.
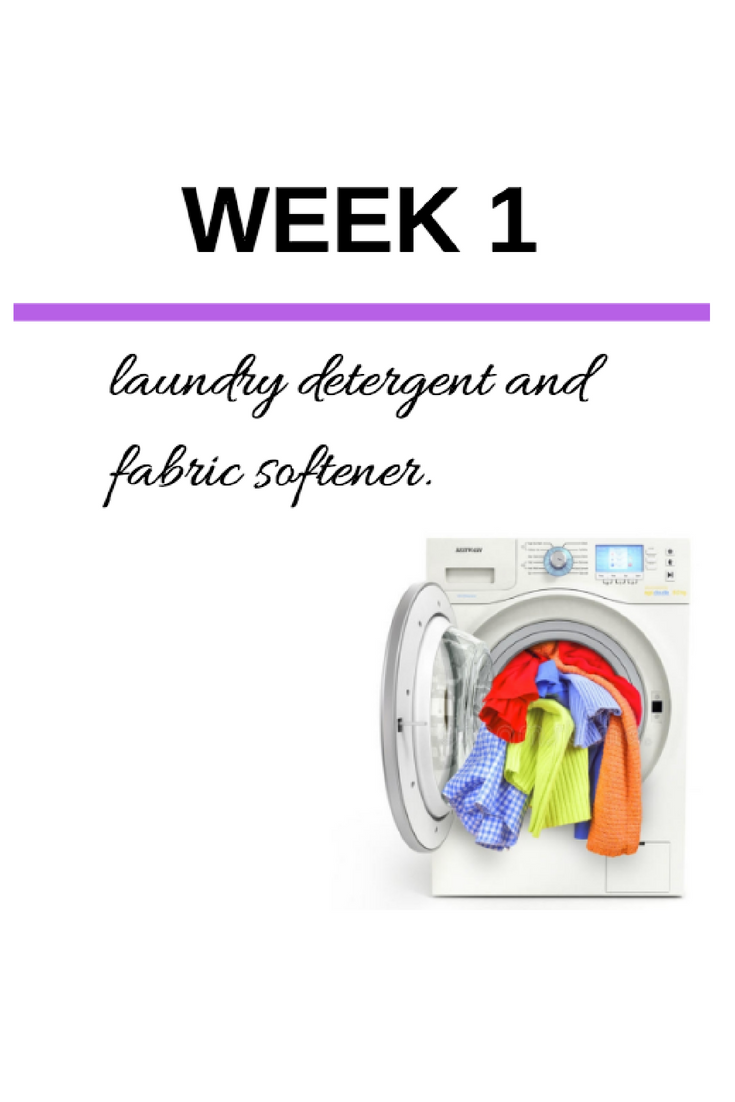
If you want a healthy life, one of your biggest steps will be switching whatever you get in the store for toxin-free laundry products.
Laundry detergents have serious hormonal disruptors which pollute your homes air, outdoor air, and then hang in your closet seeping out into your breathing air while you sleep.
So, yeah…pretty serious.
While you are cleansing your home from synthetic fragrance, add these to your got-to-go list:
Why is it so important to completely rid your home of synthetic smells?
Our homes are 3-5 times more toxic (AKA carcinogenic, hormone disrupting, respiratory debilitating, developmentally harmful, environmentally harmful) than the outdoor pollution because of toxins in our homes. Synthetic fragrance is a HUGE contributor!
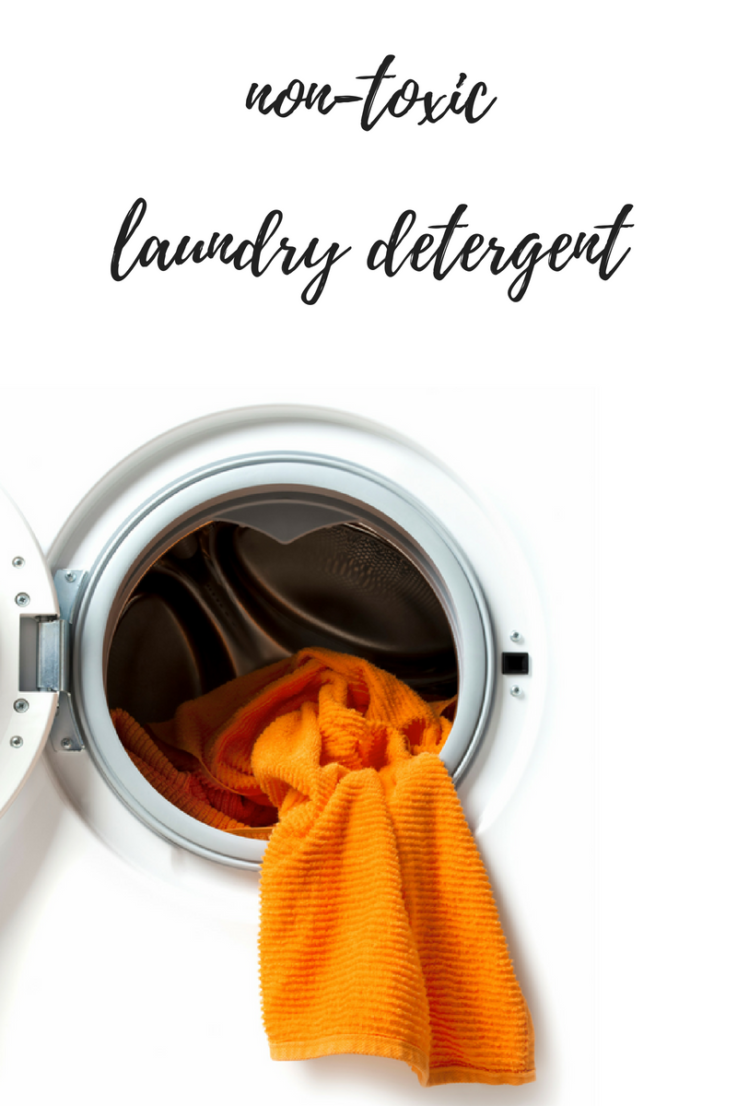
You’ll want to bookmark this amazing DIY detergent recipe that has been our family’s go-to for a while now.
Best DIY Laundry Detergent Recipe: DIY Laundry Detergent
Keep in mind that the only one you can actually count on is the Young Living option.
Young Living’s Thieves Laundry Detergent: Click HERE
More great news?
With your wholesale discount, dilution of this seriously concentrated product, and utilizing the Essential Rewards program, you will come out far less expensive than in-store and way healthier, too.
There’s a serious misconception that fragrance is somehow natural when it’s labeled as something we commonly use (i.e. grapefruit, lavender, eucalyptus).
The truth is that unless it discloses that Young Living is supplying its oils to create a fragrance, you’re getting synthetic fragrance, which means you’re messing with your body’s hormones, increasing your cancer risk, etc.
As a mom running every which way, I must say I really don’t mind the five minutes it takes to make the DIY detergent.
The links in the recipe lead to buying in bulk, which means I have all the ingredients I need to make this about once a month for a little over $3 per month, saving me lots without much trouble.
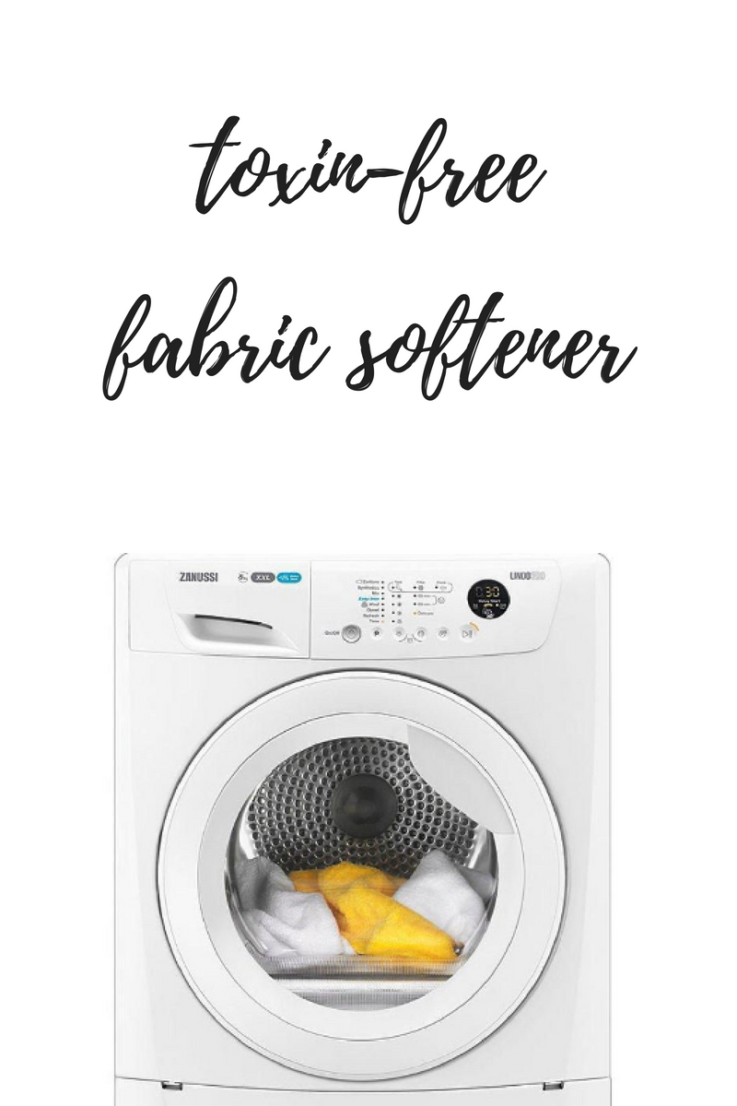
One of the worst offenders when it comes to our home’s air quality is fabric softener and dryer sheets.
They release fragrance that sticks to your clothes and whose chemicals enter into your blood stream through your largest organ-your skin.
Some reports have even linked it to seizures in children.
Thankfully, there is a great answer so you can avoid static.
This DIY is literally two ingredients. You can add dryer balls to the dryer with a few drops of essential oils (we like the Premium Starter Kit options of Citrus Fresh, Lemon, or Lavender).
DIY Recipe Here: 2 Ingredient Fabric Softener
So many people have fallen in love with throwing a Young Living baby wipe in the dryer as their dryer sheet that I have to share it!
Young Living Seedlings Baby Wipes:YL Baby Wipes.
Mixing two ingredients together once a month for a few bucks and reusing our dryer balls whenever we want a little extra fragrance is my personal choice because it’s just too easy not to!
Just by removing all air fresheners from your home and switching to toxin-free laundry, you have created a much cleaner and safer environment for your family!
While the idea of pulling all the toxins from your home can be daunting, please remember that what you’re doing is making a huge difference and to give yourself grace through this process.
You will get there, and I do so wish I would’ve done it this way instead of the panicky, scrambled way I learned.
Please feel free to message me on my Facebook page or to post your own thoughts and questions, so we can all work together toward a better, cleaner, and safer future!
If you’d like to find out how to get the simplest form of this amazing toxin-free life, click here.
Whether researching the life blood of plants, sitting with a new Premium Starter Kit , or at old pro status, these essential oil hacks can make life much easier!
These essential oil hacks help with the basics of the toxin-free transition.
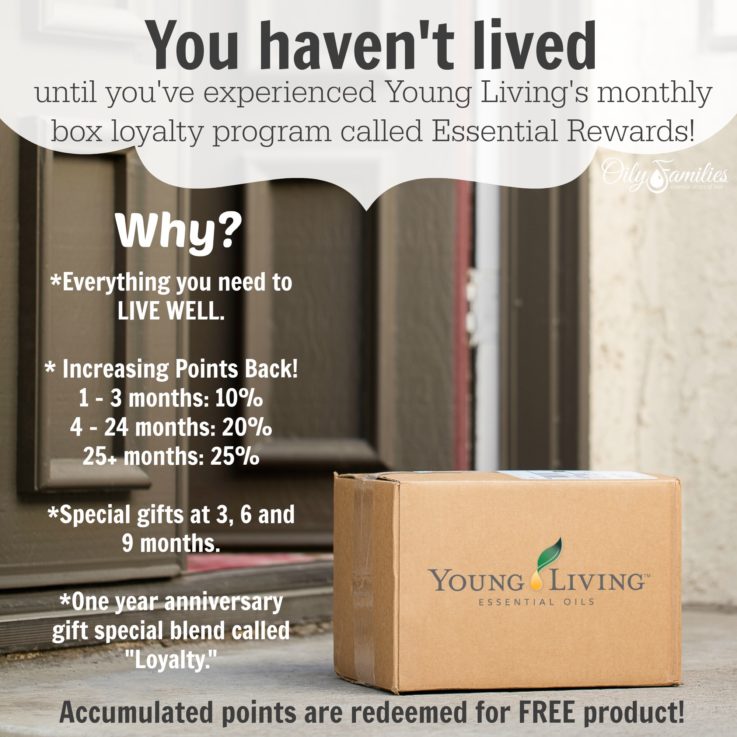
I wondered if I would ever take advantage of the Essential Rewards program until I realized with Young Living I could save a ton!
(If you haven’t gotten your start to a toxin-free lifestyle yet, click here: Young Living Starter Kit )
After the second month using oils and learning there’s literally an oil to support everything, my husband and I took a look at my ever-growing list of products, oils, and oil blends and knew we needed Essential Rewards.
Why?
My budget-watching husband disagreed. No, Andrea. You cannot trade food and shelter for oils.
$50 per month. Now, THAT we can do!
I’m budgeting oils into our life AND you’re giving me some of the money back to use like cash on other oils on my list? UM…OKAY!
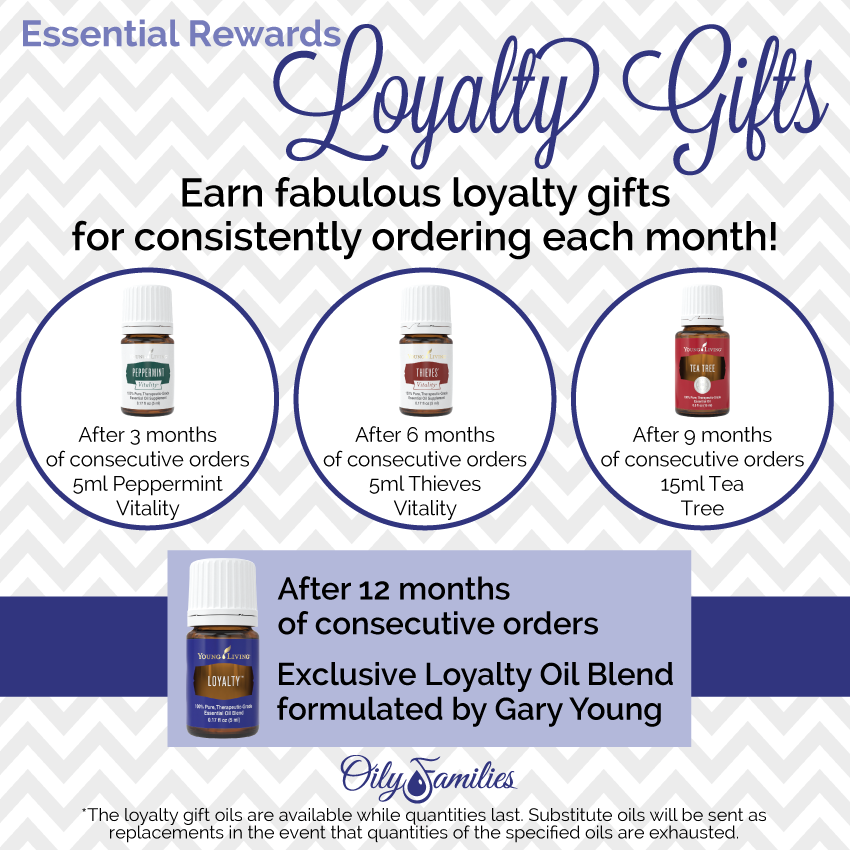
And you’re going to send me a free oil at 3,6,9, and 12 months? Alrighty!
And you’ll offer me more free product up to over $200 retail value each month on promotional items? Yesss….
And you’ll discount certain products, like our beloved Ningxia Red, in exclusive ER bundles? Ah!
Our family has been given thousands and thousands of dollars worth of free product!
We’ve got one squeaky, toxin-free homestead over here, y’all, and we didn’t even have to pay for all of it!
I love free things just as much as the next momma bear. But I love this even more. Our boys, including one spunky cancer survivor, are only breathing in and wearing goodness!
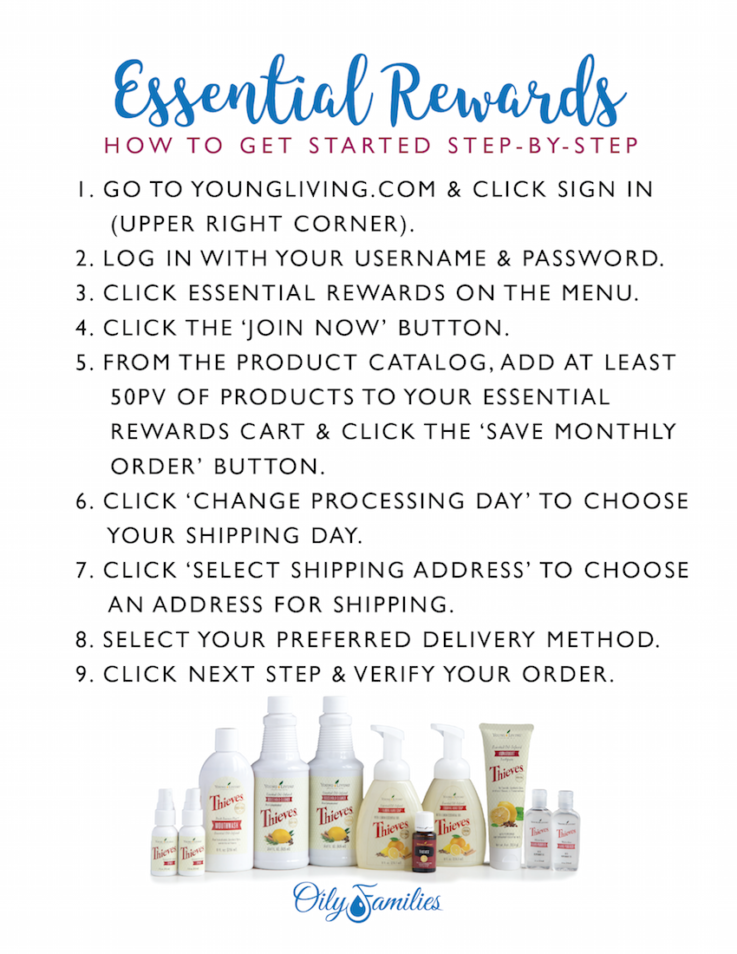
You can choose Essential Rewards.
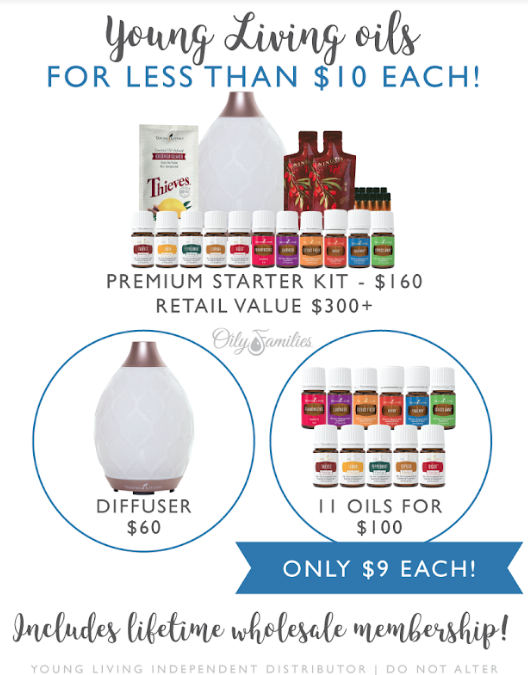
The Wholesale Discount Premium Starter Kit with 12 oils, a diffuser, and a 24% discount will pop up, and you simply click the loyalty box.
Add in the Essential Rewards, and you’re looking at 49% back in your pocket just for making your home full of the most trusted non-toxic products on the planet, and save tons!

This cystic acne fighting girl has been on the search for the safest face washes for as long as I can remember.
Finally.
After years of searching, trying, and failing in quite the vicious circle, I have found options that work well enough to share with you!
It was a serious uphill battle for the longest time once I decided to go non-toxic. I could find clean options, but my face just wouldn’t agree with anything–until the day I found these washes.
So, why should you go non-toxic when it comes to your skincare routine?
(First steps first: If you haven’t gotten your toxin-free toolbox yet, the beginning of wellness including the oils you’ll need for this recipe at 24% discount, click here: Young Living Starter Kit ).
1.) Your skin is your largest organ. Do you want to pour junk into it twice a day?
2.) Layering toxins on your face will age you quicker.
3.) The lighter, cleaner feeling of non-toxic face wash is wonderful.
Click here to see if your current face wash is toxic.
No worries! You have options!
You can buy your in-store and online options HERE . Remember that these are concentrated and can be diluted like most every one of the over 600 toxin-free products on this site.
The face wash recipe below is the one I love the most. It is light yet hard-working.
I love that I have all the ingredients at home, so I can make it any time I need it. Definitely a luxury to never really run out!
2/3 C Rose Water
1/3 C Castile Soap
1 tsp.Jojoba Oil
1/4 tsp. Vegetable Glycerin
4-5 drops Vitamin E Oil
10 drops Young Living Lavender Essential Oil
10 drops Young Living Melrose Essential OIl
5 drops Young Living Frankincense Essential Oil
Combine all ingredients and add to a foam hand pump.
The pump matters!
Trust me on this one…I’ve been frustrated too many times while using a product because I can’t get it out of a rusted foam pump.
This one is the only pump that has stood the test of time in my shower!
These ingredients can be used in so many other recipes!
Non-Toxic Three Ingredient Body Lotion
Non-Toxic 2 Ingredient Hand Soap
DIY Non-Toxic Deodorant that Works
So many people I speak with about living a non-toxic life are afraid it will be a more expensive way to live.
Fortunately, as you see above, once you start buying some of these universal ingredients like castile soap and Coconut Oil
(along with some of your favorite Young Living Essential Oils like the Swiss Army Knife of oils, Lavender), you’ll find you can do so much with so little!
The best part of it all is that you’ll be supporting not only your family’s bodies, but also generations to come.
I hope you enjoy this face wash as much as I have!
It’s such an easy pour-and-go recipe, that it’s become one of my all-time favorites!

The search for the perfect, healthy legs shave gel has been on for years!
Once I started chasing this non-toxic life, I realized it might be even harder (and it was) to find an option that fit my needs.
Finally, I have found the gel that is both safe and works great!
(Before any other steps, are you using only nonGMO, toxin-free products starting with the best jumpstarter of all for 24% off all products? If not, click here: Young Living Starter Kit )
First, we should be clear about one thing: typical gels/foams are toxic!
Click here to see if your current brand is releasing toxins into your family’s skin.
With so many toxic options out there, it can be discouraging to try finding a healthy legs shave gel.
This is why I write and keep this blog, friends!
Young Living promises only clean and fairly sourced products. Our family trusts Young Living because they are reliable and their products simply…work.
Young Living’s Mirah Shave Oil
Young Living’s Shutran Shave Cream
Here’s the DIY solution I love so much!
There’s one trick I have learned from all my in-shower DIY projects, and that is this: the dispenser makes all the difference!
I can’t tell you how many times I’ve thrown away perfectly good “shower proof” bottles from rust!
½ cup liquid castile soap
¼ cup warm water
¼ cup pure aloe vera gel
½ teaspoon salt
2 Tablespoons vegetable glycerine
1 Tablespoon vitamin E oil
6 drops Purification essential oil
5-10 drops of your favorite essential oil/blend of oils (I used Lavender because it is the Swiss Army Knife of oils, and is wonderful for skin!).
Add all ingredients into the foaming soap dispenser, and give a gentle swirl to mix together.
You’ll need to do this swirl before each use.
It doesn’t look like it makes much, but this lasted two whole months here. I’ve never tried to double it, but I don’t see why you couldn’t!
I love this shave gel and especially enjoy how my legs feel when I follow up with this Three Ingredient Non-Toxic Lotion.
I hope you enjoy it, too!
It’s such a neutral smell, so both men and women can enjoy! If the man in your life doesn’t like the smell of lavender, feel free to add some Frankincense oil instead.
It’s funny how such a simple product can improve the health of our skin so much! I like how easy this is to use and how great it makes my skin feel.
It’s definitely a keeper!

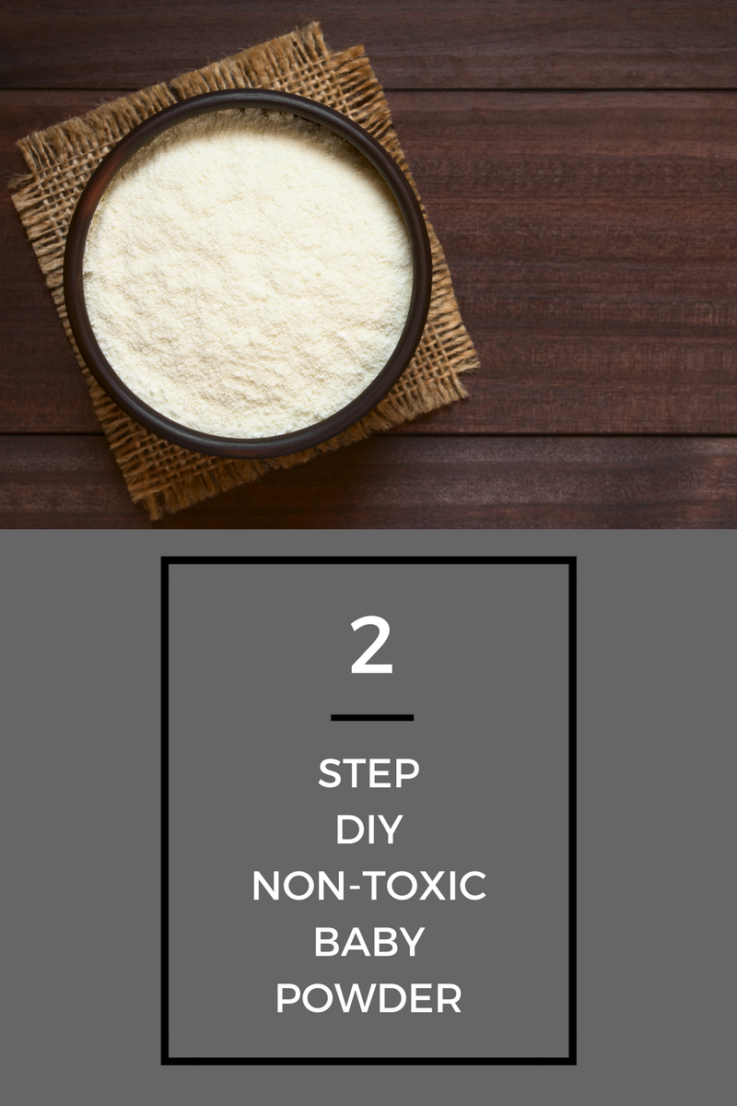
Had I known how easy and cheap making my own safest baby powder was, I would’ve started this a long time ago!
Currently our choices are doom and gloom or pay through the nose for a few ounces of the stuff.
I call shenanigans!
At first I didn’t though. I wondered, if it’s so cheap to make, then why is all the “good stuff” at the store so expensive?
There’s no better way than trying it myself. I found no good reason other than greed to mark organic baby powder as high as it is.
It’s so easy, cheap, and good to DIY that it’s one of my new favorites!
(First and foremost, if you want to superpower the following DIY, you’ll need your toxin-free kit. Do you have yours? It comes with a 24% discount on all toxin-free non GMO products! If not, click here: Young Living Starter Kit )
1.) Big boy stinky shoes (of which range in age from our youngest at 4 to my husband at 34!)
2.) Moisture absorber with my DIY deodorant
3.) Soft skin after shaving
4.) Dry shampoo
5.) Removes sand at the beach
6.) Keeps ants away
7.) Eyelash plumper
8.) Pet shampoo
9.) Removes grease stains
10.) Untangles necklaces
11.) Makes rubber gloves easier to get on/off
12.) Makes pumpkin carving easier (see the punched holes better!)
13.) Knocking hair off the boys’ shoulders after Momma cuts their hair
14.) Keeps sheets cool on hot nights
15.) Keeps playing cards from sticking together
16.) Takes squeaks out of hardwoods
17.) Sets makeup
18.) Keeps rabbits out of the garden
19.) Keeps pests out of garbage (they don’t like the feel of it on their paws)
20.) Protects hands from blisters and gets a better grip on gardening sheers
*lung damage
*shortness of breath
*wheezing
*obstruction of airways
*Pneumonia
*Asthma
*cancer
*death
SERIOUSLY? If we’re on a budget these are our options!?

The powder scoring a “2” is $17.28 for 2.5 ounces. TWO and a HALF OUNCES!? WHAAA?!
*Non-toxic, real ingredients for a fraction of the cost? SOLD!


10 drops Young Living Lavender Essential Oil (or your favorite scent/benefit!)
Mix together and store in a glass jar and enjoy!
*Non-toxic
*Cost effective
*Simple to make
*Softer than other baby powders I have used
*Benefits of Therapeutic Grade Essential Oils
With so many benefits and uses, it looks like our DIY baby powder is a keeper!
My hope is that it will serve you as well as it does our family!
Enjoy!
Andrea 🙂
What if simple immune boosts could be the ticket to making life easier in your home?
Before watching helplessly from the sidelines as the next virus runs through each kid and adult in your home, you may want to take a look at these natural supports first.
We can’t forget that it’s always better to preemptively strike when it comes to our family’s health.
(If you don’t have your wellness box for 24% discount that will make all of this a million times easier, click here: Young Living Starter Kit (AKA Health in a Box!) )
What a defense system when you have this in your rack of immune boosts!
This blend of Clove, Lemon, Cinnamon, Eucalyptus Radiata, and Rosemary pack a powerful punch against germs, so why not head out the door each day with it as our first line of defense?
Roll on neck, behind ears, down spine, and on the bottoms of feet each morning before leaving for the day and each night before heading to bed.
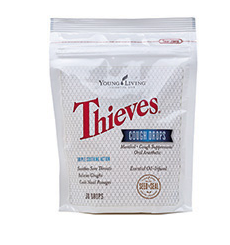
In my past life of store-bought, dye (that’s banned in other countries!) and sugar-filled cough drops, I would never have used a cough drop for immune boosting!
Now, thankfully I have a great threat against germs as well as a soothing, sore throat buster!
*NOTE: The honey MUST get to 300 degrees so it will harden once it cools. Mine always jumps higher than 300 and it’s okay, but I try to pull it off the heat as soon as it gets there!
Take before school and pack one in with a vitamin at lunch for prevention.
Not a DIY kind of momma/daddy? Try these trusted cough drops instead for one of your immune boosts!
I probably don’t have to tell you that kids aren’t washing their hands well or that often at school.
Fortunately we can arm them with hand sanitizer, as long as we are working on immune boosting in the process.
It shouldn’t have come as such a shock to see this, except for the fact that it’s so heavily marketed for children and schools. It shouldn’t surprise me anymore, but it will always upset me. These are our children!
Thankfully we have a safe option that fights germs in an amazingly powerful way.
DITCH
Store bought, gene damaging and hormone harming sanitizers.
SWITCH!
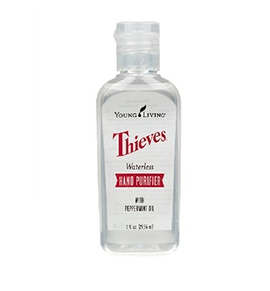
Put one in the kids’ lunch boxes, book bags, and pencil pouches!
There’s no better prevention than filling our bodies with the nutrients that we need.
Along with a balanced breakfast and healthy lunch, MightyVites have an impressive lineup to help build immunity and fight germs!
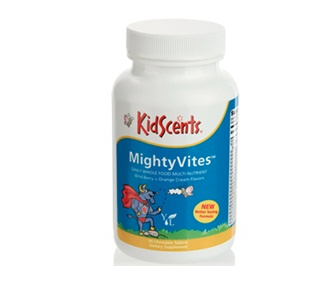
Take one before school, toss into their lunch box to eat mid day, and finish the night with a third at dinner for a full day of immune support!
If your kids are anything like mine, sleep affects their behavior, mood, and focus.
More than that, a good night’s sleep is a great way for immune boosting!
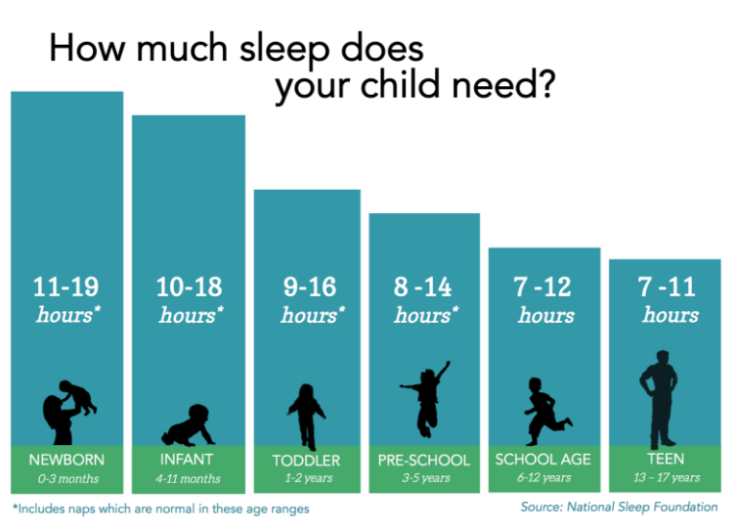
For my six-year-old, 7-12 hours is recommended, but only 7 hours of sleep would never work for him!
Our four-year-old can waver between 12 and 14 hours depending on if we squeeze in a nap that day.
Over the years we have learned these numbers. They shift with growth spurts and age, but no matter how old they get, sleep plays such an important role in their immunity.
Something we do to promote good sleep is having a semi-strict routine in play.
We head up for shower around the same time every night, read a book, and we put some Peace and Calming or SleepyIze on their backs as his final way to wind down.
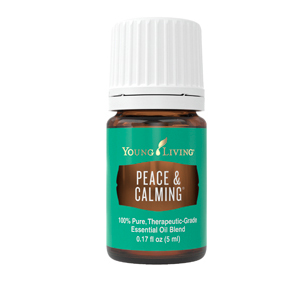
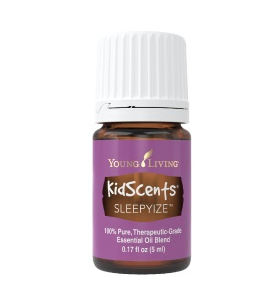
Our youngest (4) loves Peace & Calming on his Brown Bear to breathe in and calm down. Our oldest (6) would rather have three or four drops of Sleepyize massaged on his back while he tells us little bits of his day. We also pray during this time together.
Unfortunately, sometimes we let our guard down, or those pesky illnesses are just nasty enough to push their way through, so immune boosting needs to be our focus.
If and when that does happen, we need ways to fight back.
Though I am not a doctor and do not claim to be, I will share what personally works for our family time and time again.
I cannot begin to tell you how thankful I am for this tea in my arsenal of immune boosts.
The second I notice a runny nose, scratchy throat, or mention of a tummy ache, I am heating up water for some chamomile tea and putting a batch of Thieves Tea together.
For us, most times, we are able to completely avoid whatever illness is trying to creep into our lives.
On that off chance it does make its way through, I give Thieves tea twice a day to our boys and up to three times per day (morning, noon, and night) for myself and my husband.
One cup of tea, two great benefits!
While the tea is hot, take some time to waft it toward you and breathe deeply. We notice ourselves breathing better almost immediately!
Once you’re ready to drink, take small sips and savor it.
Now, a tip for those saying your kid would “never” drink this…
What would you do if he/she doesn’t want to take medicine?
We hold our nose and chug!
For us, our boys love Thieves tea when they are stuffy, but try to get out of it if I’m trying to beat an illness before it takes over with immune boosts.
So, I give them the ole pinch and chug trick (and sometimes bribe with a mini-marshmallow in full disclosure).
I have seen sick eyes and sad faces ask to run downstairs and play within an hour of giving Thieves tea, and I’ve felt it myself, too.
This is our first line of defense against any nasty gunk that tries to get in our home!
I don’t know about you, but my kids are really great at hiding a runny nose now that they’re a little older.
If we’ve had a busy day or they spend most of the daylight hours outside, I can miss a sniffle and by the middle of the night I’ll hear a cough coming from the next room.
The cough drop recipe above is amazingly soothing while giving the fighting power of Thieves and Lemon along with it.
Because I make it, I know exactly what goes into it.
I love that about it, and they love the animal shape surprise they get each time they open one!
Not a cough drop making kind of momma/daddo?
No worries!
Young Living now has cough drops you can buy that actually work! These have stopped a cough in its tracks and kept me going through full days of teaching before!
Again, I don’t claim to have any prescriptions here as I am no doctor, but these work for us.
Every.
Single.
Time.
The key to immune boosts? Consistency.Â
We find applying every hour on bad days and less depending on their needs on regular cold days works best for us. We will follow the directions for dilution and drop amount that is on the bottle (but mostly-we use this Reference Guide for Essential Oils.
A good rule of thumb for dilution:
Infants: 1-2 drops essential oil per 1 TBSP of carrier oil (fatty vegetable oil)
Children & Adults: 2-3 drops essential oil per 1 TSP carrier oil
This is our favorite for supporting a cough. There are two main ways we use this:
While we use Purification for about a million different things in this house (think family car stink, smelly shoes, and garbage can among many others), we are most grateful for how it cleanses our air when illness is floating around.
You know the strip-the-beds-sanitize-the-doorhandle Mom/Dad move we do?
Here’s what ours looks like now:
I hope this list serves you as well as it does our family.
I can never be more thankful for our Premium Starter Kit than I am every time we fight off an illness or shorten the duration of one from simple immune boosting.
The majority of everything I wrote about in here is in the kit, so not only do we save a ton with the it, but we also have all the tools we need to stay well.
The diffuser from this kit has been invaluable, as you can see from the tips and tricks in this post.
Because I am equipped with these supports, I can get a jump on the new school year and cold & flu season.
My advice to you?
Grab your oils, diffuser, and household cleaner and be the first one to make a move.
Go on, Momma, Daddo. Get the upper hand against school germs with these immune boosts.
You have totally got this.

There’s nowhere we can go in this world where we will find another human being that has lived the exact same situations as us. An ally who totally and 100 percent gets it.
But we look, don’t we?
We love empathetic people because they’ve been there. Done that. Have insight.
If we are connected by friends and family, and we feel better.
Temporarily.
We are bandaged but not healed.
Why can’t someone who has had similar struggles heal our hearts?
Because even if we lined our situations up on paper, there would still be one big difference: this person isn’t us.
They don’t have our mind or our heart. They don’t have our past or our future.
Unfortunately, that still leaves us broken and unable, trying to pull everything together.
It’s frustrating because we are always so sure that if we can just find someone who “gets it,†we can start to move past whatever is hurting us.
I know how this goes, because I have lived it.
When I speak to other women who have experienced miscarriage, they too have lost a child. I am in the presence of a person who has felt the same loss, so we chat. Offering hope. Offering understanding. Sharing our stories.
Sometimes it just feels good to tell another person who has lived it.
Because God made us to join in fellowship, not live alone.
And it does feel vindicating when I hear her hardest part was right before the baby was taken, too.
That even though she knew her baby was gone, that she also laid her hand on her belly and wept like me for the thought of not having her baby be a part of her body anymore.
Like I’m not the only one.
Like she gets it.
It does feel a little better to hear it.
But for all the mothers I’ve spoken with, it never healed me.
Not completely.
It was good for me to know I wasn’t alone, but it most certainly didn’t change me.
My babies were still gone.
I still wasn’t raising them at home with my other two children.
My heart was still shattered.
I was still confused and broken.
Why can’t the empathy of another person fix everything?
Because there is only One who understands everything.
When we’re feeling lost, hurt, lonely, afraid, worried, or broken, we do have somewhere to turn.
Someone who will not only empathize, but who will also heal us from the inside out.
I know it’s true because it’s happened to me.
To get me through the unbelievable pain of seeing our first baby’s heartbeat on an ultrasound and then losing it three weeks later.
That held me after learning our twins’ miscarriage possibly saved my life.
Who broke down anxiety over scans that the cancer in my youngest is gone for good.
I have felt it. I know it.
And so I want to give you these.
When you’re unsure where to look, here are Words from the Bible that explain why Jesus is your best ally.
And why, when you’re hurt, you can turn to Him above all else to receive complete and total healing.
That’s how we feel when we’re broken, don’t we?
Raw and unsure and simple.
Looking for a reason. We’re unable to understand on our own.
The Lord shines light, over time, in big ways and in little, on every pain. Helps heal us through the process of leaning on Him for understanding.
When we’re hurting worse than we could ever imagine, we can cry out to God.
We can ask Him to give us understanding according to His Word.
I can attest that He will. He is always who He says He is. He never lets us down.
All it takes is opening our heart, and we can feel this very real, very present help.
The best way I can explain it is as an overwhelming sense of peace and clarity. Strength to face my problems because there’s an ultimate sense that I am not battling alone. Something I know couldn’t have come from anywhere else. It’s astounding and beautiful.
This can be super difficult.
It is hard to trust someone we can’t see, especially if we don’t know Him. I get that.
However, if its come to the point where we don’t know what we’ll do if something doesn’t change, then we can open our heart to the Lord, and put our trust in Him.
Things will change. Not in our timing, but in His. So we are patient (or keep trying really hard…because it is difficult!). We keep trusting, praying, and going to the Lord, and we’ll start noticing things happening that can’t be explained any other way than by the God.
If He created the heavens and the earth in all its intricacies, then His wisdom should surely be what we seek.
To guide us.
To carry us through.
Why wouldn’t we go to the One who knows everything?
We faint. Grow weary. BUT with God, nothing is impossible, and so while we are weary, Jesus carries the burden.
We can’t even look for how far His understanding goes because it’s too far beyond what we can fathom.
As children of a Father, we look toward Him, because He knows this world, and he knows our hearts.
He loves and cares for us.
And in that we can find rest.
Not only does God have all the understanding in this world and beyond, but he wants us to seek Him.
He wants us. You. Me. To come looking for him. To call out, “God, help!”
He wants to make our paths clear, to be a lamp to light our way. He tells us plain and simple, “Come to me.â€
We don’t have to wonder if we’re enough or if we need to achieve something before we can lay our problems at His feet because He’s already invited us.
It’s a standing invitation to be with Him.
When we show up. Take Him up on His offer…that is when we see—when we feel–change.
When we look at this, which is only a small sliver of how many times we are told to look to God, come to him, rest in him, it is clear that we have an unbelievably amazing ally in Jesus.
Always.
And this God of ours, he’s not only an ally here and there or only when you’ve been on your best behavior.
That’s not why He died on the cross.
He died for sinners. He died for you and he died for me.
Because He loves us.
All we have to do is let Him in.
Let Him fight for us, in us, beside us, and we will be stronger.
We will be in the army of all armies, being lead to true victory.
With this love, support, empathy, and understanding, we will be healed.
From the inside out.
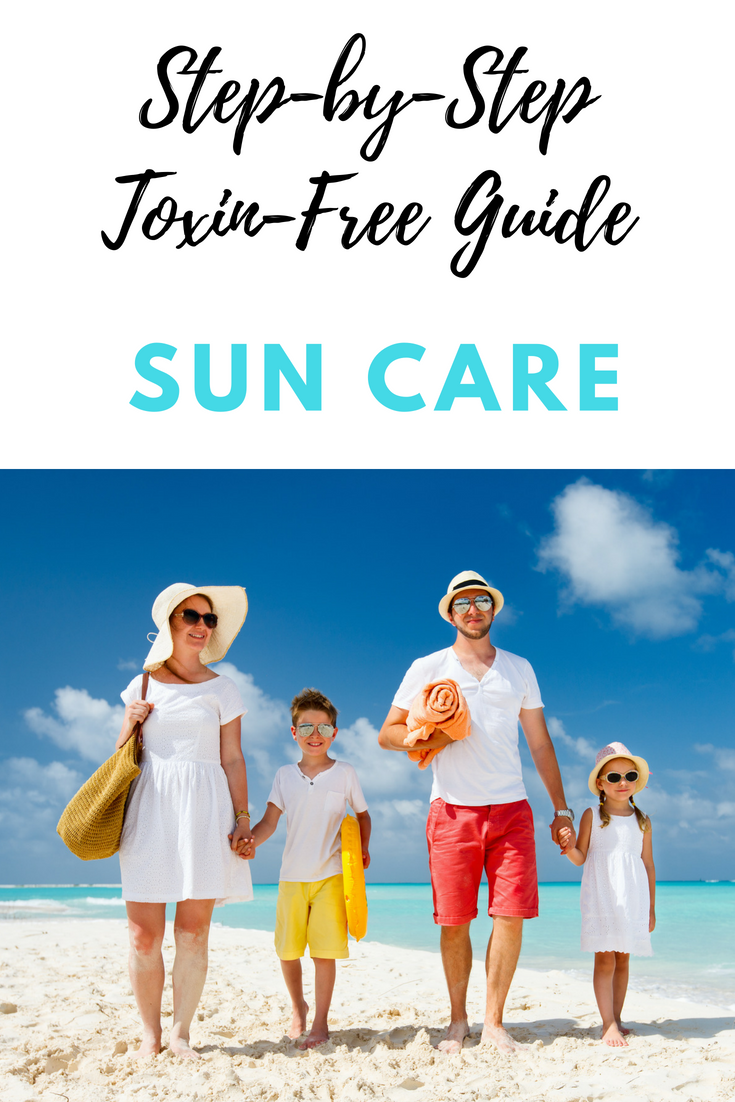
The sun is not my friend, so I’m always armed with the safest sunscreens.
(If you haven’t gotten your toxin-free kit that makes DIYs like this one super easy at 24% discount, click here: Young Living Starter Kit )
This means it must be either DIY (from all natural ingredients) or from Young Living.
Why?
They’re the only company I can find who doesn’t spray their plants with pesticides or add anything synthetic into their formulas.
If I’m going for the safest sunscreens, why waste money on overpriced harmful things pretending to be safe?
It’s Young Living or DIY for this family all the way.
There’s nothing worse than trying to put a tough-to-apply sunscreen on a two-year-old at the beach. I’m looking for something smooth, not runny, but also something that isn’t going to flake. My favorite is a creamy texture.
I need to be able to carry this in my bag or even purse for anytime we find ourselves in the sun.
For there to be enough in the bottle so I won’t have to make a trip to the store right as my boys are geared up for a fun day.
I also need the container to be helpful when I’m applying sunscreen on our two eager-to-play boys.
Three seasons of the year we live outside, and applying sunscreen to two adults and two children–plus reapplying–can get expensive quickly. We went through so many bottles of sunscreen it was crazy, but felt stuck spending the money because we couldn’t stop using sunscreen. Then to make matters worse, we switched to the more expensive non-toxic versions. It’s tough to find something truly safe that costs less than $10/bottle and comes with enough to last the family for a while.
We love Young Living Mineral Sunscreen Lotion, for the sun , or this DIY recipe. The two batches in one jar has lasted us all summer–even through a 10 day vacation in Florida!
1/2 C Coconut Oil
1/4 C Beeswax
2TBS Shea Butter
30 drops lemongrass essential oil
15 drops lavender oil
1 tsp Vitamin E oil (this one is soy and wheat FREE)
2 TBS Zinc Oxide Powder
Melt coconut oil, beeswax and shea butter. Add vitamin E, zinc oxide and essential oils. Mix together and let it sit in the refrigerator for about 30 minutes. Whip for approximately 8 minutes. Transfer to a sealable container and use in place of 35-40 SPF sunscreen. Water resistant.

Because I doubled this recipe, I found I needed not only something bigger but something more durable to carry it in.
We are on-the-go, and I have to use something that can fall and take a hit, be carried by little hands, and can hold all we need for the entire summer.
We use a container like this and have had great luck!
I am so thankful I found this recipe.
It lasts, I can see the water bead up on the boys when they spray each other with the hose (daily occurrence around here!), and it’s made with ingredients I can trust.
We can never be too careful with our skin, and we always need to do everything we can to protect our childrens’.
This has been a wonderful take-along for our summer adventures, and I hope it can be that for you, too.
These are the two very safest sunscreens out there!
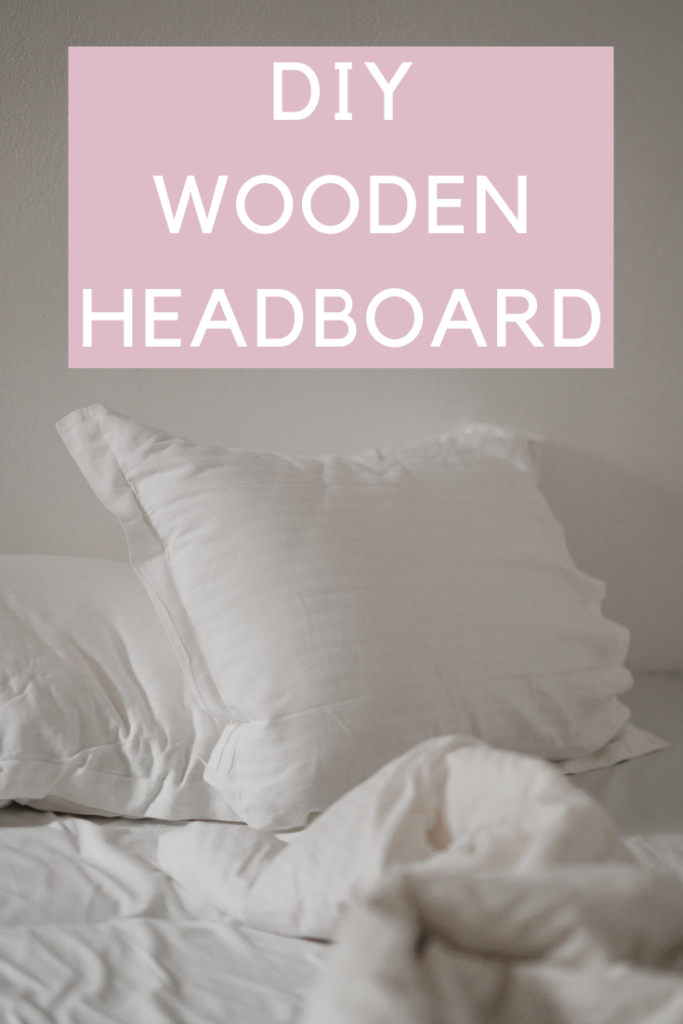
There’s just something about a DIY wooden headboard that makes the entire space of a master bedroom look cozy. Complete. Put together.
The only problem we had was choosing one that fit our style.
Oh, and that didn’t cost a fortune.
Thankfully, an idea came to mind after seeing some Pinspiration and watching some home renovation shows.
There was hope!
When I showed my husband what I wanted to create, he was on board.
Here are some of my Pinspirations:


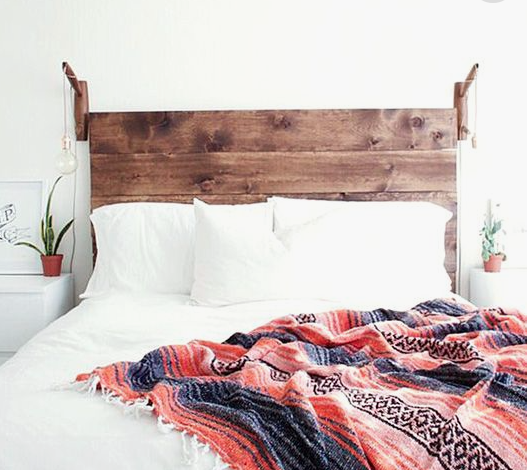
I wanted something simple. Something that spanned the width of our bed but wouldn’t need any real upkeep. Something that would fit the space but would also fit changes in decor.
We decided this DIY wooden headboard was the answer. I’ve provided directions in case you’d like to make your own!
Directions:
1) Measure bed and choose desired size of headboard. It was quite the discussion. This is seriously why I love Pinterest. The fact that I can look at how the finished product could be is huge for me. I’m not exactly a conceptualizing kind of girl.
2) Gather materials and tools:
3) Lay out and measure your planks. We have a King-sized bed, so we measured its width and decided we would like about two inches on either side of the mattress to have the headboard go past it. Painter’s tape has been our friend in many times like these. We like to map it out on the wall and stand back from it to get a better idea of how it will look in our room. Pinterest is helpful, but every space is different. It’s better to be safe than sorry in this case!
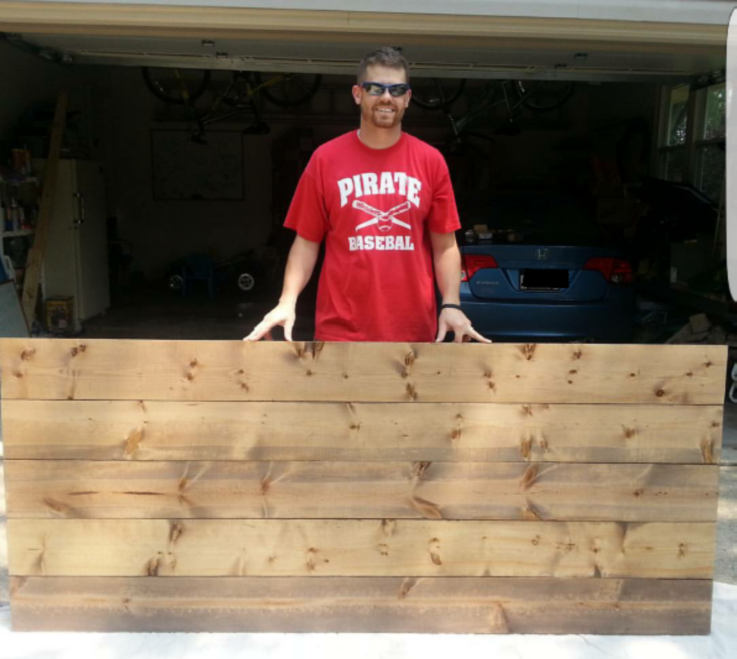
4) Cut boards to length with circular saw.
5) Use three 2×4’s to mount the headboards to (these will go vertically so the headboards will be horizontal). Here’s how this should look:
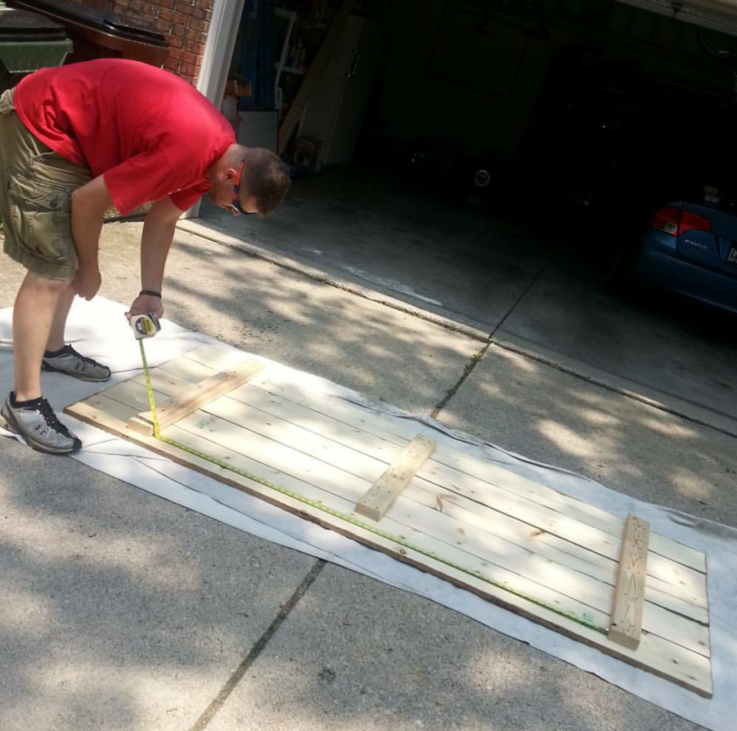
6) Screw them together – make sure the screws you use are not too long and poke through the front but that they also go in far enough to hold everything together.
7) Sand, stain/paint finished boards.
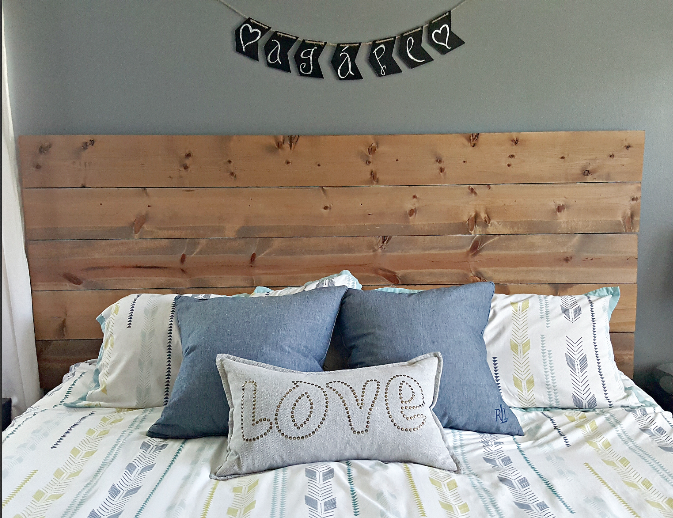
8) Mount to the wall using Interlocking Flush Mount brackets – enough to hold the weight of about 200-300 lbs. I included the link for a ten pack. You’ll most likely use all ten to evenly distribute the weight.
Our final product! We added this little sign above it for a sweet and simple reminder of the way God calls us to love each other.
This is the link to our duvet. We found the denim pillows at Home Goods and the “love” pillow at Target.
Every time my husband makes something for our home like this DIY wooden headboard, I do know that he really does enjoy the craftsmanship in woodworking. However, I also know that a big part of what gets us through is that agape love.
I’m not easy to please with my Pinterest dreams and specific ideas, but he hangs in there with me and listens. He reads directions (sometimes not great ones) and works out the problems we encounter even though it can be frustrating. He gives me grace when I dream a little too big for the space and he loves me when what I want stretches him a little thin.
Thankful for this man and for our cozy little space in this fixer upper of ours.