Lymphatic Draining Technique
This lymphatic draining technique began right at the beginning of our toxin-free journey, when the lymph nodes in my neck were scary-big.
I was a frequent sinus infection sufferer and had worked my way up to being miserable at least once a month, but this time was different.
Advocating
As I researched what the source of the issue was, I came across the idea of lymphatic draining.
After looking at lymph nodes, their location, and comparing that to where my swelling was, I decided to give homeopathic lymphatic draining a try for a couple of days before inevitably heading back to the doctor’s office.
Gaining Ground
For a few days, I took to doing a version of lymphatic draining, drank lots of water, and tried to sleep as much as possible.
I was working full time with two little ones, so rest was tough to come by, but I made it my priority.
Within about three days I noticed a significant change, and within a week, I was starting to feel much better.
Since adding this technique and our toxin-free, oily lifestyle, I have not suffered any more.
Adding in Pesticide-Free Lifestyle
Our life looks much different now that we’ve tapped into the the serious power of toxin-free and Young Living’s nonGMO oils and products. Get yours here: Young Living Starter Kit
First, our immune systems are so much better.
The elimination of toxins from our home plus the addition of supplements like a great pre and pro-biotic and this lymphatic draining technique has been a complete turn around in our health.
The oils are used as a part of our new normal and preventative, and we use them to support our body when germs do break through to allow our bodies to do what they were designed to do: be well.
When Germs Hit Kids
Our boys are young and are of school age, so when germs try to break through, which happens from time-to-time, we have a plan.
In addition to our typical routine, lymphatic draining can be extra helpful.
Here’s the rundown as I learned from a Naturopathic physician.
*I am not saying this is the only way, just what works for us.
*This lymphatic draining technique is not intended to heal, treat, or cure. It has played a big part in our wellness routine, and is what I have learned from a Naturopathic physician, worked for this momma, and I’m now sharing with you.
*Obviously go to a doctor and use your best judgement to keep your child safe if you suspect something serious is wrong.
Oils
For safety reasons, we only use Young Living oils. I could not, in good conscience, support any other after the research we’ve done.
Gather the following oils:
1.) Lemongrass (a “hot” oil, so we’ll use plenty of carrier but wonderful for supporting the lymphatic system)
2.) Lavender
3.) Lemon
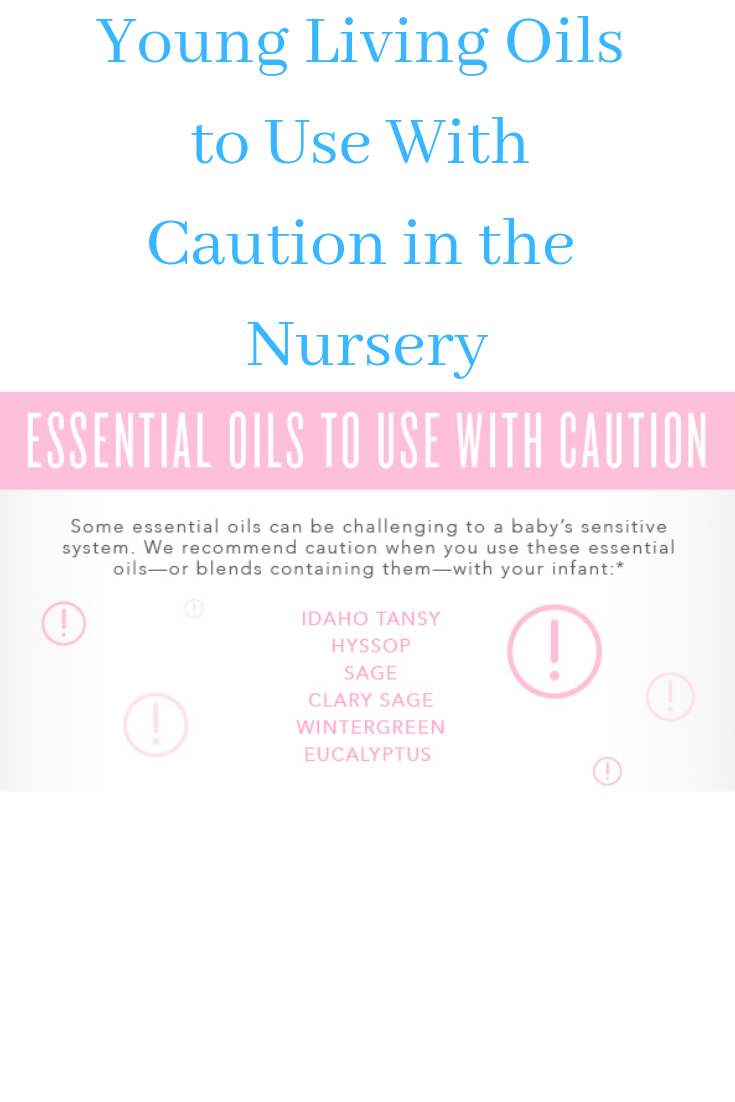
4.) Peppermint, Eucalyptus, or Cypress.(All are great for respiratory support)

Step 1
Mix
1 drop of Lemongrass
2 drop of Lavender
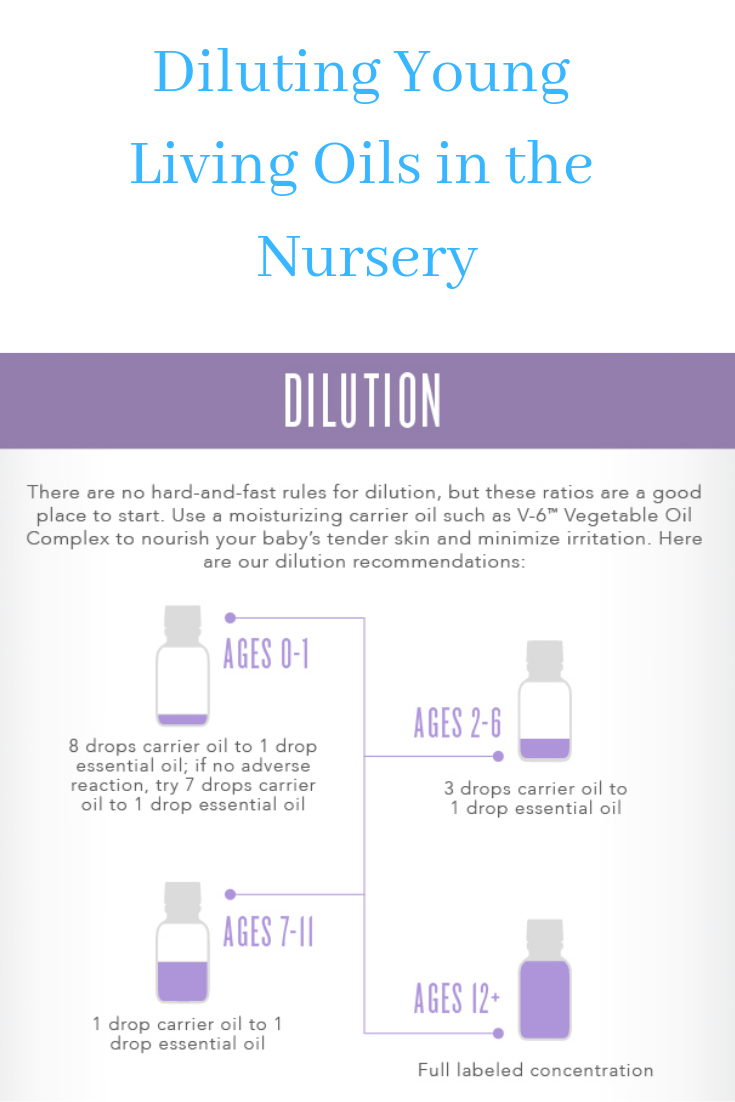
4 drops of carrier
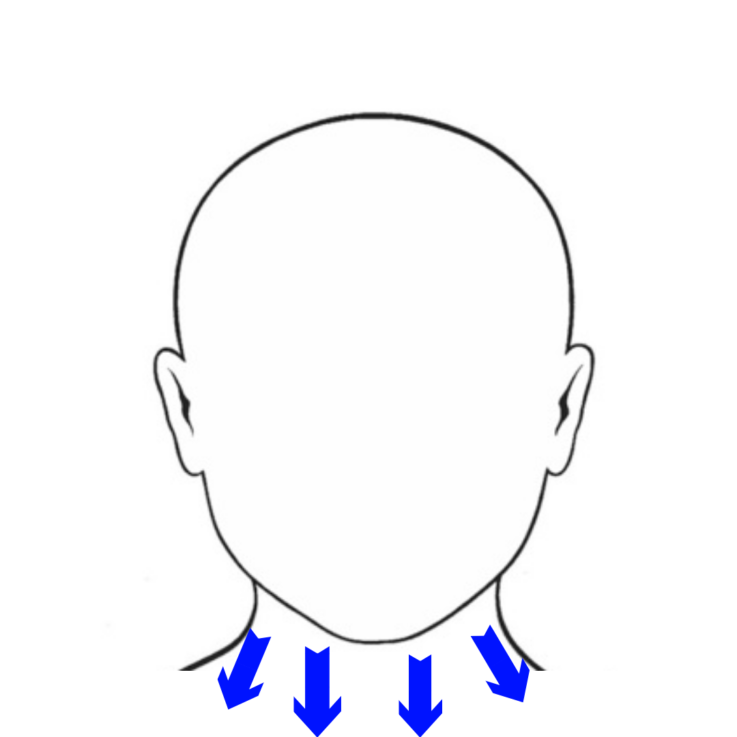
Take two fingers and gently sweep from the top of the neck (under the chin) down to the clavicle (collar bone) area, and massage gently in small, downward strokes.
Pick your fingers up between each downward stroke toward the collarbone.
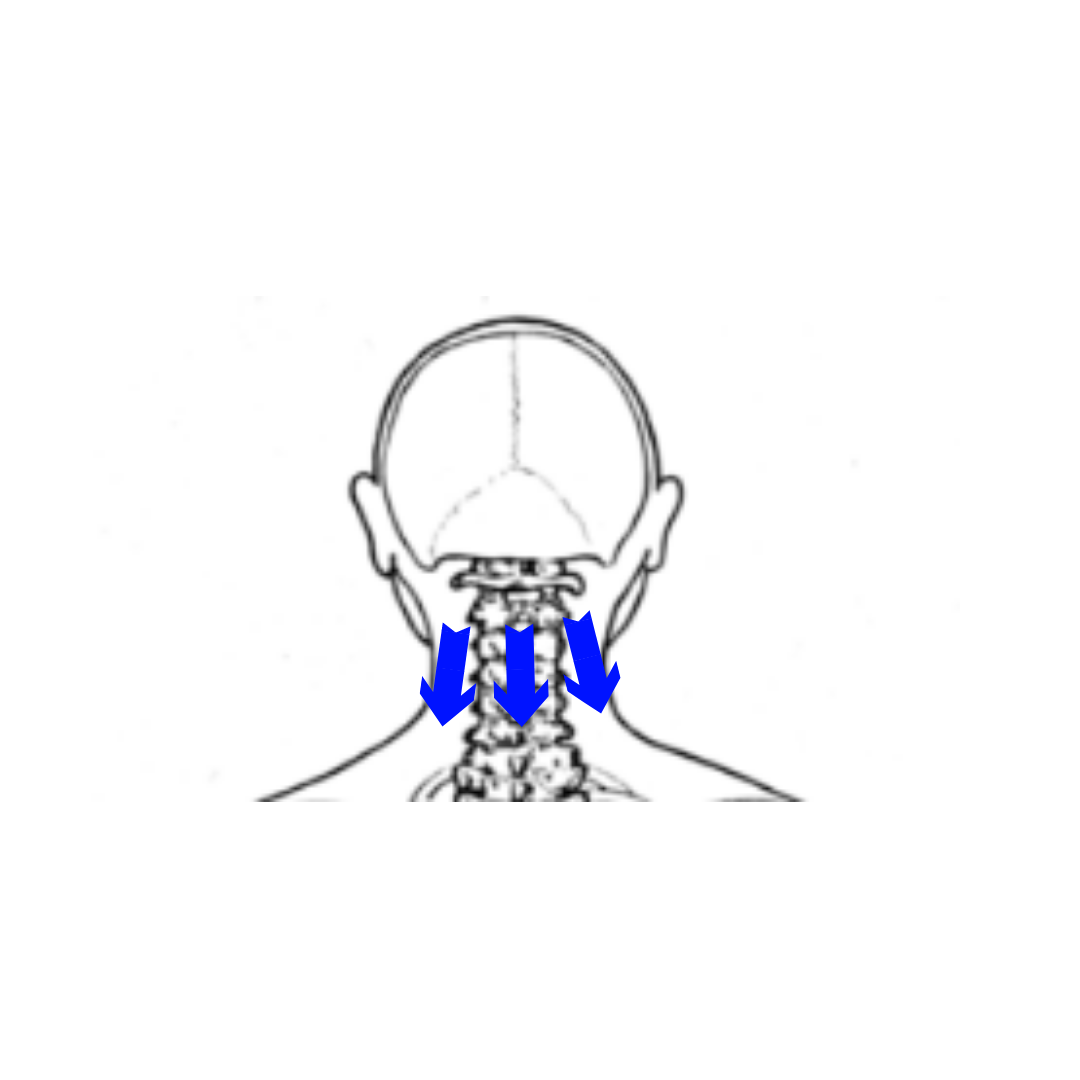
Then continue around to the back of the neck moving from the top of the neck down, toward the spine area.
You may only use one finger if the neck is smaller.
*Be gentle. You’re doing big work with soft strokes, and you want this to be a positive experience for your little one.
*Do each of these steps for 30 seconds or so.
*I usually have my boys sitting in my lap, facing away from me to do this.
Step 2
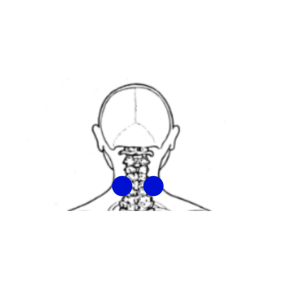
Gently massage circles at the base of the back of the neck where the neck meets the torso.
The doctor noted it is an alternate drain point for a child’s sinuses.
Step 3
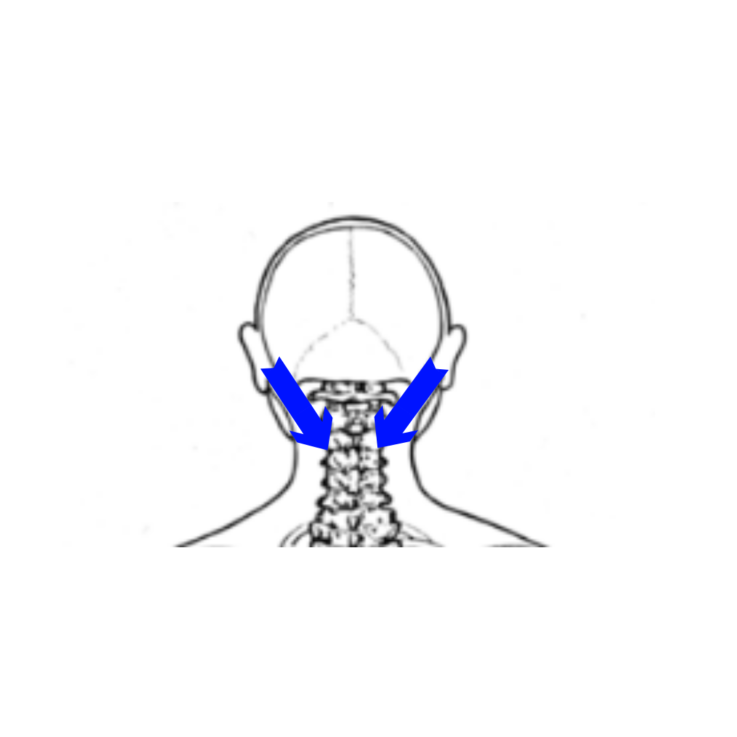
Brush down from where the hairline starts up by their ears. and sweep down gently to the point at the bottom of their neck.
The doctor noted that this clears and opens the ear tubes and minimizes the fluid that can be retained in the upper ear canals.
Step 4
Add 1 drop of Eucalyptus (or alternate oil listed above) and 4 drops carrier oil to your hand.
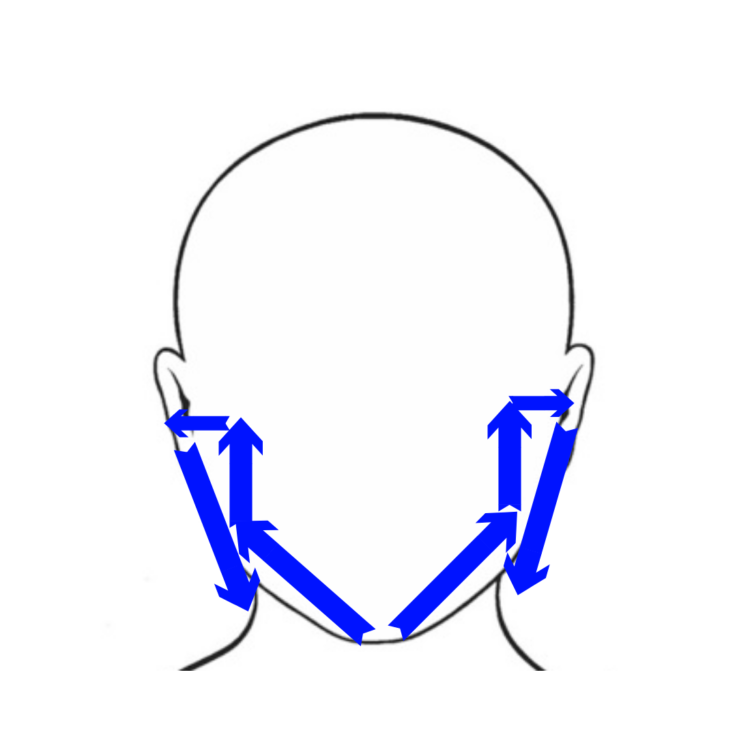
Take two fingers with the blend on them and pull from the base of the chin, up toward the ear, back, then straight down on the backside of the ears, down the neck.
Your fingers will make a 7, and (the doctor notes) this will drain the sinus cavities.
Step 5
Add a drop of Lavender to your hands (diluted more if you’d like).
Gently rub with two fingers, in small circles (30 seconds) on their face right next to the middle of their ear to (as the doctor shares) help clear pressure and fluid build up.
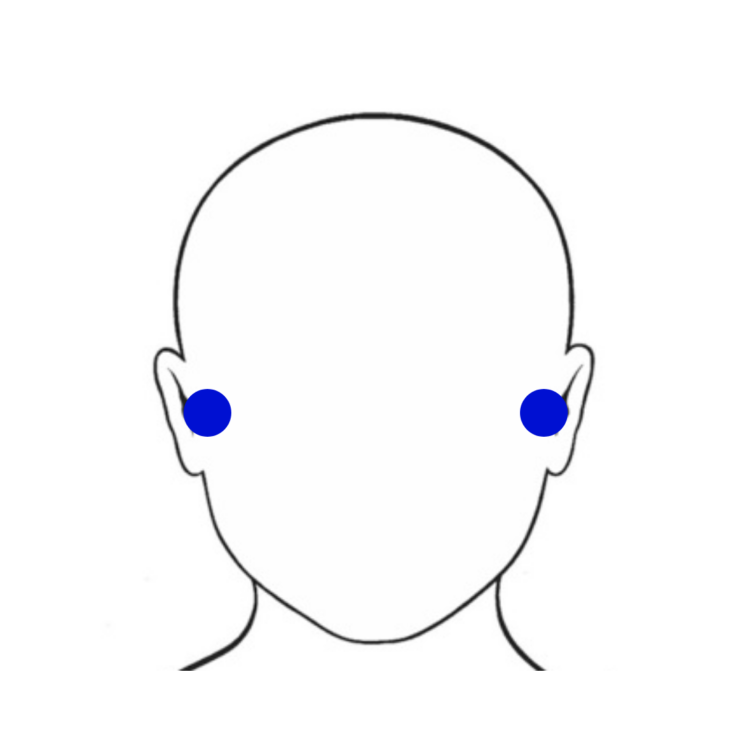
When I did this on my seven-year-old, he said his ear “popped,” which is why (the doctor states) you can also do this during a flight or any time your child seems to have pressure built up in their ears.
*Pull their ear lobes down gently to help with this as well.
The Naturopathic doctor noted that she really likes to do this when children are “presenting with sinus fluid” to promote wellness.
Step 6
Take one finger on each side of the nose at the corner, and sweep from the nose to ears.

Step 7
Rub small circles on the forehead, between the eyes.
The doctor shares that it’s a big sinus cavity where kids get a lot of pressure.
Then sweep from that center point out on each side toward the temples.

Final Thoughts
You can do this lymphatic draining technique any time of day, and the doctor mentioned it as a part of her bedtime routine with her own child.
When we did this at bedtime, they fell asleep quickly, however doing this in the daytime didn’t make them sleepy.
I noticed a big difference in both of our boys’ lymph nodes when doing this (they had runny noses when we first tried it). At the start they were visibly swollen. At the end they felt normal.
We did keep tissues handy as well as water (in a glass or stainless steel cup only for safety with citrus oils) with a drop of Lemon essential oil in it to promote healthy flushing.
This is a great addition to the tips I gave in the post about supporting your child when you’re working toward their wellness.
Be well, friends!

