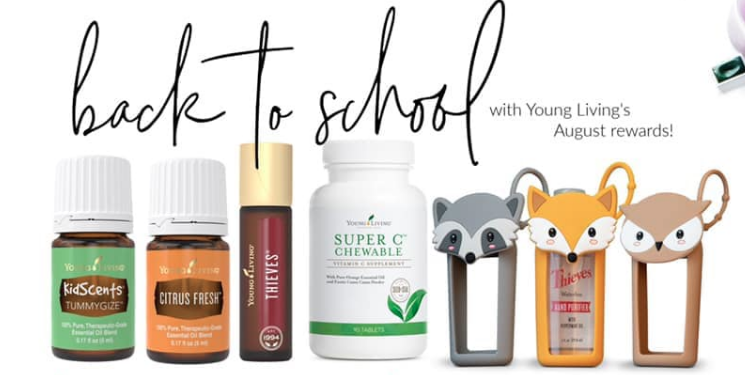
Want an easy school year?
Here’s a list of the MUST HAVES, especially during cold and flu season!
Need help getting these? Click here!
- All Things Thieves
- Mighty Pro
- MightyZymes
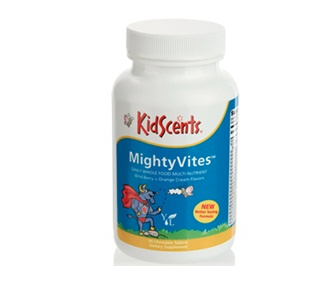
- MightyVites
- Thieves Hand Sanitizer (and a big bottle for the classroom, too)
- Raven
- Tranquil/SleepyIze/Cedarwood+Lavender + 10 hour diffuser
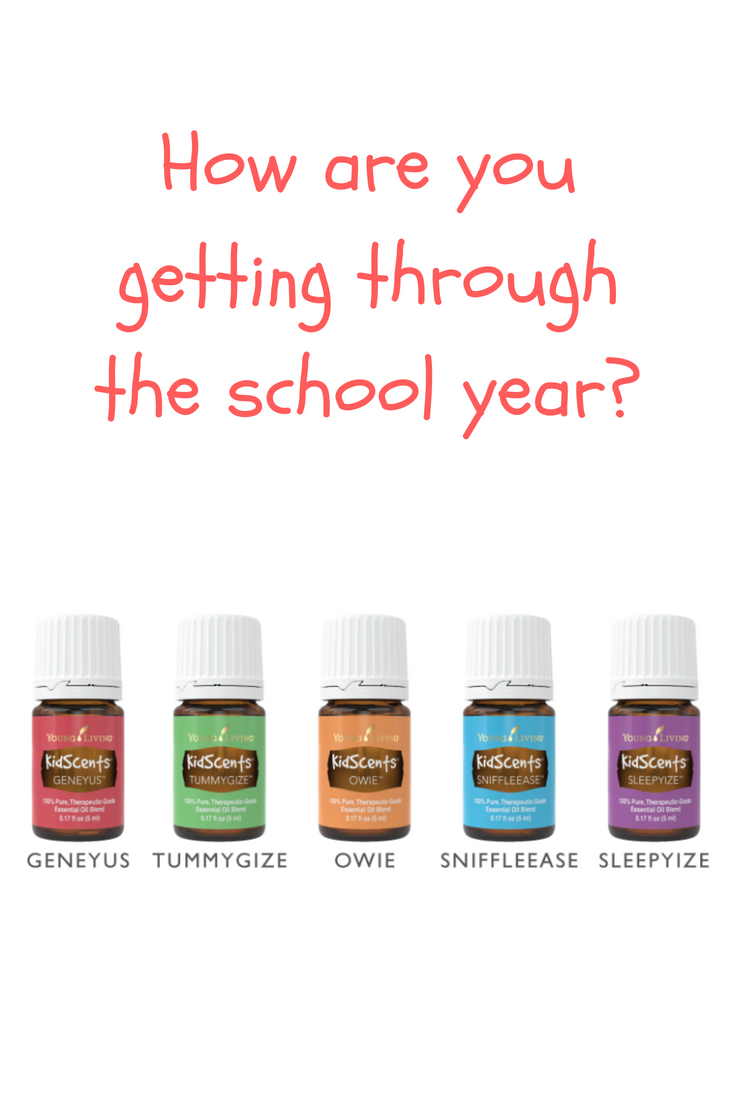
- GeneYus
- TummyGize
- Stress Away
Before I get into the details, I have to add a quick line about consistency. What your kids need most from these products is for you to use them consistently.
This goes against everything you’ve been taught in the “put-a-bandaid-on-it-antibiotic-over-the-counter-abused” world we live in, so I just need to make that my first and biggest encouragement to you.
It might feel weird at first, but once you see the huge difference toxin-free living makes, it’ll be second nature in no time!
THIEVES
It’s about so much more than just prevention.
When you get those infamous white dots in the back of your throat, your ears are hurting, snot is flowing, tummies are barfing, eyes are icky, fevers are raging…you name it, Thieves is your hero!
Thieves and living toxin-free through the YL Essential Rewards program will singlehandedly keep your home junk-free for years to come!
That means better gut health, which means stronger immune systems, which means less middle-of-the-night fevers, less makeup work from sick days, less stress…all that goodness starts with Thieves.
Did you know they have an entire Thieves line?
Thieves Household Cleaner, for example, dilutes into 27 bottles and is scientifically proven to clean better than your endocrine-disrupting/throat-burning/immune-lowering store-bought junk! It literally replaces every cleaner in your home!
The rest of the Thieves line:
- Hand sanitizer
- Hand soap (dilutes into 3 bottles)
- Dish soap (dilutes into 12 bottles)
- Dishwasher powder (dilutes into 2 bags)
- Bar soap
- Roller bottle (hello convenience!)
- Laundry Detergent (dilutes into 3 bottles)
- Toothpaste, mouthwash, floss (can dilute the mouthwash BIG time)
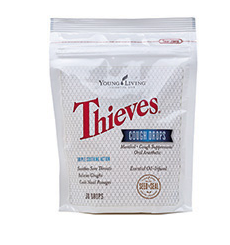
- Cough drops + losenges
- Fruit + Veggie Soak + Spray
- Surface disinfectant spray + wipes
You don’t make that many products from this oil blend if it’s “only okay,” friends. This stuff is straight magic.
MIGHTY Pro, Zymes, +Vites
To keep it simple, you need gut health for overall wellness and core nutrients we can’t get from our food these days.
MightyPro is a stick pack that has both pre AND probiotics (“pro” needs to eat “pre” in order to be effective), and MightyZymes are great to have on hand when your kids (or you) needs extra help with digestion. Think school party junk, and you’ll know why you need MightyZymes.
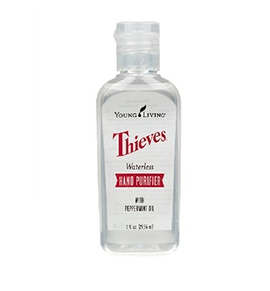
THIEVES HAND SANITIZER
Yeah, I just did an all Thieves section. This is just THAT important.
It’s THAT important you NEVER buy the store sanitizers.
I’m talking Threat Level Future Grandchildren here.
Other sanitizers seriously harm genital development and hormones. PLEASE get Thieves Hand Sanitizer, and make sure to grab some of the big bottles for your kids’ teachers!
Also, HELLO…did you see the promos this month? We get these little guys for free!
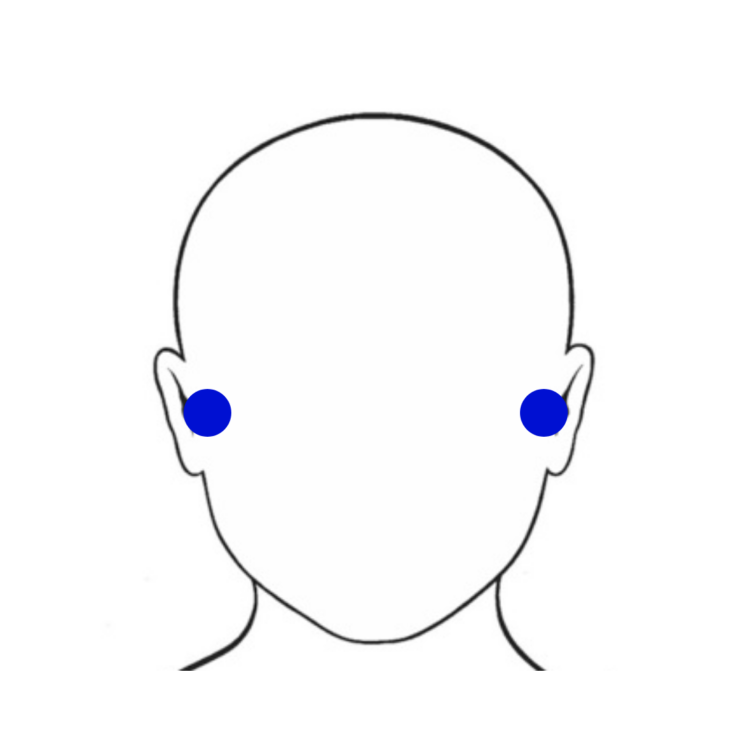
RAVEN
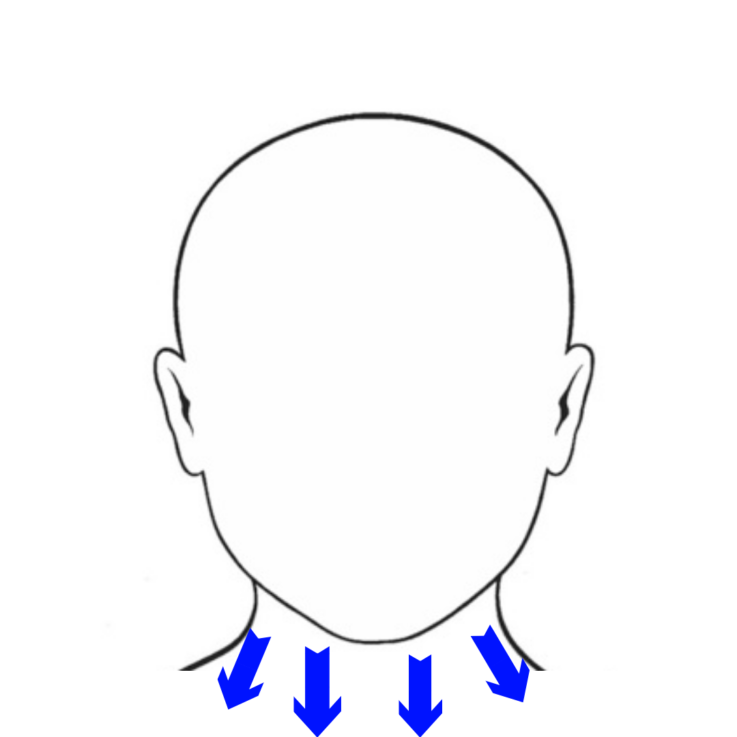
My favorite tip: when you hear or see the first snot in your child’s face, RUN for the Raven.
Put one drop in your hand with four drops carrier (that’s just a fancy word for fatty oil like coconut, olive, grapeseed…you know) and rub it on their chest and back where their lungs are. For good measure go up their throat as well.
Do this often (or if you’d prefer pre-diluted, use SniffleEase) to keep coughs at bay!
You can diffuse this in their rooms at night, and pair it with Thieves on the bottoms of their feet (that Thieves roller would be AMAZING in the kids’ bedroom oil shelves!).
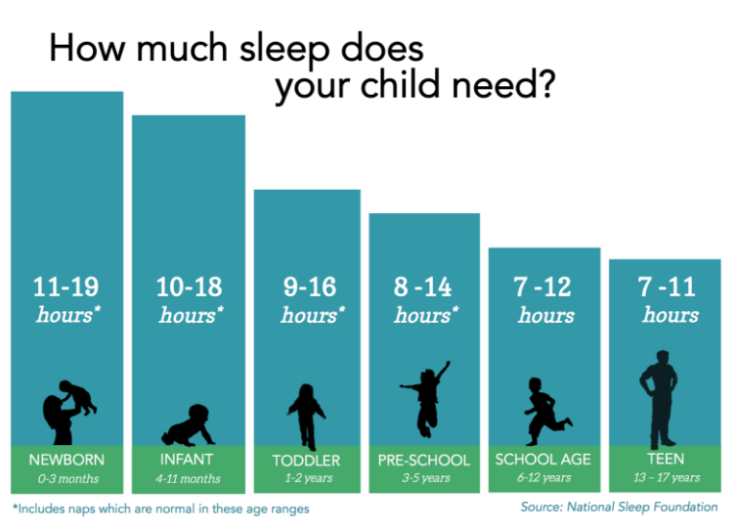
SLEEPY OILS+DIFFUSER
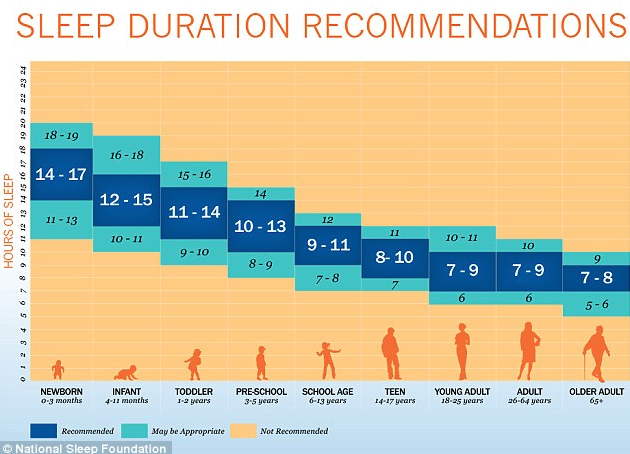
The two biggest mistakes I’ve made with my own kids during the school year is not getting enough sleep or water.
Both of these can lead to lower immune systems.
Check out this sleep chart from the National Sleep Foundation:
Add water with a drop of YL lemon oil (no plastic bottles!) for during the school day.
Making sure they drink plenty of water in the morning and after school can help with a myriad of issues, especially with their tummy.
Keep in mind when you have your kids it’s likely their most (and sometimes only) opportunity for water.
Adding any of the oils for sleep (check your Essential Oils Reference Guide by Life Science Publishing) to your nighttime routine and diffusing with a ten hour diffuser (Desert Mist is my favorite!), will help everyone get the rest they need.
I also suggest turning the diffuser on before everyone leaves for the day on the 10 hour setting. If any germs are in there, you can kick them with the air purification properties of oils like Citrus Fresh or Lemon (both in the Premium Starter Kit)!
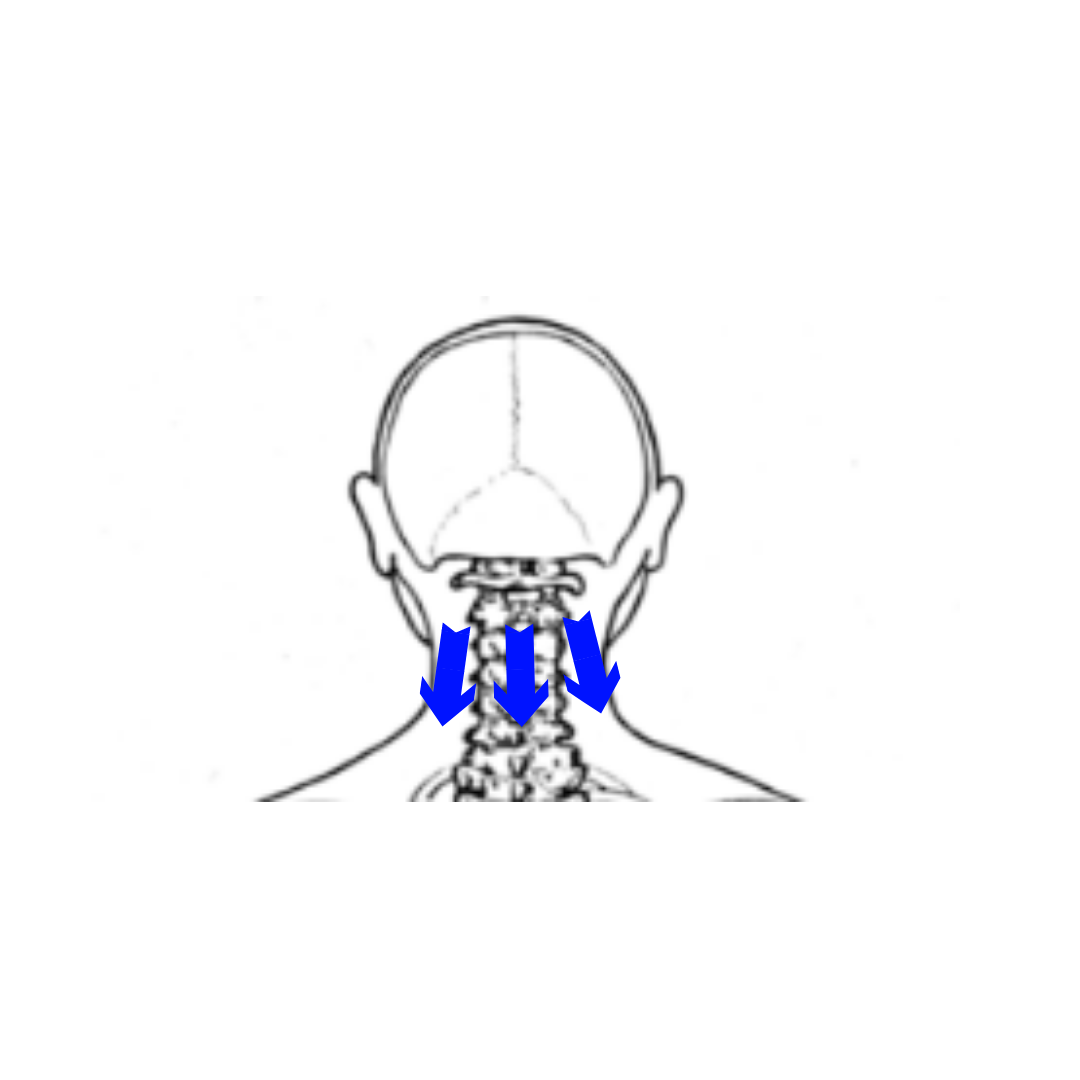
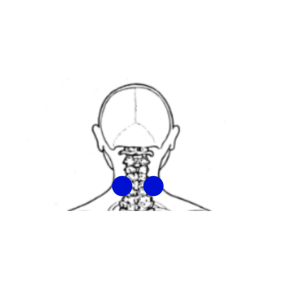
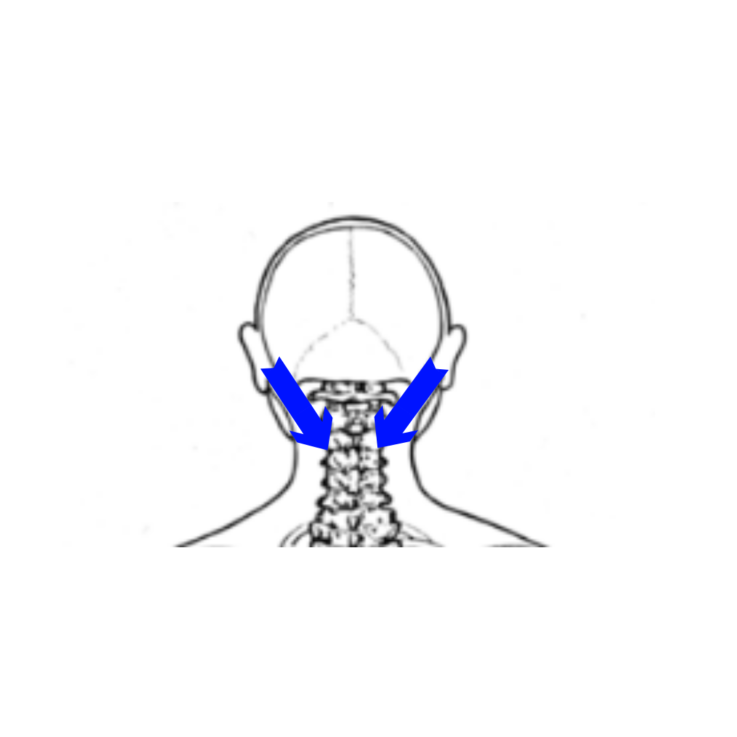
GENEYUS
This KidScents pre-diluted oil is great diffused or rolled on before school.
I like to apply it directly from the bottle to the boys’ brain stem area and diffuse it while we’re learning during the day.
It helps keep them focused and on task.
TUMMYGIZE
If there’s ever an oil that saves me the most it’s TummyGize.
I can always know for certain that when their stomach is bothering them, a drop of TummyGize will have them feeling better within 5-10 minutes. Every. Single. Time.
STRESS AWAY
Put a roller on top of this one or get the rollerbottle that’s premade like the Thieves one you see in the promo pictures. It just works.
The kids can take them to school and use it before a big test or presentation, you can use it before filling out the stacks of paperwork coming home, or when you’re trying to make it to all the places for every child within a half hour time period.
Stress leads to illness, and while we’re really never taught how to manage it, we have options when it comes to the therapeutic benefits of Young Living’s 100% toxin-free oils.
This is one great way to keep yourself and the kids together during this busy season of life.
HOW TO GET THESE NECESSITIES
The Young Living lifestyle isn’t a NICEity, it’s a NECESSITY.
Less expensive, safer, healthier…it’s a no-brainer!
Don’t have access to this true health and toxin-free lifestyle yet?
Don’t worry!
It’s really easy to start!
Your first step will be getting a Premium Starter Kit (this will let you immediately save $300 in the store and make shopping faster and easier!).
While you’re getting set up for your kit, Young Living gives you the opportunity to take part in something they call Essential Rewards.
It’s basically the best thing to come across this family financially in a long time.
Essential Rewards (or ER for short) gives you a percentage back (up to 25%) on each month’s purchases on things you’d buy for your family anyway, except every one of Young Living’s 600+ products are toxin-free, super concentrated (think Costo or Sams in small bottles), and work better than what you previously bought anywhere else.
You can take care of every facet of your home (cleaning, cooking, beauty, personal care, baby, kids, men, pets, nutrition, supplements, etc) through Young Living’s 25 years of chemical-free living expertise.
Learn more here.
–