• God’s Grace
  • Etsy Shop!
    • Printable Stickers
    • Printable Coloring Books
    • Printable Wrapping Paper
    • Coffee Mug Art
  • Toxin-Free Home
    • Get Your Oils!
    • Babies + Kids + Pets
    • CBD
    • Dental + Body Care
    • Diffuser Blends
    • Emotions + Mental Health
    • Energy + Weight Management
    • Hair + Makeup
    • Men’s + Women’s Care
    • Natural Remedies + Immune Function
    • NingXia
    • Skin Care
  • DIY Oily Recipes
    • Get Your Oils!
    • DIY Recipes
  • Homeschooling & Kids
  • Favorite Family Recipes

Grace Blossoms

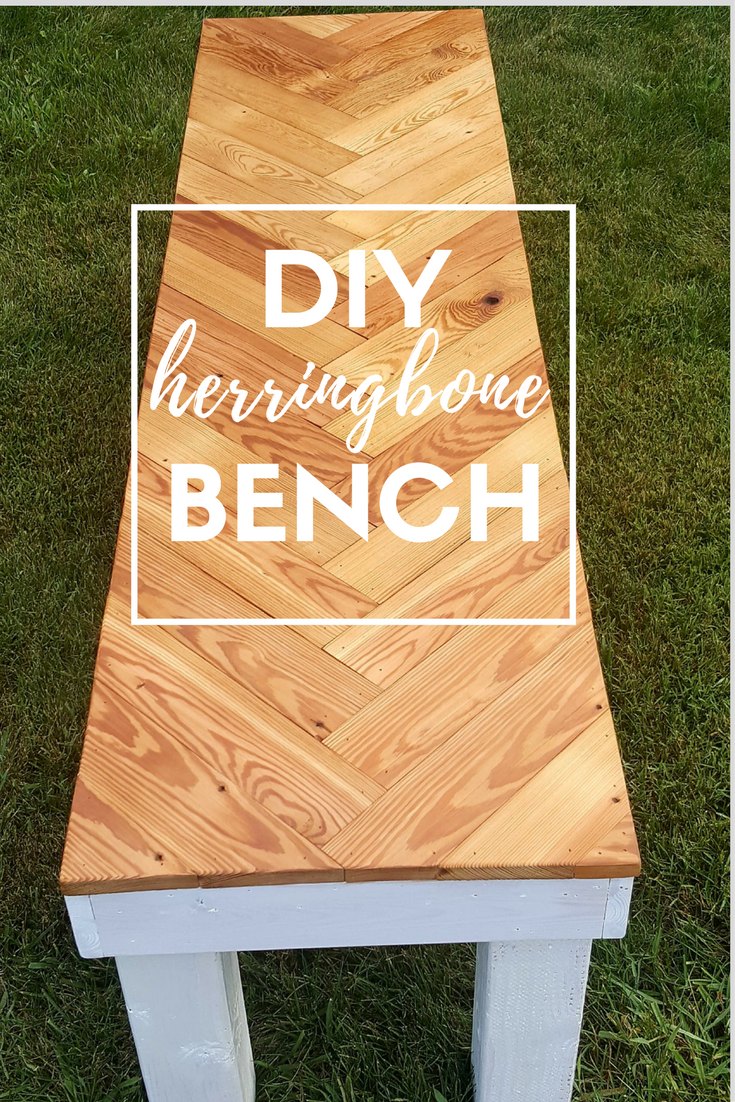
DIY Herringbone Bench


DIY Herringbone Bench

I couldn’t settle for just anything when I designed our DIY herringbone bench.

When I look around our home, I feel settled.

Wrapped up in the comfort of the atmosphere we’ve created. Our hands and hearts have crafted most everything we see here.

You can do it!
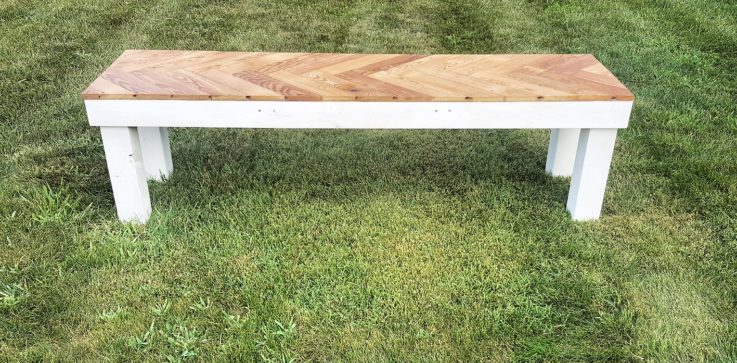
Make this DIY herringbone bench for your home with these directions, shopping list, and tools list to help you along the way!

Shopping List:

NOTE: Measure your space to make sure that these cuts would fit in your home. Also measure how tall you might want your bench to be as this will change the height of your legs. Don’t forget to take into consideration how wide your bench will be once you secure the short ends to the outside of the legs. This adds space to the width of your bench.

-1 8 ft. 4×4 cut into four 18.5 inch long legs

-2 8ft. 1x4s cut both to be 64 inches. Use the leftover wood to cut 2 boards to 16 inches. This will make up your 4 trim boards that go on the front and the sides.

-1 8ft. 2×4 cut into two 16 inch boards.

-1/4 inch plywood cut to 16×62.5

-180 sq. ft. of wood (of your choice) for the top. The antique flooring we used were 3 inches wide and 3/4 inches thick.

–Wood Glue

–3 inch screws

–1.5 Inch nails (we used a nail gun)

Tools List:

–Air Compressor

–Nail Gun/Brad Nailer

–Circular Saw or / or Miter Saw

–Drill

–Random Orbital Sander

–Speed Square

–Tape Measurer

-Pencil

-Paint, stain, or mineral oil for your herringbone (we used mineral oil to bring out the natural wood grain)

-Paint or stain for your legs

–Clear Coat for the herringbone

Step 1: Cuts

-Cut wood according to directions above. You can have your lumber cut at the home improvement store and leave with 10 of your cuts already made. We just cut everything at home, but if you’re up for it, this is an option.

Step 2: Legs and Plywood

-Lay plywood on the ground.

-Put wood glue on the top end of each of the four 4×4 legs.

-Glue each leg flush with the outside four corners of the plywood.

underside of table leg.jpg

-Let them dry then flip it over so the table is standing on its legs..

-Measure 4 inches by 4 inches of each corner on the top of the plywood and draw the square to give yourself a template of where to put your screws.

-Use the drill to put four screws into each corner of the square you drew to securely attach the legs to the plywood.

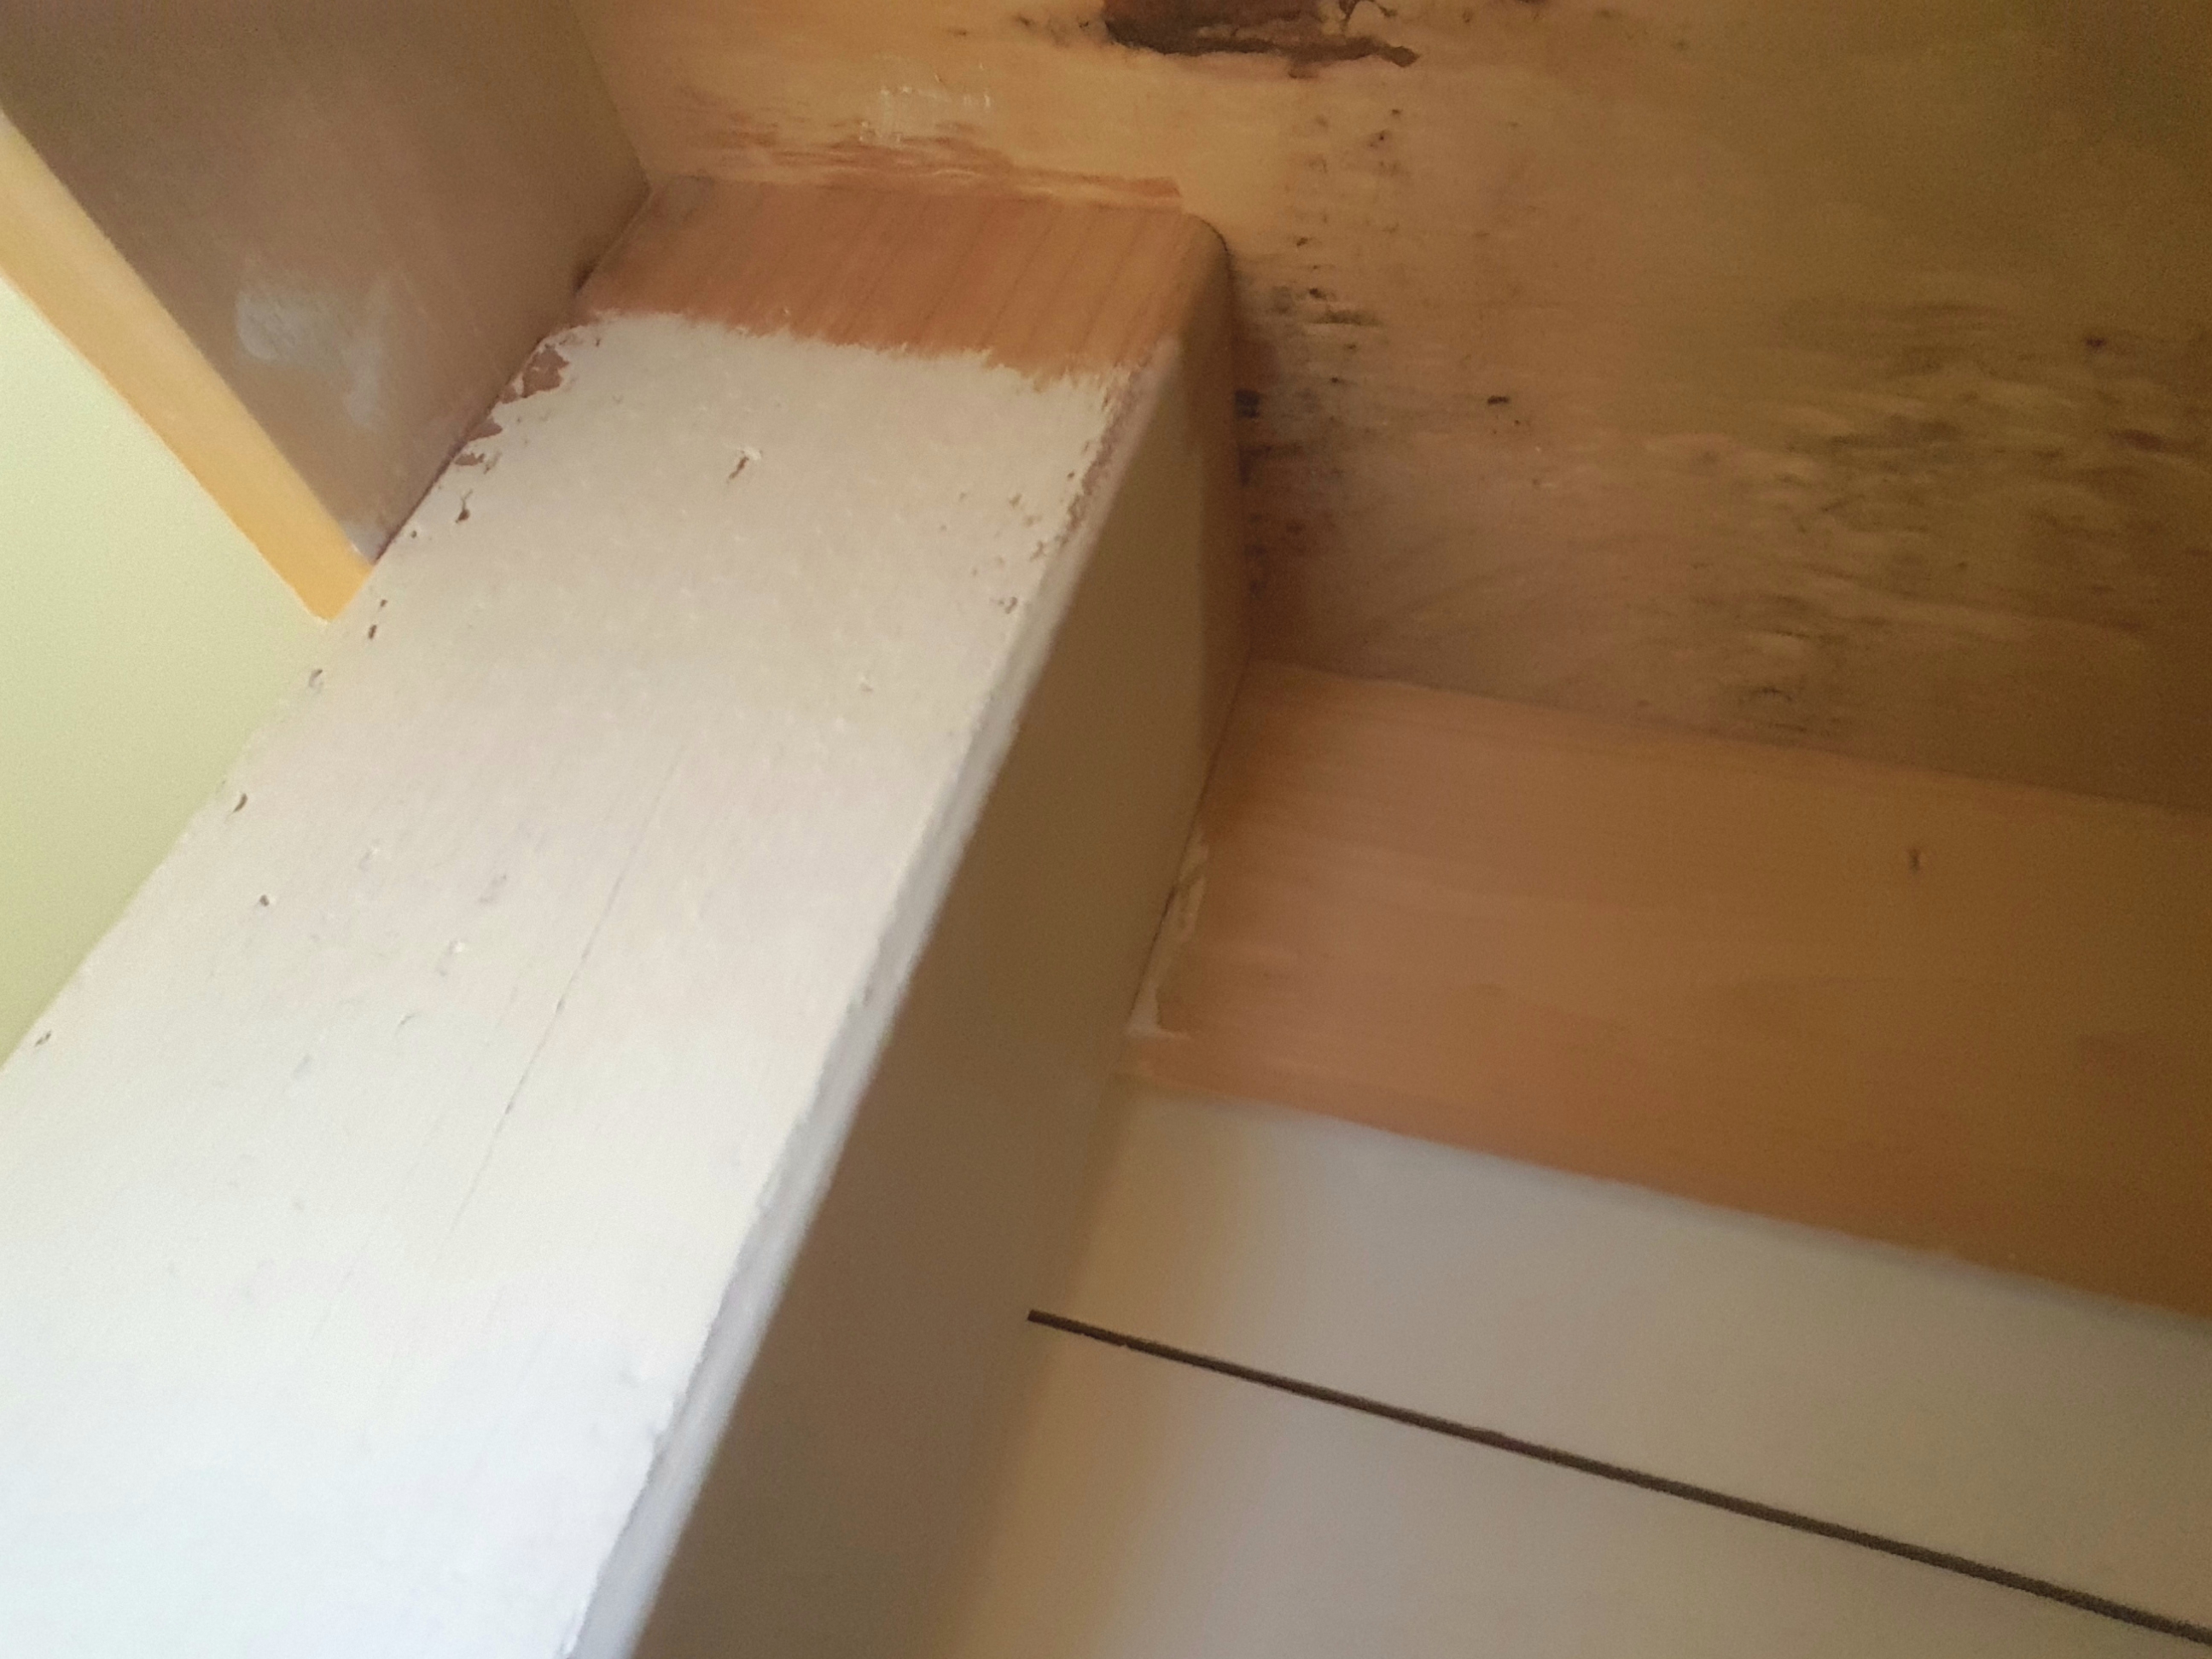
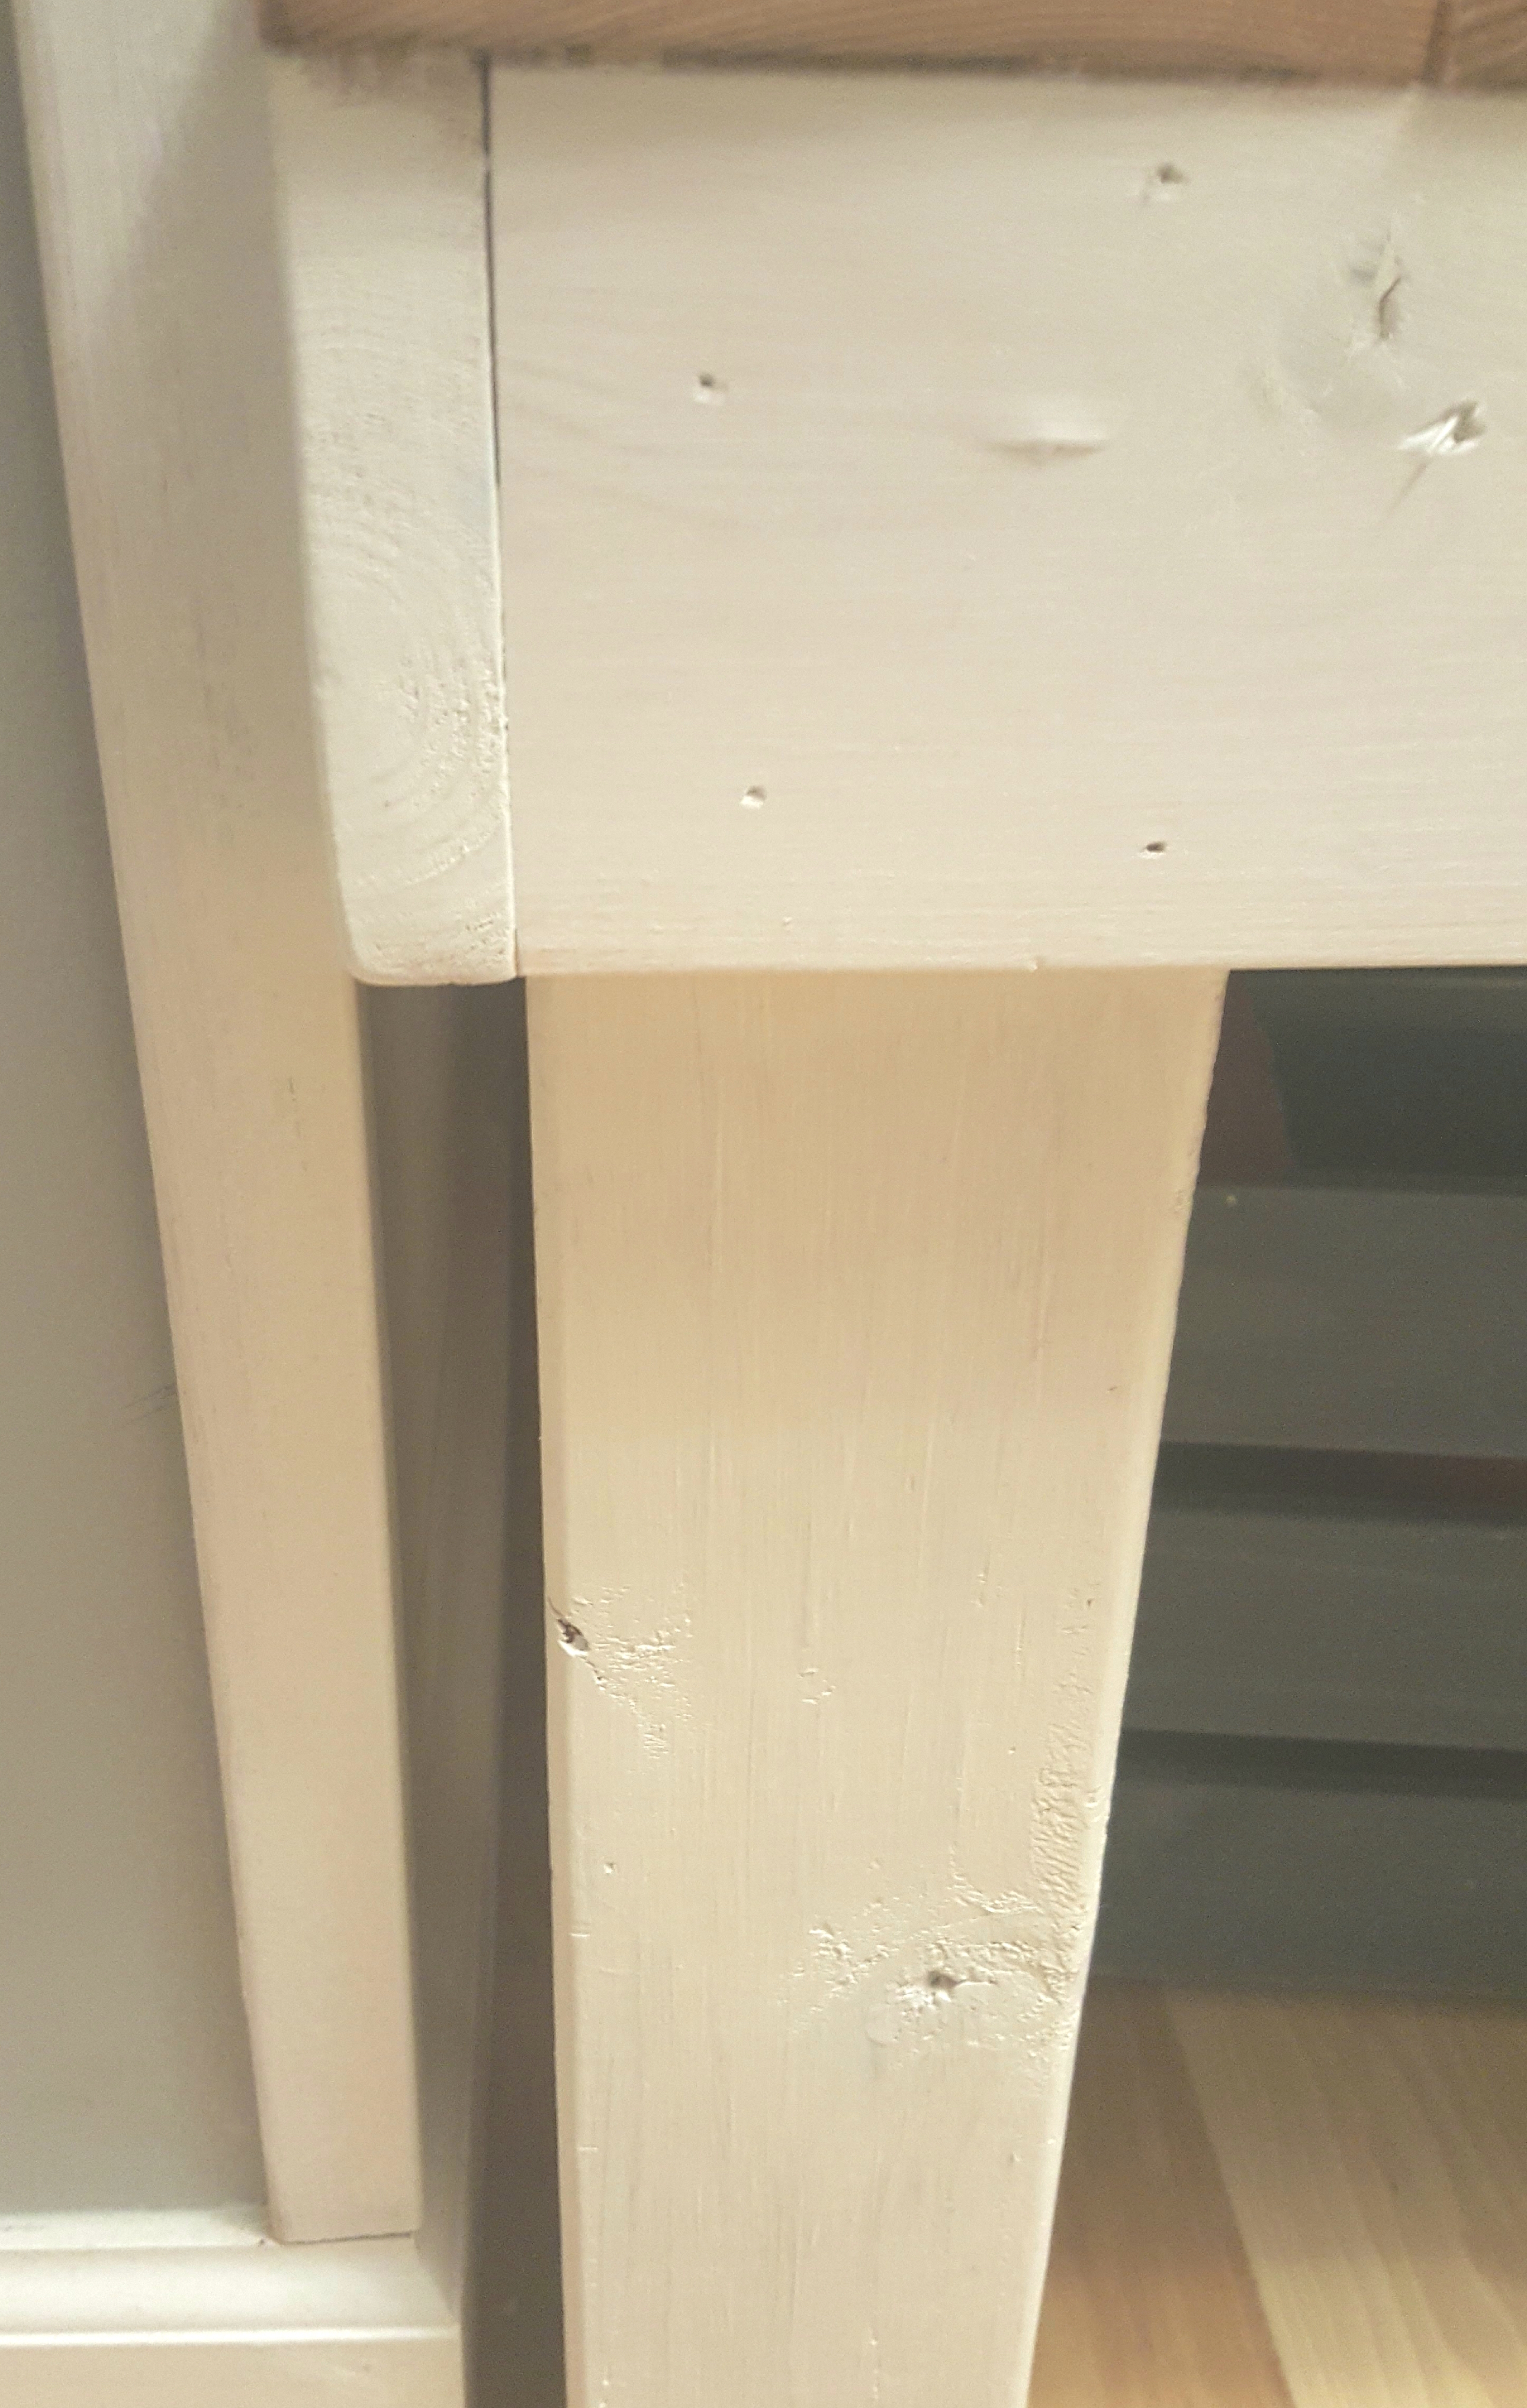
See below for an example of how they look when they’re nailed flush against each other and into the leg:
Make this DIY herringbone bench for your home with these directions, shopping list, and tools list to help you along the way!

Step 3: Side or Top

**You have two options for step 3**

OPTION 1: Saw cuts of herringbone side cuts show (our choice)

OPTION 2: Hide herringbone side cuts

If you chose option 1 do step 3. If you choose option 2, skip to Step 4.

-Nail the 16 inch board to the side of the legs and plywood.
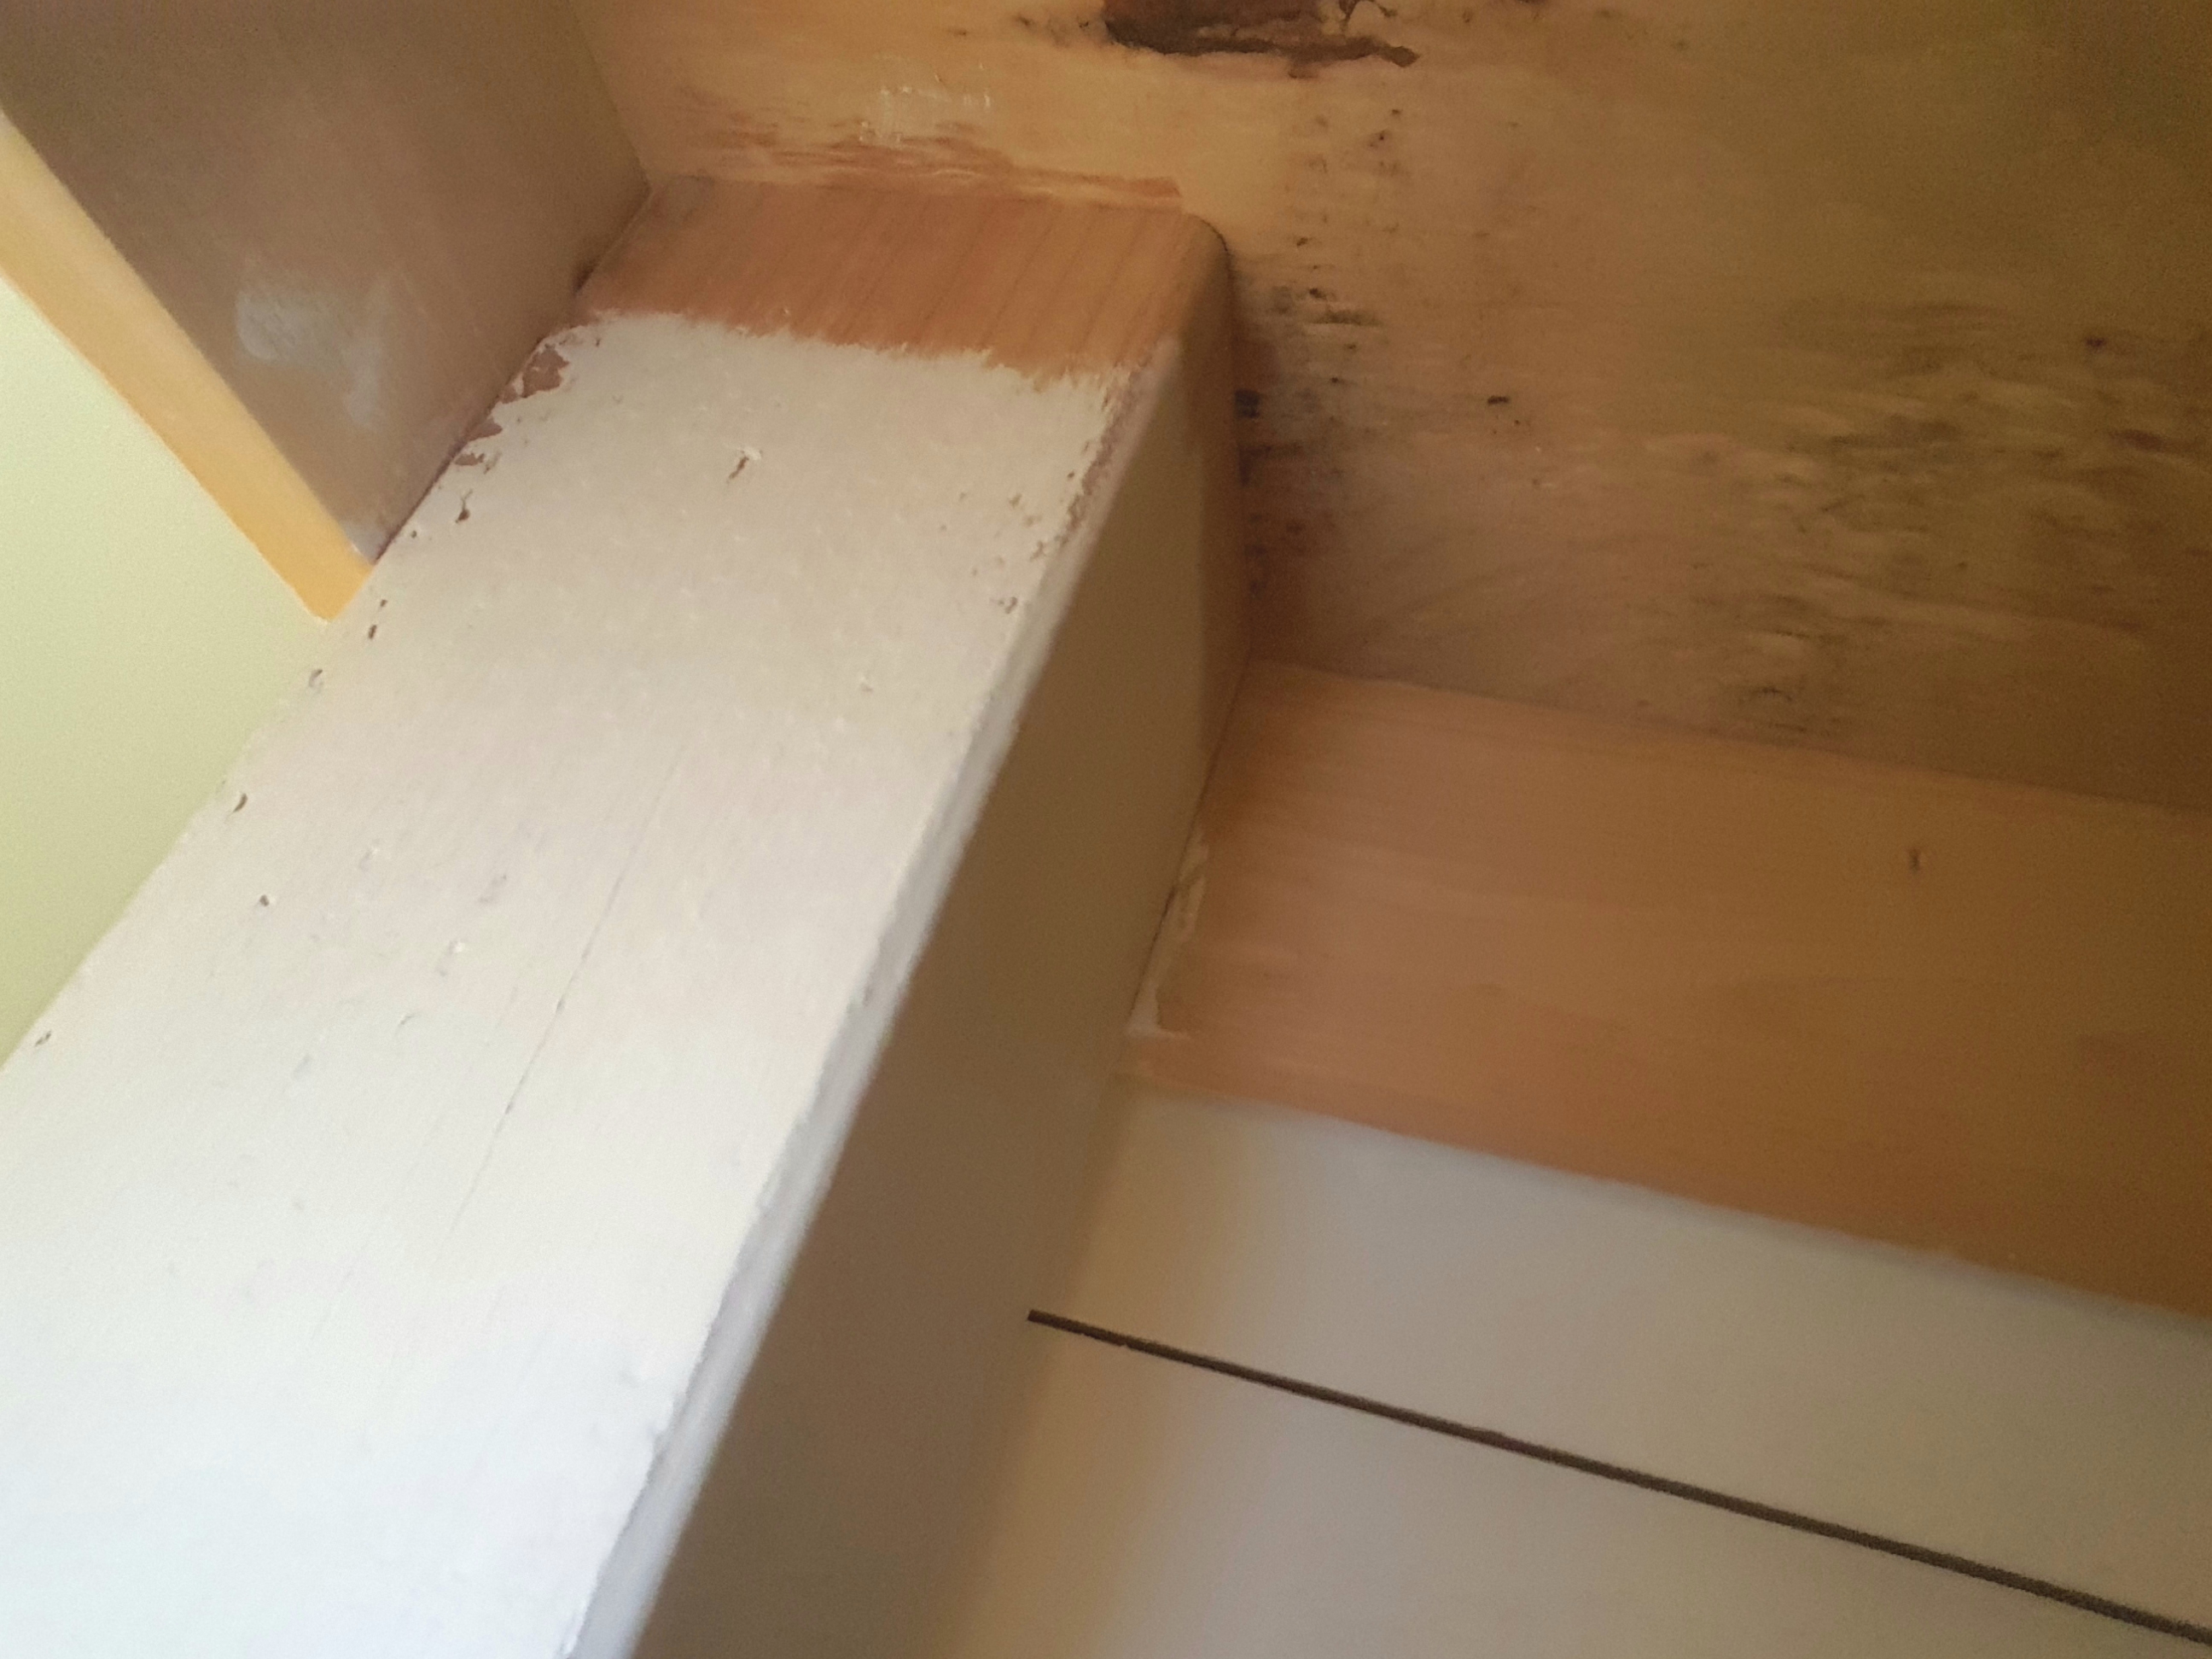
underside of table leg

-Repeat with the 64 inch boards to make the front and the back, this time making them flush with the plywood and the 16 inch boards/ends.

Make this DIY herringbone bench for your home with these directions, shopping list, and tools list to help you along the way!

-Flip the bench back onto its top and screw in the two 16 inch 2x4s to the front and back (64 inch sides) for added support. We just eyeballed two good, midway support areas.

-Paint or stain your legs and sides at this point if you’re not planning on painting the herringbone. We did this to make sure we wouldn’t accidentally paint that beautiful antique wood!

Step 4: Herringbone

-Once the legs are dry from step 3, flip it back so the bench is standing on its legs.

-Measure the direct middle of your plywood, and draw a line using a board to be your straight edge. You now have a horizontal line running from left to right if you’re looking at the front 64 inch side.

Get the Right View

-Stand at the short side with the line going out directly in front of you. This way, you can watch your herringbone pattern as you create it to make sure it looks right.

For example, when I was standing in that spot upon its completion, it looked like this. See how you get a better look at the pattern from this angle?
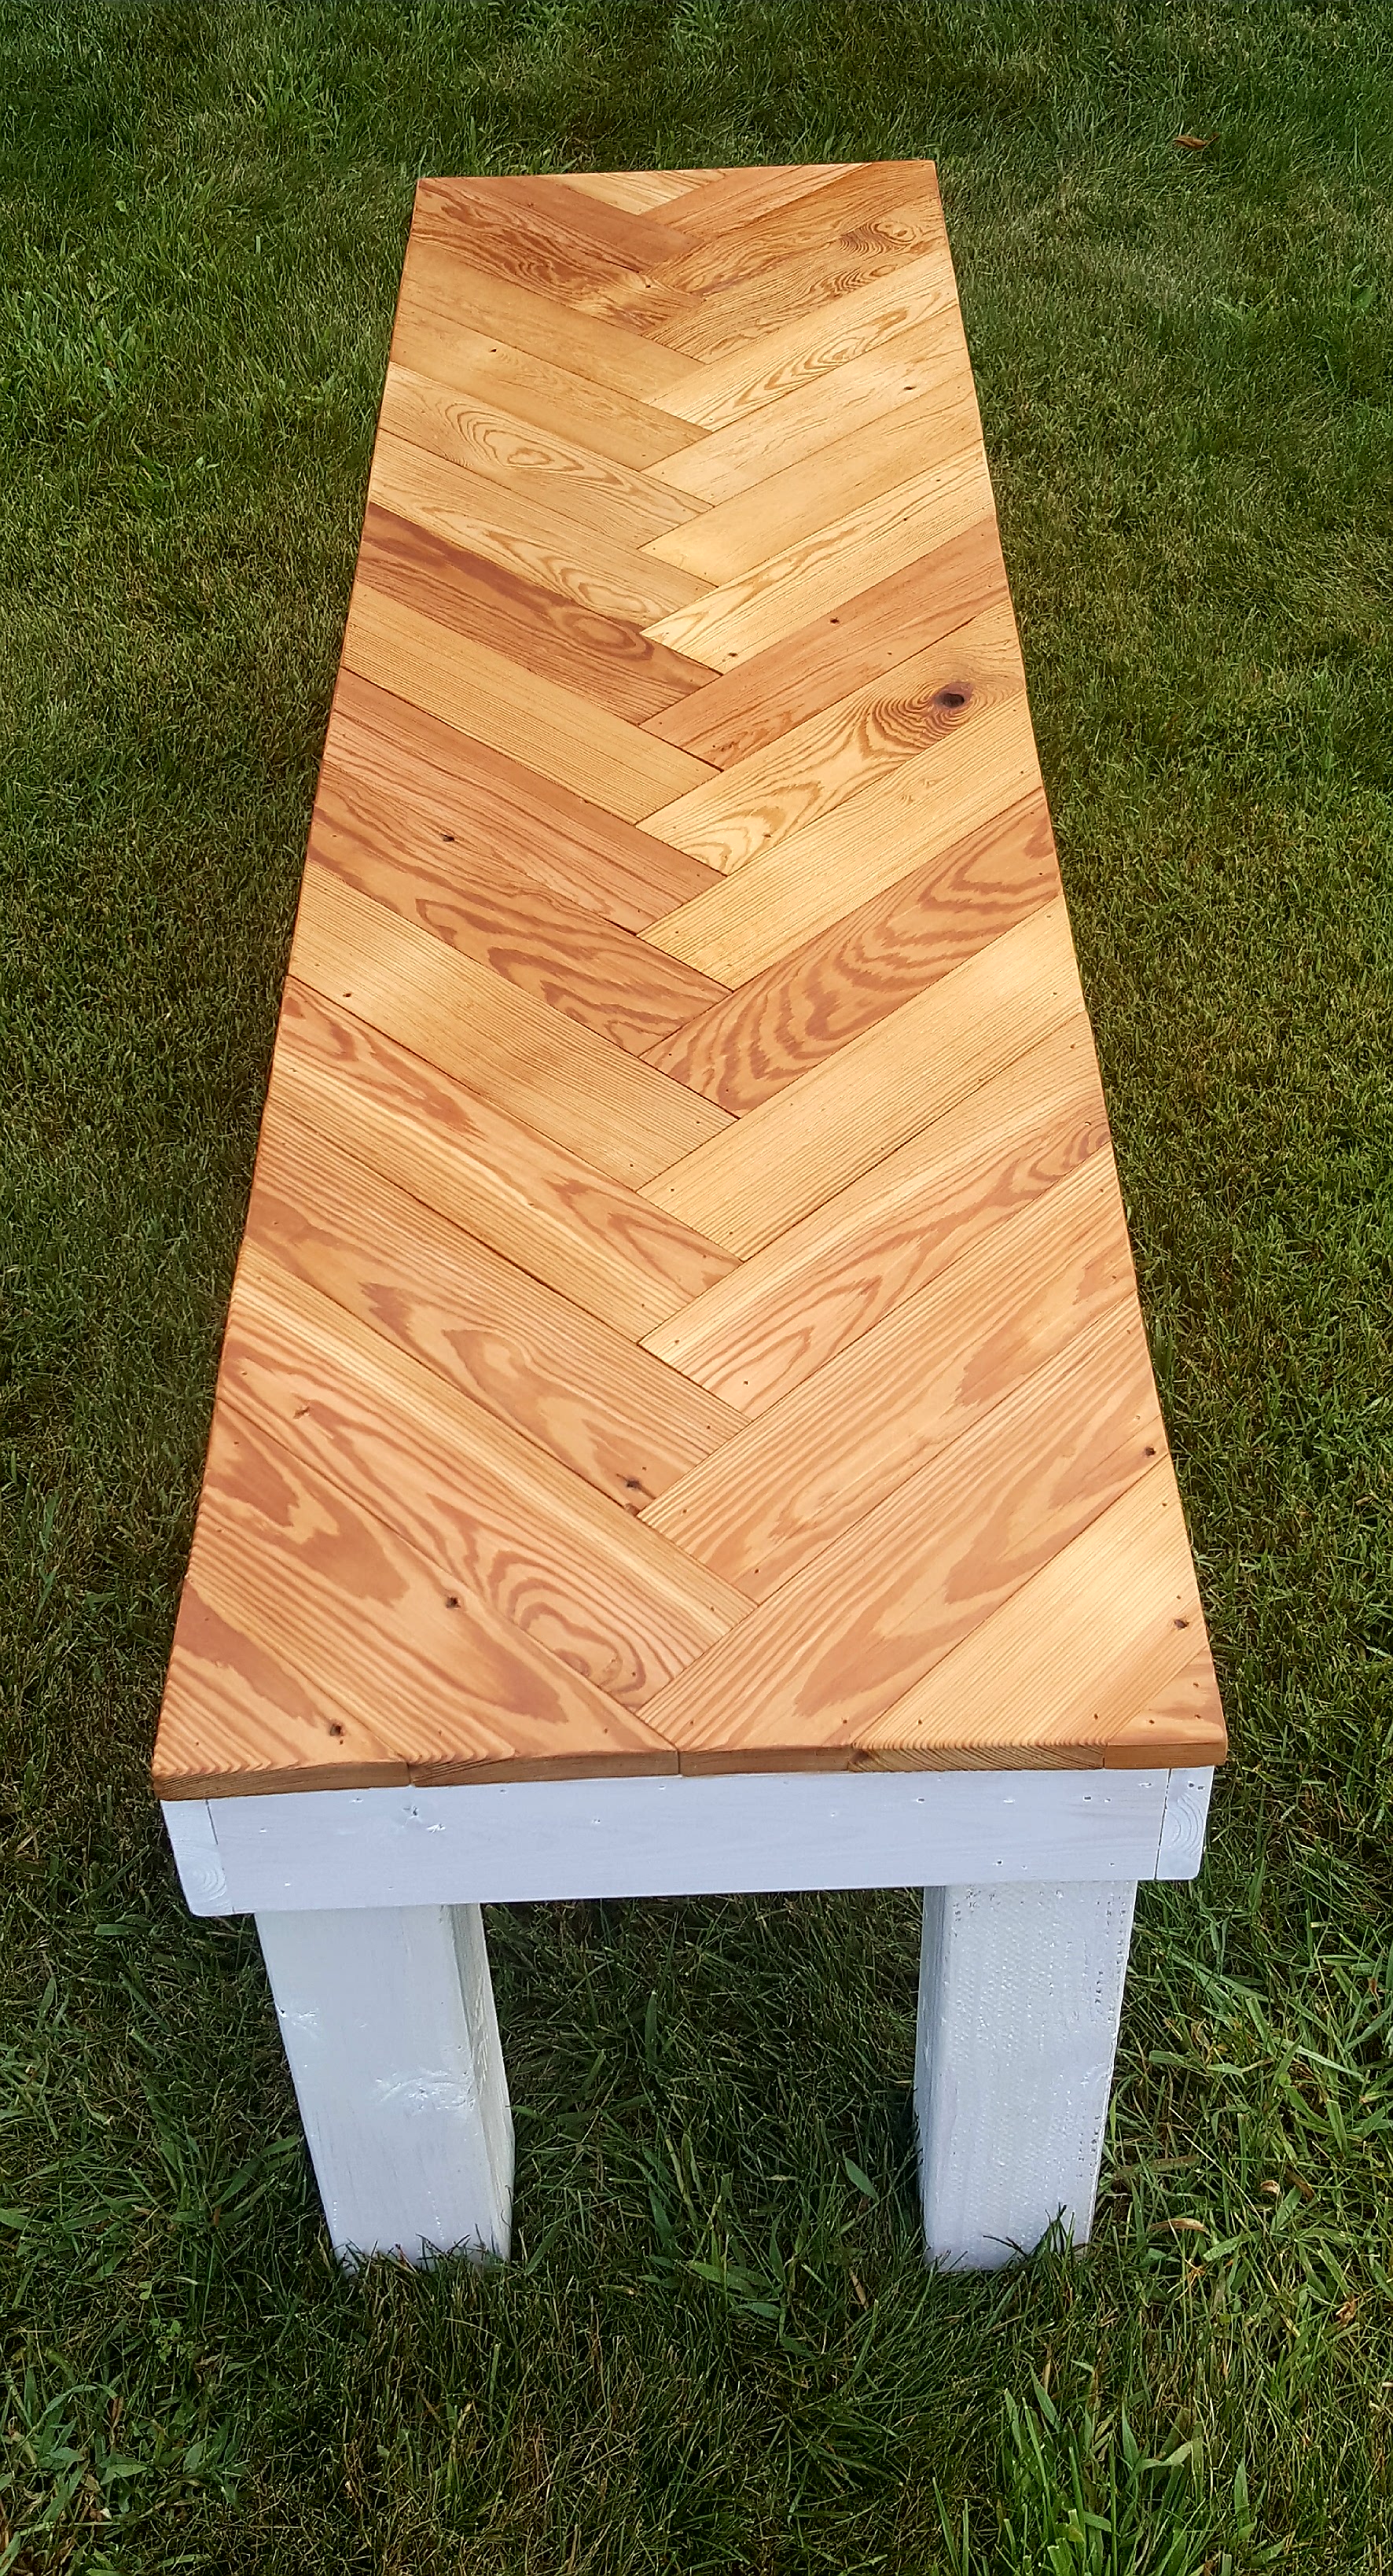
Make this DIY herringbone bench for your home with these directions, shopping list, and tools list to help you along the way!

-Lay the speed square against the longest side (front 64 inch side) of the plywood to give you a 45 degree angle in order to make your herringbone pattern.

You’re Doing Great!

-Now that the speed square is laying on top of the plywood, take your first board chosen to be a part of your herringbone pattern (in our case, the antique hardwoods) and lay the long side up against the 45 degree angle on the speed square. Make sure to move the board down your speed square until the middle of the board lines up with your center line.**Your wood will be laying awkwardly out to the right of you and not away from you following the line you drew. Remember, you are only working with the right side of the line you drew at the beginning of step 4 right now.**

NOTE: You will want to check and see if your board will need to be cut where it’s laying. If so, scoot it up until you know you can get a full board.
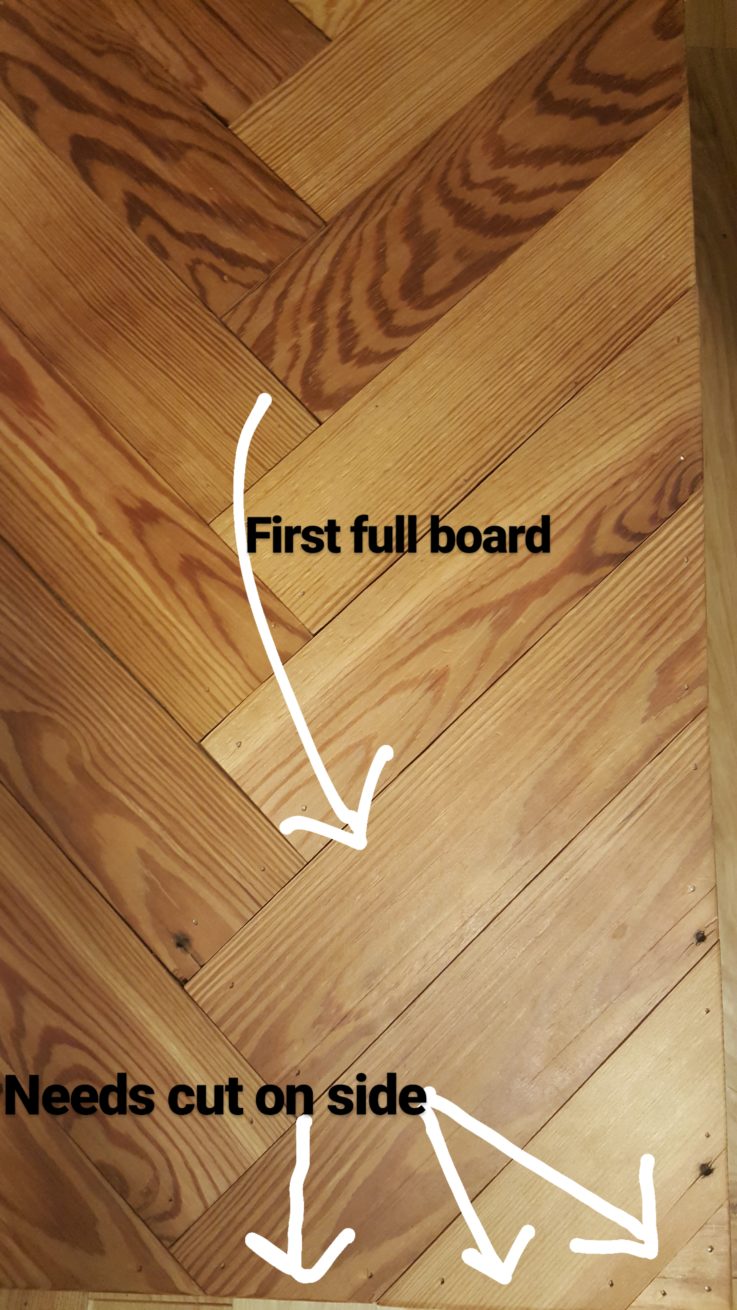
Make this DIY herringbone bench for your home with these directions, shopping list, and tools list to help you along the way!

-From underneath the board, run your pencil along the edge of the bench making your cut mark on the wood (in our case, on the antique flooring we’ll use to be the pattern on top).

-Use circular (or miter, whichever you chose) saw to cut on the line.

It’s Coming Together!

-Put glue on bottom of the cut wood. Still standing at the top of the bench with the middle line going straight out from you, line the short end of your cut wood up with the front (64 inch) side of the bench. Place your first herringbone piece with the glue once you see and feel the edges are flush.

-Use the nail gun to shoot one nail into the top of the wood at each corner .

-Take the next board and line up the edge against the nailed down board. The two boards flush against each other should make one long line. This time, you’ll be going out to the left or back side of the bench. Continue marking the bottoms, cutting, gluing, and nailing– alternating from the right side to the left– until you are done with all of your pieces, and your herringbone pattern is complete.

NOTE:

You’ll need to go back in and cut the smaller pieces to finish out the top of your herringbone pattern since we didn’t start at the very top of the bench. You may have to draw lines on both edges to get the right cut.

If you chose OPTION 2 in Step 3, go back to Step 3 now.

Step 5: Sanding

-Use a random orbital sander to smooth the top and sides of the herringbone pattern to make sure you have a clean finish. *TIP: You may want to round the top edges a bit, so sitting is a little more comfy.

Step 6: Finishing

-Paint, stain, or oil your top, sides, and legs.

-Once the top is dry, seal with the clear coat.

-Let dry. Apply second coat if needed and let dry again.

Put in your entry and enjoy!

Make this DIY herringbone bench for your home with these directions, shopping list, and tools list to help you along the way!


Make this DIY herringbone bench for your home with these directions, shopping list, and tools list to help you along the way!

–

Filed in: Uncategorized • by Andrea •

[jetpack-related-posts]

Simple DIY Wooden Headboard


Simple DIY Wooden Headboard

There’s just something about a DIY wooden headboard that makes the entire space of a master bedroom look cozy. Complete. Put together.

The only problem we had was choosing one that fit our style.

Oh, and that didn’t cost a fortune.

Thankfully, an idea came to mind after seeing some Pinspiration and watching some home renovation shows.

There was hope!

Some of My Pinspirations

When I showed my husband what I wanted to create, he was on board.

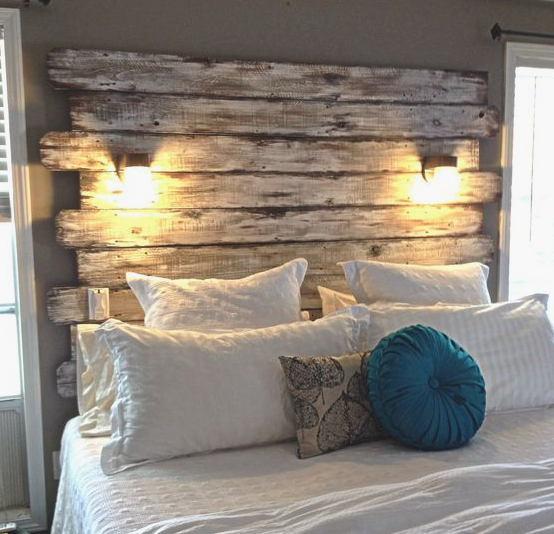
Here are some of my Pinspirations:

This simple DIY wooden headboard comes with easy directions that anyone can follow to make your bedroom nice and cozy!
lexingtoncompany.com
This simple DIY wooden headboard comes with easy directions that anyone can follow to make your bedroom nice and cozy!
zulily.com
This simple DIY wooden headboard comes with easy directions that anyone can follow to make your bedroom nice and cozy!
homedit.com
This simple DIY wooden headboard comes with easy directions that anyone can follow to make your bedroom nice and cozy!
lassoabode.com

Easy, He Said!

I wanted something simple. Something that spanned the width of our bed but wouldn’t need any real upkeep. Something that would fit the space but would also fit changes in decor.

We decided this DIY wooden headboard was the answer. I’ve provided directions in case you’d like to make your own!

This simple DIY wooden headboard comes with easy directions that anyone can follow to make your bedroom nice and cozy!
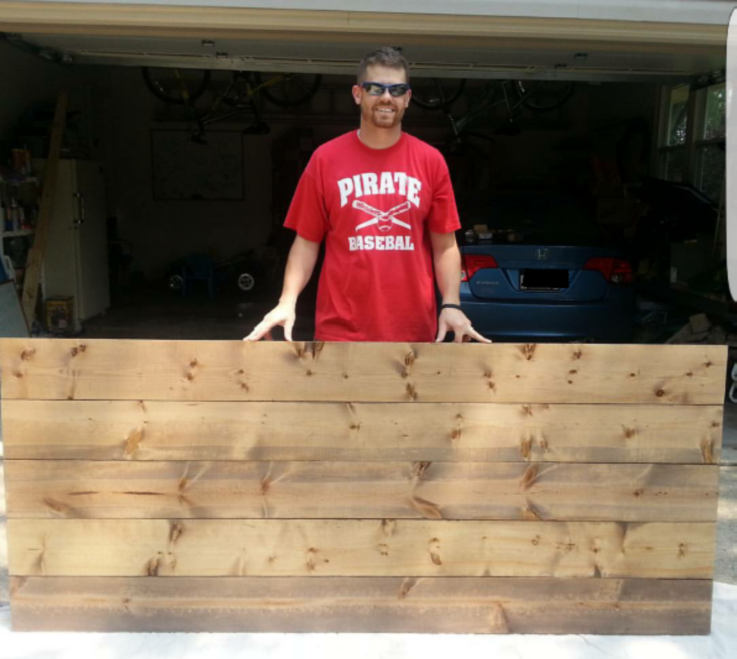
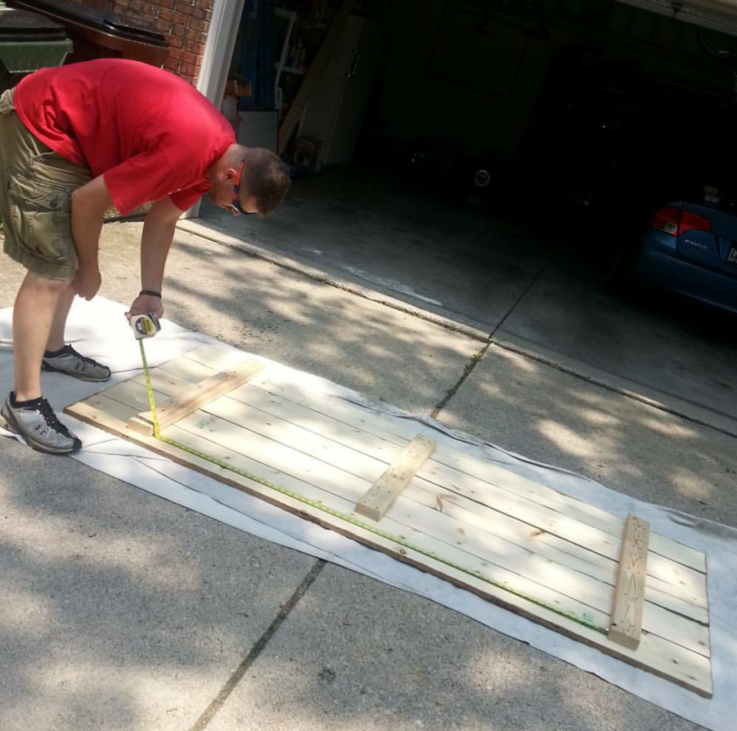
Husband with his creation. He put this thing together in an afternoon! I can’t believe how handy he is, or how simple it really was. Did I mention that he did this on July 4th weekend? Started on the 3rd and hung it up after drying overnight on the 4th before we left for our friends’ house!

Directions: 

1) Measure bed and choose desired size of headboard. It was quite the discussion. This is seriously why I love Pinterest. The fact that I can look at how the finished product could be is huge for me. I’m not exactly a conceptualizing kind of girl.

2) Gather materials and tools:

SUPPLIES:

  • Planks (as many as you need to meet your desired height- we did 4 ft. ). We go to Lowe’s for ours. We’re there so often, our boys say it’s one of their favorite places to go…really!
  • Three 2X4s. These will be used on the back to hold the planks together.
  • Screws
  • Circular saw
  • Screwdriver
  • Measuring tape
  • Sandpaper
  • Stain of choice We like to test a small piece of the wood we’re going to use and let it dry while we’re building to see if what we’ve chosen is what we want to commit to for the entire project.

Measure Twice, Cut Once!

3) Lay out and measure your planks. We have a King-sized bed, so we measured its width and decided we would like about two inches on either side of the mattress to have the headboard go past it. Painter’s tape has been our friend in many times like these. We like to map it out on the wall and stand back from it to get a better idea of how it will look in our room. Pinterest is helpful, but every space is different. It’s better to be safe than sorry in this case!

4) Cut boards to length with circular saw.

5) Use three 2×4’s to mount the headboards to (these will go vertically so the headboards will be horizontal). Here’s how this should look:

This simple DIY wooden headboard comes with easy directions that anyone can follow to make your bedroom nice and cozy!

You’re Almost There!

6) Screw them together – make sure the screws you use are not too long and poke through the front but that they also go in far enough to hold everything together.

7) Sand, stain/paint finished boards.

8) Mount to the wall using Interlocking Flush Mount brackets – enough to hold the weight of about 200-300 lbs. I included the link for a ten pack. You’ll most likely use all ten to evenly distribute the weight.

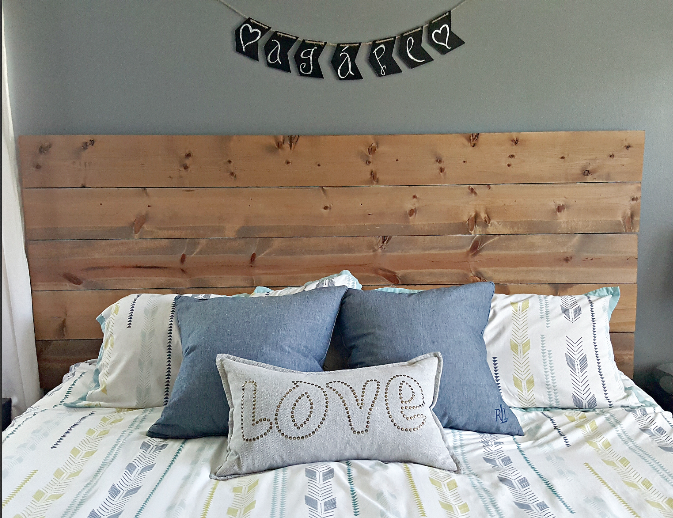
Our final product! We added this little sign above it for a sweet and simple reminder of the way God calls us to love each other.


This is the link to our duvet. We found the denim pillows at Home Goods and the “love” pillow at Target.

This simple DIY wooden headboard comes with easy directions that anyone can follow to make your bedroom nice and cozy!

Craftsmanship

Every time my husband makes something for our home like this DIY wooden headboard, I do know that he really does enjoy the craftsmanship in woodworking. However, I also know that a big part of what gets us through is that agape love.

I’m not easy to please with my Pinterest dreams and specific ideas, but he hangs in there with me and listens. He reads directions (sometimes not great ones) and works out the problems we encounter even though it can be frustrating. He gives me grace when I dream a little too big for the space and he loves me when what I want stretches him a little thin.

Thankful for this man and for our cozy little space in this fixer upper of ours.

Filed in: Uncategorized • by Andrea •

[jetpack-related-posts]

Search

  • Email
  • Facebook
  • LinkedIn
  • Pinterest

Popular Posts

Get Essential Oils + a Toxin-Free Lifestyle Here

Christmas mug gift ideas

Christmas Mug Gift Ideas for the Coziest Time of the Year

22 Printable Stickers to buy individually or together in a pack!

22 Printable Stickers

Recently…

  • Christmas Mug Gift Ideas for the Coziest Time of the Year
  • 22 Printable Stickers
  • Printable Wrapping Paper
  • Printable 40 Page Football Coloring Book!
  • Immune and Lung Fall Favorites

Copyright © 2025 · Theme by Blog Pixie