Warm and Cozy Lighting DIY
Something you should know if you follow this blog is that my husband can do anything, including this DIY warm and cozy lighting.
I point to pictures for remodeling, and he just…does it. Creates it. Poof! Out of thin air.
This bookshelf lighting is just one of many projects you’ll see we’ve tackled over the nearly five years living here.
Our Own Fixer Upper
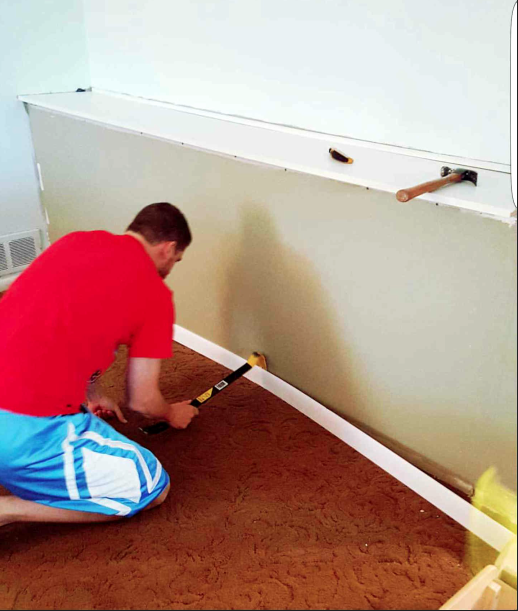
When we moved into our fixer upper, the playroom had a spot where built-ins used to be.
It was basically a big piece of particle board shelving held up by a couple 2x4s and some drywall at the bottom.
Oh, and some random wires, gaping holes, and trim pieces barely holding on for dear life.
You know, the usual.
Surprise Surprise…
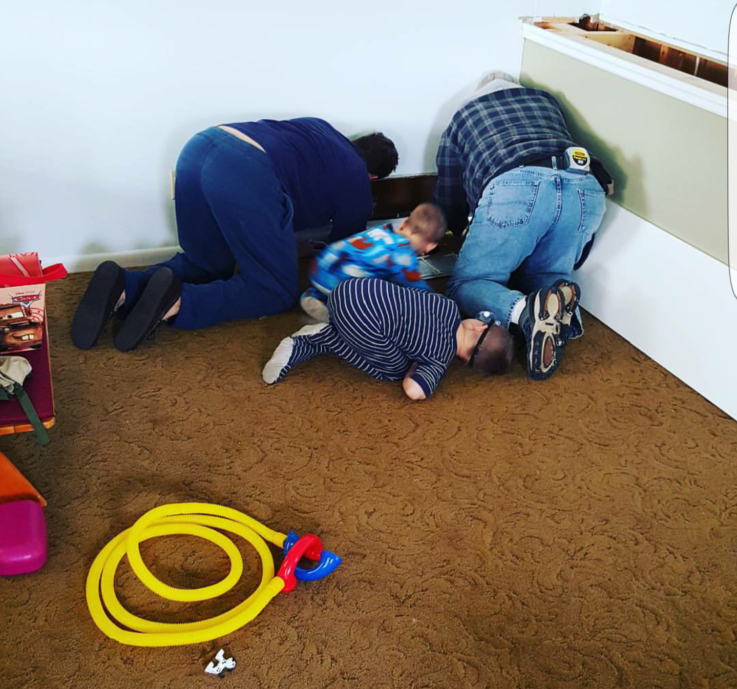
Did I mention, demo of this weird space surprised us with HVACÂ issues?
No cold air return from upstairs.
After some time spent adding duct inside the wall, we were on our way.
Our boys love getting in with Grandpa and Daddy to make this house a home.
We Need Lighting to Play!
After knocking it down and building a bookshelf within that space, we knew we needed some lighting.
To find these pulleys was an adventure in and of itself.
I knew I wanted them to be old farm pulleys, but every antique store we visited had two problems:
1.) They never had three of the exact same pulley. I tried putting three different (but similar )styles side-by-side in desperation, but it just wasn’t the look I wanted.
2.) They weighed a ton! I mean, not a literal ton, but farm pulley they were. It was what I imagine a baby calf might weigh.
I ended up landing on these Farm Pulleys and have been pleased with their look and lighter weight.
Finally…Light!
When I stumbled upon this Industrial Cage Pendant Light I was all set…mostly. Steve was going to have to cut the plug off and do some wiring, but we’ll get to that later.
My original thought was to have them mount onto a bracket like this one:
I had this dream for about five seconds into the process until Husband called me in and gave me the same, “Yeah, that’s not how this one works…” dream-crushing speech.Â
How We Did It
This set us on a brainstorm that ended with the look we have today, which I do love even more than my original plan.
DIRECTIONS
1.) In the back of our antique store is a reclaimed wood section. It’s amazing. We found 12 foot barn wood that fit our width measurements (between the top of the bookshelf and the ceiling). My husband had to rip it using a guide board with a Circular Saw.
2.) He then used a 1/2 inch Hole Saw to drill three holes in the wood for the wire of the lights to come through above the middle of each column of the bookshelf. *He ran all the wiring before drywalling the bookshelf. If this isn’t something you’re proficient in, and you don’t want to be zapped, hire an electrician.*
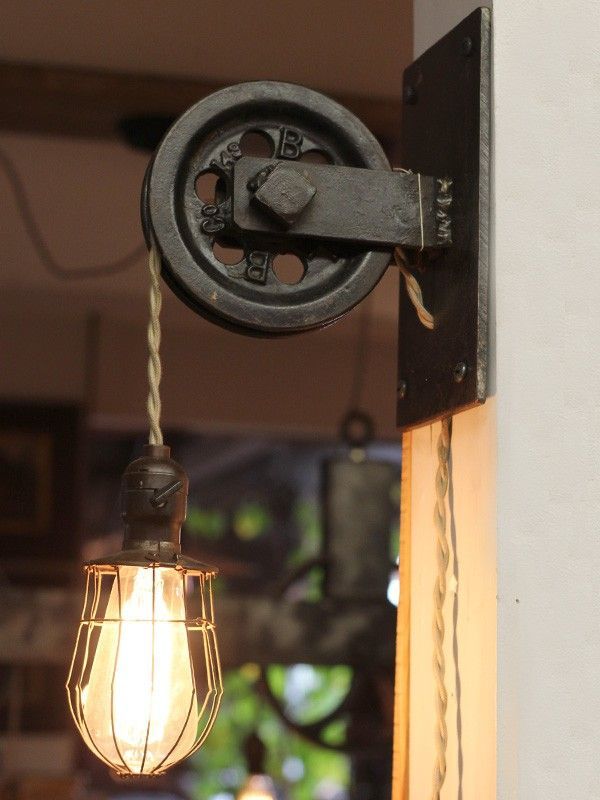
3.) After nailing the board to the wall using a Brad Nailer, he stripped the light wire and ran it over the pulley.
This part gets a little creative…
4.) Here’s where we had to get a little creative. We needed something industrial-looking to cover the hole in the wood. I was surprised by how good this Metal Grinding Wheel looked once he put a rubber grommet through the middle of it (both used to protect and cover the wire). He then hard-wired it into the box in the wall. This was a two-person job. I had to hold the light while he wired it into the wall. *You want to pre-drill the holes in the grinding wheel where your screws will go into the wood or else you’ll crack the wheel.*
5.) Using a Drywall Anchor he screwed in these Ceiling Hooks to hang the pulley from. It took some readjusting from different angles to make sure they were all the same level, and this was also a two-person job. I held the cage light while he screwed in the hooks.
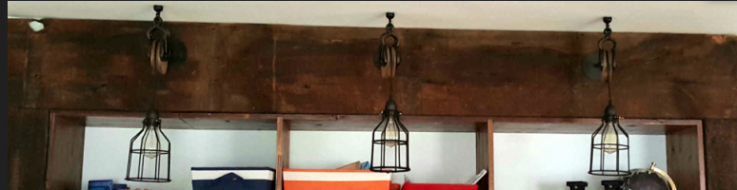
Finished Product!
We love the unique look it gives the boys’ playroom and how it provides a little extra light where they play. The Edison bulbs give a warm glow to this side of the room.
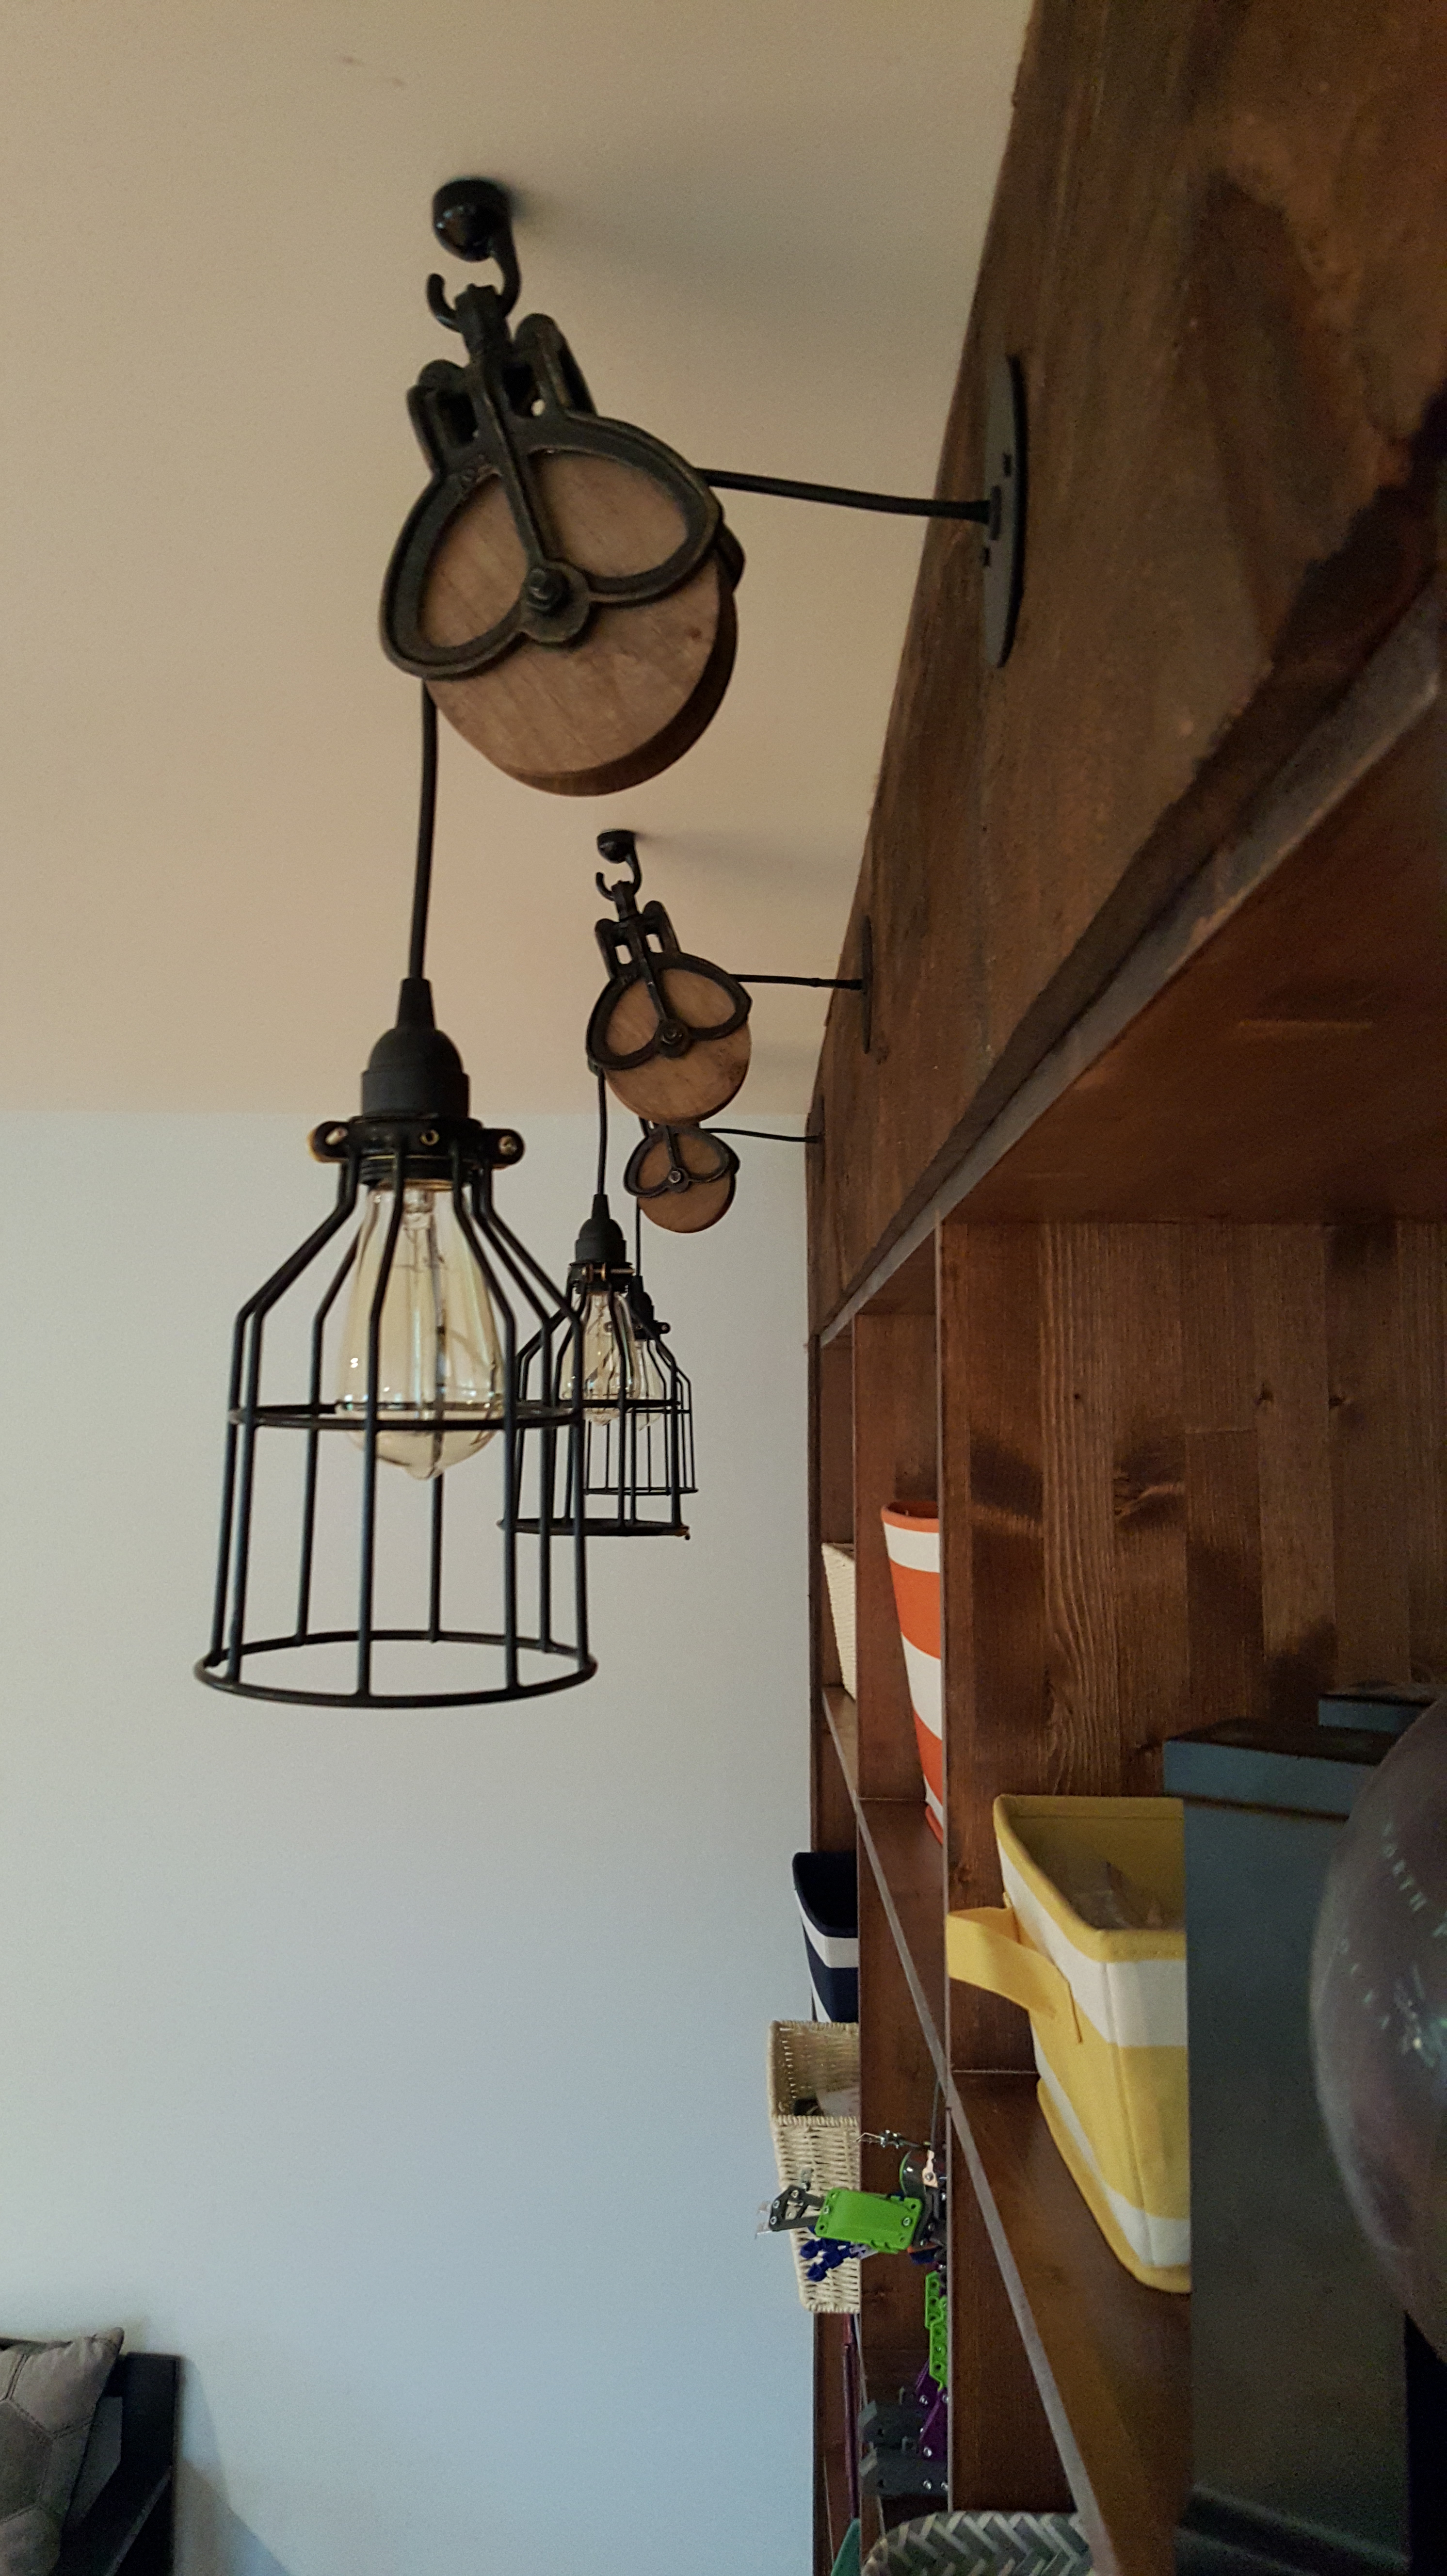
Once we overcame the obstacles of finding each piece and the many hardware store trips, Steve said it was a fairly simple project. One the boys are getting use out of every day as they zoom their cars and build their Legos.
Enjoy!
~Andrea
