Simple DIY Wooden Headboard
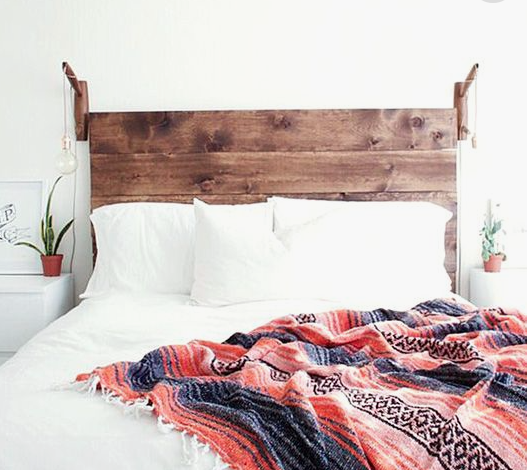
There’s just something about a DIY wooden headboard that makes the entire space of a master bedroom look cozy. Complete. Put together.
The only problem we had was choosing one that fit our style.
Oh, and that didn’t cost a fortune.
Thankfully, an idea came to mind after seeing some Pinspiration and watching some home renovation shows.
There was hope!
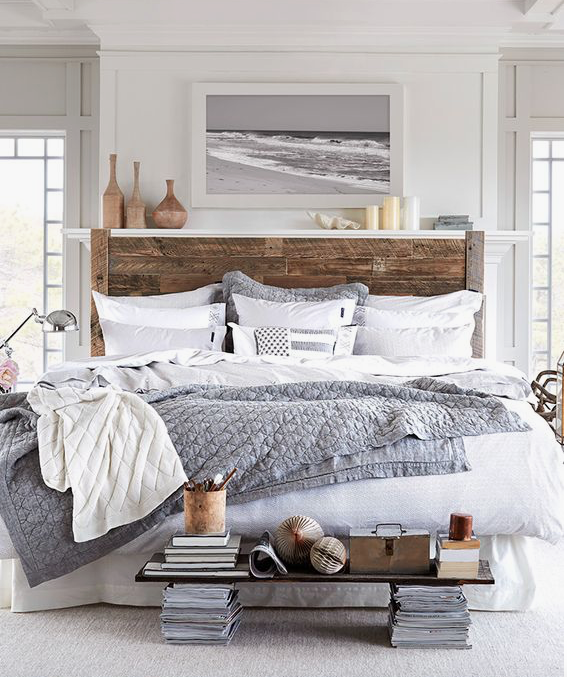
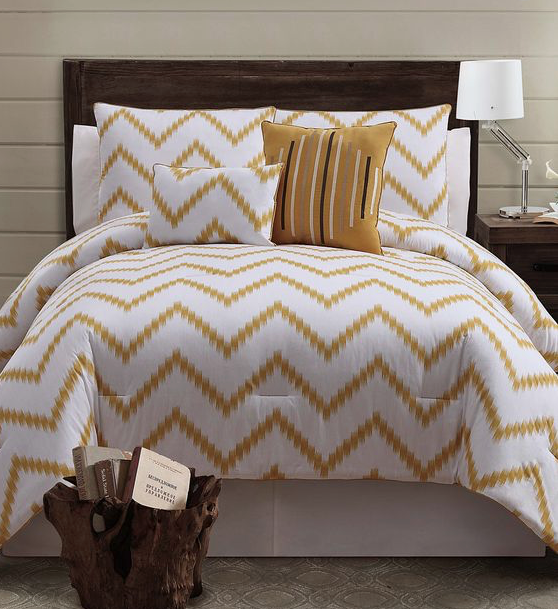
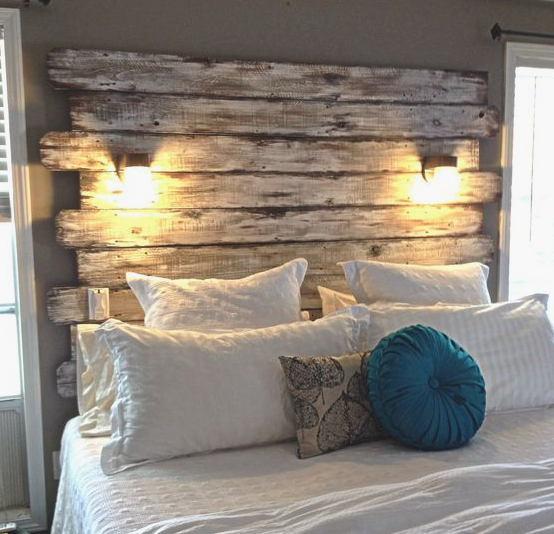
Some of My Pinspirations
When I showed my husband what I wanted to create, he was on board.
Here are some of my Pinspirations:


Easy, He Said!
I wanted something simple. Something that spanned the width of our bed but wouldn’t need any real upkeep. Something that would fit the space but would also fit changes in decor.
We decided this DIY wooden headboard was the answer. I’ve provided directions in case you’d like to make your own!

Directions:
1) Measure bed and choose desired size of headboard. It was quite the discussion. This is seriously why I love Pinterest. The fact that I can look at how the finished product could be is huge for me. I’m not exactly a conceptualizing kind of girl.
2) Gather materials and tools:
SUPPLIES:
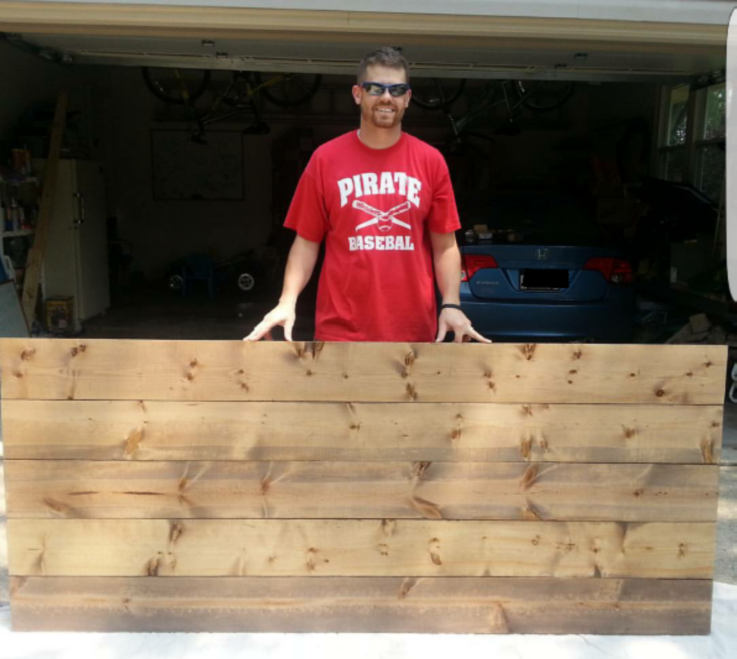
- Planks (as many as you need to meet your desired height- we did 4 ft. ). We go to Lowe’s for ours. We’re there so often, our boys say it’s one of their favorite places to go…really!
- Three 2X4s. These will be used on the back to hold the planks together.
- Screws
- Circular saw
- Screwdriver
- Measuring tape
- Sandpaper
- Stain of choice

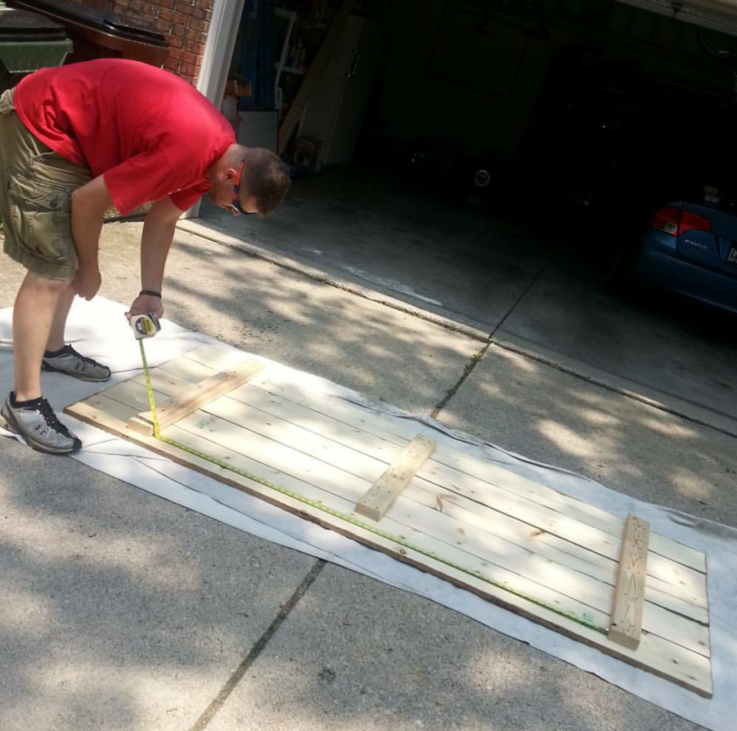
Measure Twice, Cut Once!
3) Lay out and measure your planks. We have a King-sized bed, so we measured its width and decided we would like about two inches on either side of the mattress to have the headboard go past it. Painter’s tape has been our friend in many times like these. We like to map it out on the wall and stand back from it to get a better idea of how it will look in our room. Pinterest is helpful, but every space is different. It’s better to be safe than sorry in this case!
4) Cut boards to length with circular saw.
5) Use three 2×4’s to mount the headboards to (these will go vertically so the headboards will be horizontal). Here’s how this should look:

You’re Almost There!
6) Screw them together – make sure the screws you use are not too long and poke through the front but that they also go in far enough to hold everything together.
7) Sand, stain/paint finished boards.
8) Mount to the wall using Interlocking Flush Mount brackets
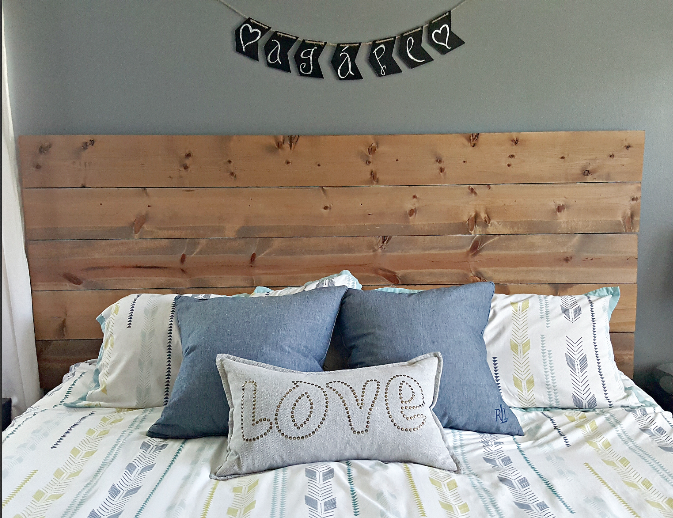
Our final product! We added this little sign
This is the link to our duvet. We found the denim pillows at Home Goods and the “love” pillow at Target.

Craftsmanship
Every time my husband makes something for our home like this DIY wooden headboard, I do know that he really does enjoy the craftsmanship in woodworking. However, I also know that a big part of what gets us through is that agape love.
I’m not easy to please with my Pinterest dreams and specific ideas, but he hangs in there with me and listens. He reads directions (sometimes not great ones) and works out the problems we encounter even though it can be frustrating. He gives me grace when I dream a little too big for the space and he loves me when what I want stretches him a little thin.
Thankful for this man and for our cozy little space in this fixer upper of ours.